 1472
1472
Creating a Message
To create a message, follow these steps:
- Navigate to Console, expand the Communication tab, and click on Messages.
- Click on Create Message.

- Type in a subject and message for your in-app message. Click on Next to continue.

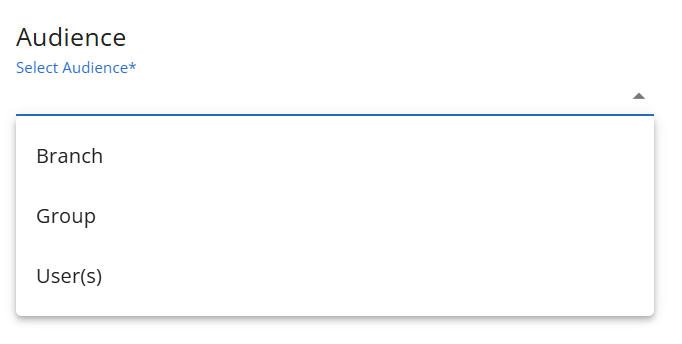
- Select your Audience (who will receive your message). It can be set to a specific branch, group, content package, Learning Hub Event, user(s), or for all users.

NOTE: Based on your assigned role, you’ll only be able to select an audience within your scope (e.g. Branch Managers will only see the branch, group, and user(s) options. Group Managers will only see the group and user(s) options).

- If you selected branch, group, or content package, select the appropriate branch, group, or content package in the new populated field. Click on Save.

- If you selected user(s), select the user(s) you'd like to set as your audience. You can search for users by their name, ID, or SIS ID. You can also filter by branch membership or group. Click on Save once you've selected your users.

- If you selected branch, group, or content package, select the appropriate branch, group, or content package in the new populated field. Click on Save.
- Select your Message Destination (where your message will be sent) by selecting a course for which the audience will receive your message in the Notification Center. Only learners enrolled in the selected course(s) may receive this message.

If this should apply to all courses, select the “All” option. Click on Save. Click on Next to continue.

NOTE: Based on your assigned role, you’ll only be able to select courses within your scope. For instance, Group Managers will only be able to select courses that users in their group have enrollments for and are a part of their branch plan. - Select your Timing.

- Manual - schedule delivery of a message to all users in the selected audience
- Automated - deliver a message to individual users within the selected audience upon a triggering event

NOTE: Automated timing is currently not available for Branch/Group Managers.- Select a Trigger Event Type. Expand Trigger Event Descriptions for more details about each event type.
- Completion of an Asset-Based Course
- Branch Creation
- Issuance of a Certificate
- Completion of an Exam
- Start of an Exam
- Completion of an External Package
- Group Creation
- Completion of a Milestone
- Creation of a Custom Score
- Issuance of a Recognition
- Completion of a Study Plan
- Completion of a Study Task
- User Creation
- User Update
- Transactional automated emails
- Select the Triggering Event Status. Automated messages will only be sent if the status is Enabled.
- Select a Trigger Event Type. Expand Trigger Event Descriptions for more details about each event type.
- If you selected:
- Manual - Select a start date/time for when your message should be sent.
- Automated - Select a start and end date/time. Automated messages will be sent upon occurrence of a triggering event on/after the start date and until the end date. If your message doesn’t have an end date, you can leave this blank.

The dates and times inputted here will be in your local time. It will also show UTC, as this is the time zone used in Console.
- Click on Save.
- Review all selections for your new message, and click on Save.

- After creating your message, impersonate a user from your selected audience and navigate to their course’s notifications. Click on the envelope icon in the platform header, and if you see the subject of your message in the list, they have successfully received the message. Do not open their inbox, as this will remove the “new message” indicator.

Messages Overview
The Messages Overview page will list all of your in-app messages and display the following columns:
- ID, subject, audience, destination, and timing
- Status of your message (active, scheduled, expired, or disabled)
- Date the message was created
- Actions (delete)

To view an individual message, click on the message’s subject to go to the Message Details Page.
Message Details Page
The Message Details Page will show the following information for your in-app message:
- ID, subject, status (active, scheduled, expired, or disabled), and date created
- Message
- Audience and destination
- Timing and start/end dates

NOTE: The start and end dates will be displayed in UTC time. To see them in your local time, hover over the dates.

Click on the Edit buttons to update your message. Click on Delete to delete your message.
Editing a Message
To edit a message, follow these steps:
- Navigate to Console, expand the Communication tab, and click on Messages.
- Click on the subject of the message you’d like to edit.

- Click on Edit next to the section you’d like to edit. You can edit the subject, message, destination, or timing of your message. The audience and timing type (manual/automated) cannot be changed once the message is created.

- Click on Save to save your changes.
Deleting a Message
To delete a message, follow these steps:
- Navigate to Console, expand the Communication tab, and click on Messages.
- Click on Delete next to the message you’d like to delete.

OR - Click on the subject of the message you’d like to delete, and at the top-right, click on Delete.

- In the pop-up modal, click on Confirm.

Once deleted, the message will no longer appear to the selected audience in their Notification Center inbox or in Console’s messages overview page.


