
 3495
3495
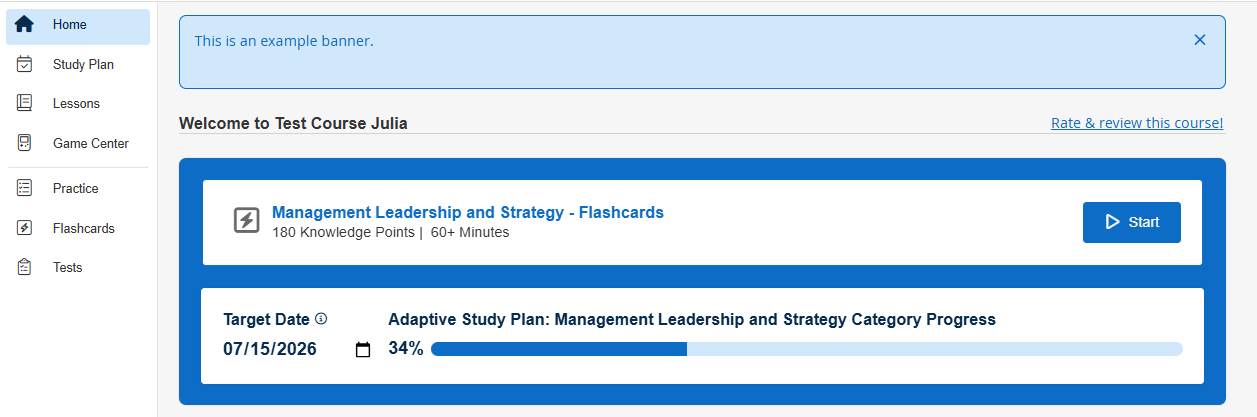
Banner Messages allow you to display banners within the platform for a selected audience. They can serve as an alert, announcement, notification, or a reminder message. They will appear at the top of the page until dismissed. Banners can be set to display within a specific destination (i.e. Learning Platform, Console), to a specific audience, and during a specific time frame (i.e. tenant, branch, group). If a banner is created for a specific audience with a specific timeframe, any learner added to that specific audience will see the banner message displayed for that timeframe. If a learner is removed from the audience (i.e. tenant, branch, group) within that timeframe they will no longer see the Banner Message. Banners can be configured from Console and are a part of the Communication Suite. To learn more about the Communication Suite and its other features, check out our article here.
In Console, an admin or user with a custom role that has the permissions Create:Communications, Read:Communications, Update:Communications, and Delete:Communications will be able to manage banners. If you wish to create banner messages for specific courses, Read:Content_Packages permission is needed.
Creating a Banner
To create a banner, follow these steps:
- Navigate to Console, expand the Communication tab, and click on Banners.
- Click on Add Banner.

- Type in a name and message for your banner. Click on Next to continue.

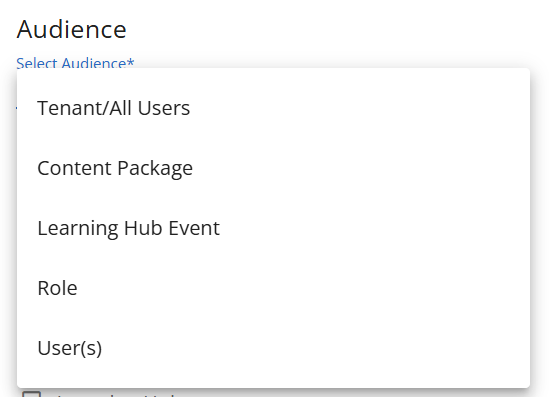
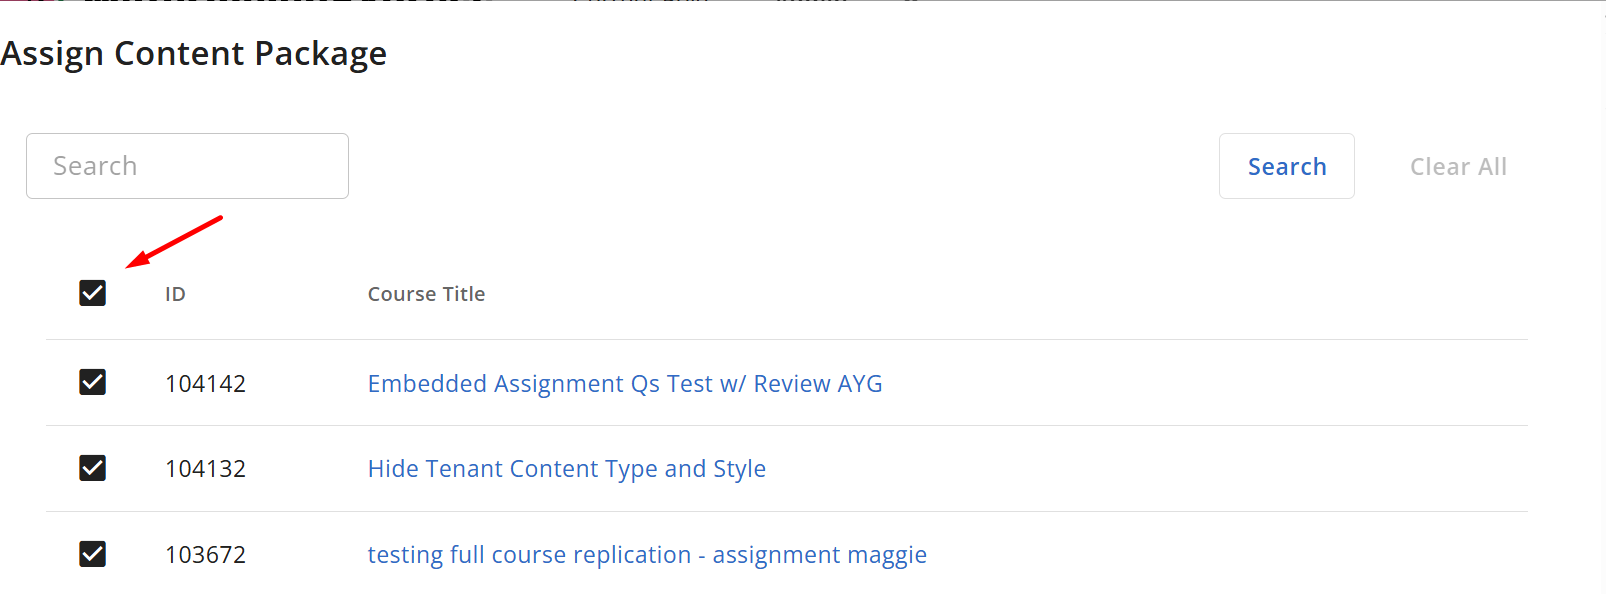
- Select your Audience (who will see your banner). It can be set to specific content packages, Learning Hub Event, role, user(s), or for all users. To include multiple Content Packages, check the box next to each course you would like to select.
NOTE: The “Select All” checkbox only applies to the courses displayed on the current page. If your tenant has multiple pages of Content Packages, navigate to each page and select the courses on that page individually, or use “Select All” again on each page to include all desired Content Packages.
- Select your Message Destination (where your banner will appear). This is a multi-select field and can be set to display in BluePrint, Console, Learning Hub, and/or a BenchPrep Course. If the BenchPrep Course box is selected, check the box next to each course you would like to select. NOTE: The “Select All” checkbox only applies to the courses displayed on the current page.
If your tenant has multiple pages of Content Packages, navigate to each page and select the courses on that page individually, or use “Select All” again on each page to include all desired Content Packages. Click on Next to continue. 
- Select your Timing.

- Manual - schedule presentation of a banner for all users in the selected audience
- Automated - deliver a banner to individual users within the selected audience upon a triggering event

- Select a Trigger Event Type. Expand Trigger Event Descriptions for more details about each event type.
- Completion of an Asset-Based Course
- Branch Creation
- Issuance of a Certificate
- Completion of an Exam
- Start of an Exam
- Completion of an External Package
- Group Creation
- Completion of a Milestone
- Creation of a Custom Score
- Issuance of a Recognition
- Completion of a Study Plan
- Completion of a Study Task
- User Creation
- User Update
- Transactional automated emails
- Select the Triggering Event Status. Automated banners will only be presented if the status is Enabled. If you'd like to create your banner but enable it at a later time, select Disabled.
- Select a Trigger Event Type. Expand Trigger Event Descriptions for more details about each event type.
- Select a start date/time and end date/time for when your banner should be active or scheduled. If your banner doesn’t have an end date, you can leave this blank. The dates and times inputted here will be in your local time. It will also show UTC, as this is the time zone used in Console.
- Click on Next.
- Review all selections for your new banner, and click on Save.

- After creating your banner, you can impersonate a user from your selected audience and navigate to the message destination to confirm your banner is displaying as you’d like. However, if your banner's timing has been set to automated, it will not appear until it's been triggered by the user. If any edits are needed, check out our section on editing banners.
Bulk Upload Banner Messages
To bulk upload Banners follow these steps:
- Navigate to Console, expand the Communication tab, and click on Banners.
- Click on Bulk Create Banners.
- Follow the Upload Instructions and upload your formatted CSV.
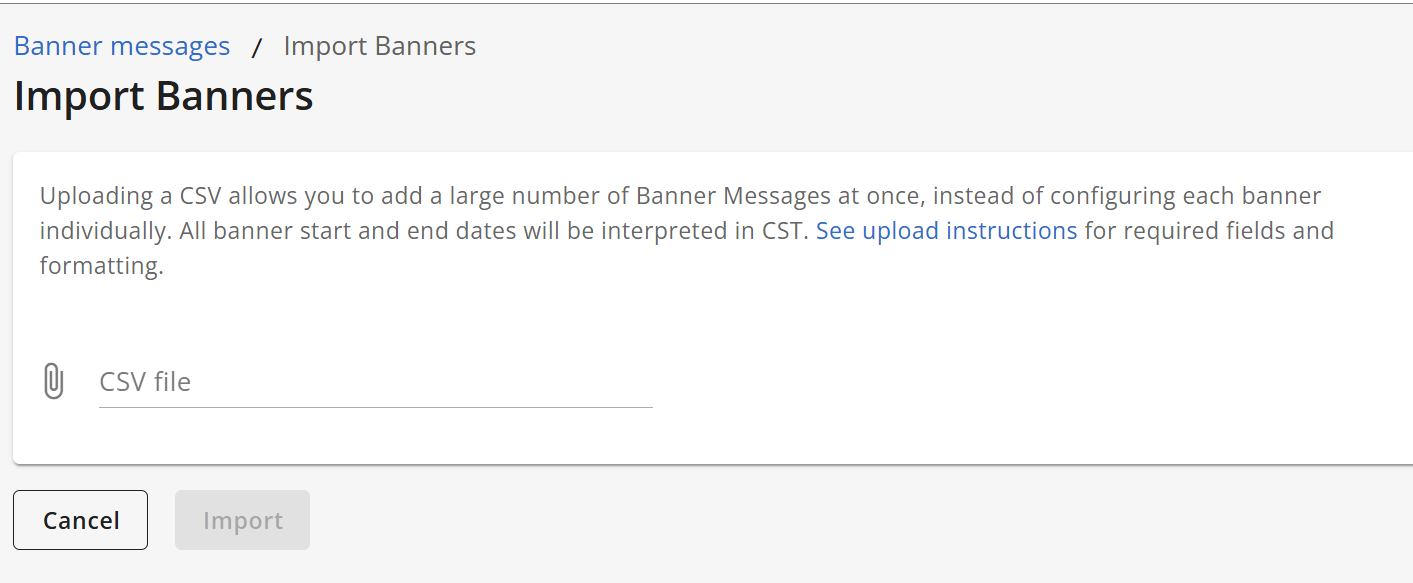
- Click Import to upload your file.
A notification banner will let you know that the file is processed. Upon successful completion you will receive an email notification informing you the process completed.

Review the following CSV formatting requirements before uploading:
-
Download and use the provided template. Do not rename, remove, or reorder column headers.
-
All required fields must be completed for each banner, or the upload will fail.
-
If Audience = Role, you must also complete Audience Role and Audience Role Scope.
-
If any Destination = BenchPrep Course, you must enter a valid Course ID (or “All,” if applicable).
-
Dates must follow this format:
YYYY-MM-DD HH:MM(example:2026-03-01 09:00). -
Save the file as CSV UTF-8 (.csv) — Excel files (.xls/.xlsx) will not upload.
-
Keep all headers in the file, even if optional fields are left blank.
-
Only one CSV file can be uploaded at a time.
Banners Overview
The Banners Overview page will list all of your banners and display the following columns:
- ID, name, destination, audience, and timing
- Start date of your banner
- Status of your banner (active, expired, pending, or disabled)
- Date the banner was created
- Actions (delete)

To search for a banner, use the Search box at the top to search by Name, ID, or Message. You can also filter your search by Destination or Status. To view an individual banner, click on the banner’s name to go to the Banner Details Page.
Banner Details Page
The Banner Details Page will show the following information for your banner:
- ID, name, state (active, expired, pending, or disabled), and creation date
- Message
- Audience and destination
- Timing and start/end dates

NOTE: The start and end dates will be displayed in UTC time. To see them in your local time, hover over the dates.

Here, you can:
Click on the Edit buttons to update your banner.
Click on Delete to remove your banner.
Click on Edit next to the Details section and click Preview to preview your banner.


Editing a Banner
To edit a banner, follow these steps:
- Navigate to Console, expand the Communication tab, and click on Banners.
- Click on the name of the banner you’d like to edit.

- Click on Edit next to the section you’d like to edit. You can edit the name, message, destination, or timing of your banner. The audience and timing type (manual/automated) cannot be changed once the banner is created.

- Click on Save to save your changes.
Deleting a Banner
To delete a banner, follow these steps:
- Navigate to Console, expand the Communication tab, and click on Banners.
- Click on Delete next to the banner you’d like to delete.

OR - Click on the name of the banner you’d like to delete, and at the top-right, click on Delete.

- In the pop-up modal, click on Delete to confirm.

Once deleted, the banner will no longer be displayed to the selected audience.

