
 2538
2538
By leveraging new Milestone configuration capabilities in BluePrint, Content Managers (users with Blueprint Admin, Owner or Collaborator role) gain control and flexibility in structuring an optimal learning experience, defining the learners’ path and access to content leveraging lock/unlock criteria.
NOTE: Milestones should be configured before a course is live to your learners to allow for ample testing. We do not recommend implementing milestones in existing live courses with learners, as that might have an undesirable learner experience consequences and can affect data.
Locked content - the asset(s), lesson(s), question category(ies), or test(s) that is locked until the unlock criteria has been met. Milestones can lock exams, assets, question categories and lessons within a given course. The Game Center, Flash Cards, and Essays are currently not supported within milestones configuration.
Unlock criteria - the asset, lesson, question category or test that must be completed or met in order to unlock a piece of content.
Content completion, i.e. complete content A to access content B.
Content mastery, i.e. complete exam A with a score of 75% or higher to access content Content mastery is only available for exams—it is not currently possible to lock content based on a learner’s practice question scores or lesson Confidence Levels.
NOTE: It is possible to combine criteria - for example, to access lesson C learners must complete lesson A and exam B.
Dependencies are relationships between the locked content and unlock criteria within each Milestone, i.e. criteria D unlocks content E. If a piece of locked content has multiple criteria, and learners must meet these criteria in a certain order, BenchPrep will need this information to implement Milestones.
Multiple content items can also be applied to unlock a milestone, and a single milestone can also be configured to unlock multiple content items. However, each milestone can only have one action link. If a single milestone will unlock multiple content items, configuration should be done such that the action link is not specified in the upload CSV.
Once you identified the course you would like to implement milestones to, ensure the following requirements are met:
- All content is in the course; the course structure and content is complete.
- Study Tasks are created.
- The course has been built at least once - that is, changes have been pushed out to the Learning Application.
- Content to be locked has been identified.
- Content (tasks) that learners need to do to unlock the content has been identified.
- Criteria for unlocking content (accomplishing the milestone) have been identified.
- The overall structure of the path through the course that learners will take to unlock locked items has been mapped out. This may be identical to or slightly different from the study plan.
Mapping out the milestone journey for your course and identifying all of the required content items ahead of time will help you with populating the CSV with ease!
Configuration Deep Dive
Configuring milestones involves naming your milestone and specifying the piece(s) of content that will need to be completed or met, and identifying what piece(s) of content will be unlocked as a result of meeting that criteria.
Pieces of content that can be configured as content that needs to be completed or met (Unlock Criteria) and what content is unlocked as a result of that (Unlockable Content) are:
- Lessons
- Question Categories
- Tests
- Assets - learn more about Milestones & Assets here
NOTE: Question categories, tests and assets can have specific Passing Requirement Conditions (e.g. passing a test with 80% or higher percentage) set to ensure successful completion of the milestone. Below we will walk through a few examples of milestone creation to highlight the easiness of milestone set up functionality in BluePrint.
Creating a Milestone
Review a step-by-step set up process for a milestone without specifying Passing Requirement Conditions.
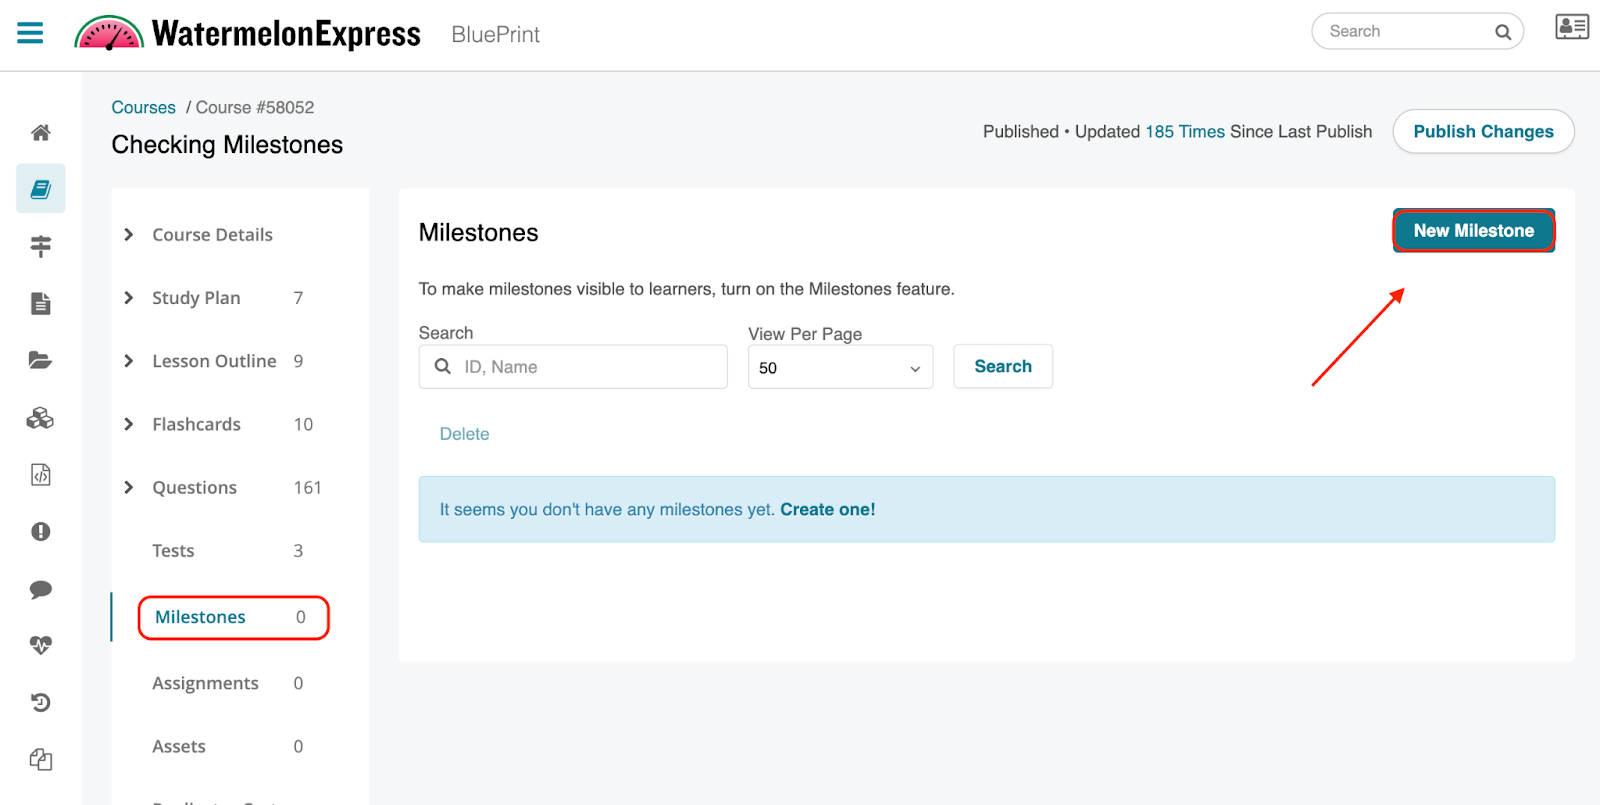
- In BluePrint, access the course you wish to create a milestone for, and select Milestones on the left-hand side.

- This section will contain any created milestones, and allow you to create new milestones. Select the New Milestone button.
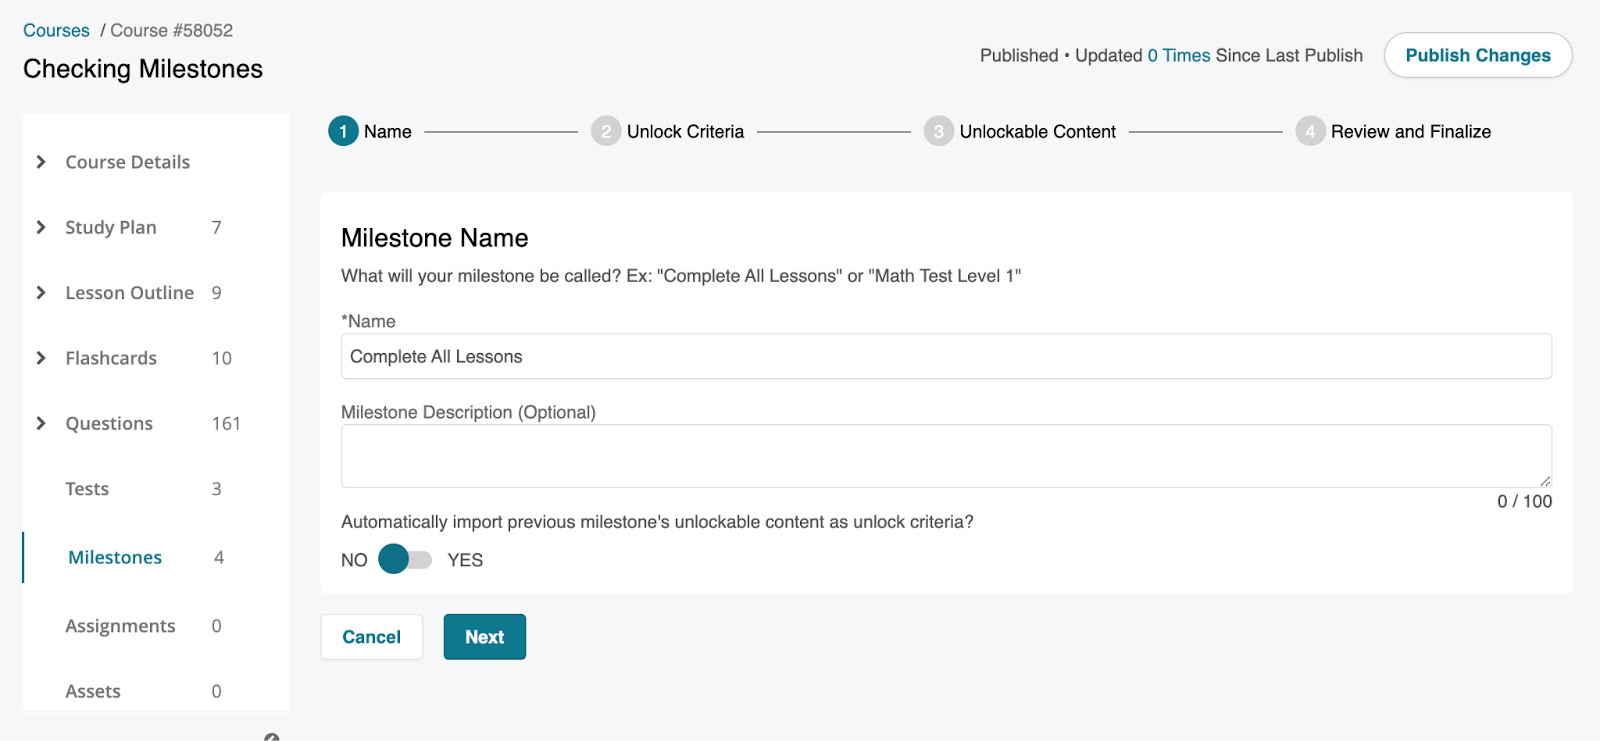
- Fill out the following:
- Name - name of your milestone
- Milestone description (Optional) -
- Toggle YES if you would like to automatically import previous milestone’s unlockable content as the unlock criteria of the next milestone. When setting up the first milestone the option will not be available. For any subsequent milestone, we recommend selecting YES. This ensures that content that was unlocked in the last milestone is automatically set as the criteria that needs to be completed in the next milestone, reducing the amount of manual set-up steps and assuring a cohesive path throughout the course. When the toggle is left on NO, you will have to manually select the Unlock Criteria for your next milestone.
- Click the Next button.
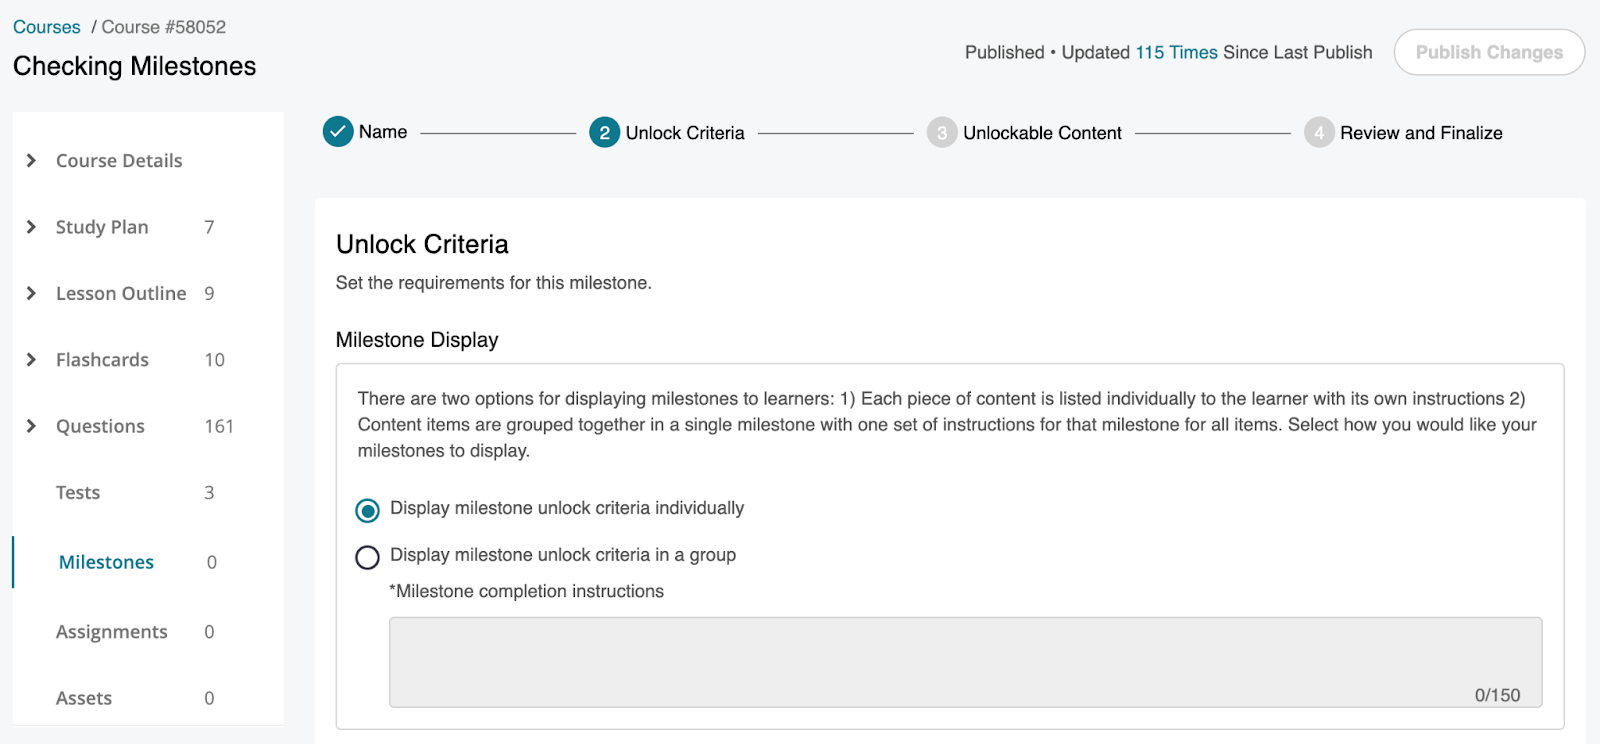
- On the next Unlock Criteria page, select a desired Milestone Display option:
- If Display Milestone Unlock Criteria individually is selected for Milestone Display, how content is displayed is also dependent on whether Unlock Criteria Completion Instructions are filled in for each content type. Filling in Unlock Criteria Completion Instructions groups all of the content of a certain content type (lessons, question categories, etc.) into a group.
- If Display Milestone Unlock Criteria individually is selected for Milestone Display, how content is displayed is also dependent on whether Unlock Criteria Completion Instructions are filled in for each content type. Filling in Unlock Criteria Completion Instructions groups all of the content of a certain content type (lessons, question categories, etc.) into a group.
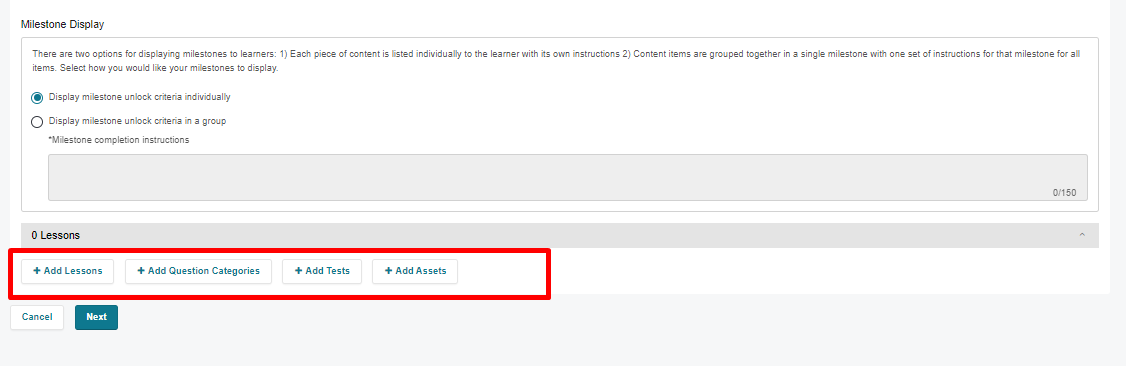
- Select the appropriate content type button to choose the content you would like to set up as the Unlock Criteria. For question categories, tests and assets you can configure passing requirements if you would like to, review Creating a Milestone with Passing Requirement Criteria section below for more info.
- Move content from the Available Content to the Selected Content section by clicking on the + icon to specify the Unlock Criteria (pieces of content that need to be completed) in this milestone. Selecting the - icon will remove the pieces of content from the selected content side.
Example of Lessons used as Selected Content
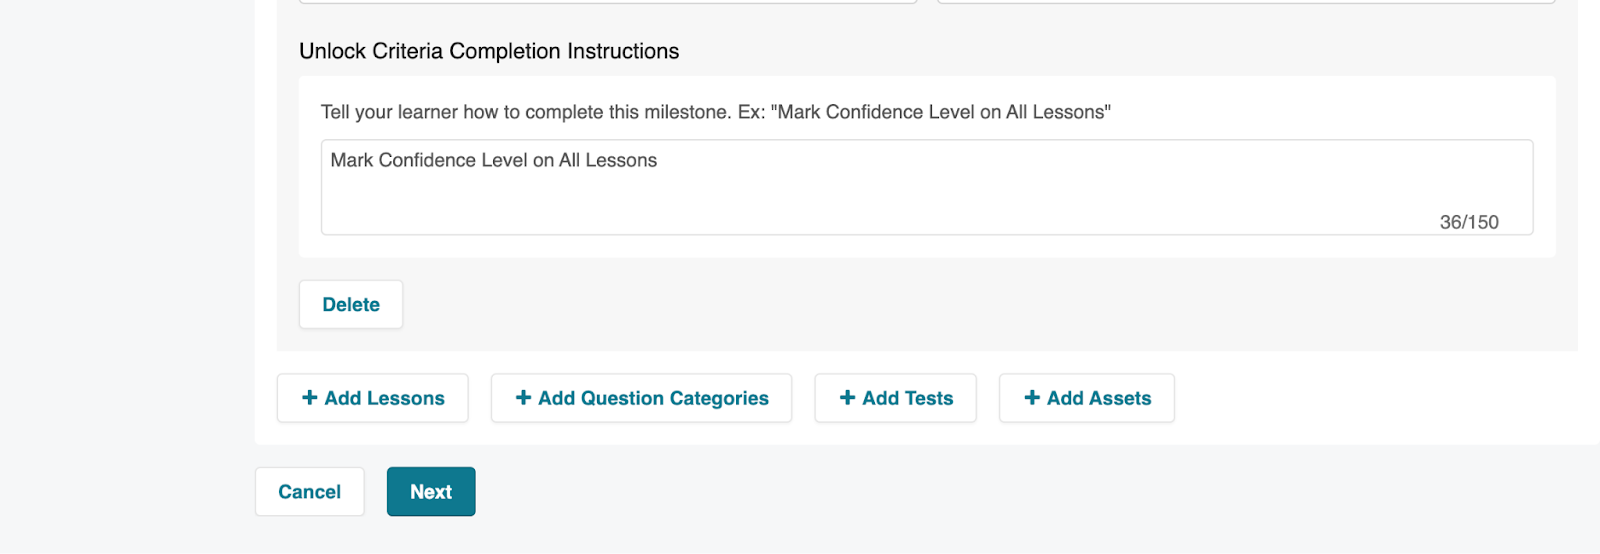
- If desired, fill out the Unlock Criteria Completion Instructions for your milestone, to inform learners how this milestone can be achieved and select the Next button.
- Move content from the Available Content to the Selected Content section by clicking on the + icon to specify the Unlockable Content (what pieces of content will be unlocked by this milestone). Selecting the - icon will remove the pieces of content from the selected content side.
Example of Question Categories used as Unlockable Content
- Select the Next button to finalize your selections.
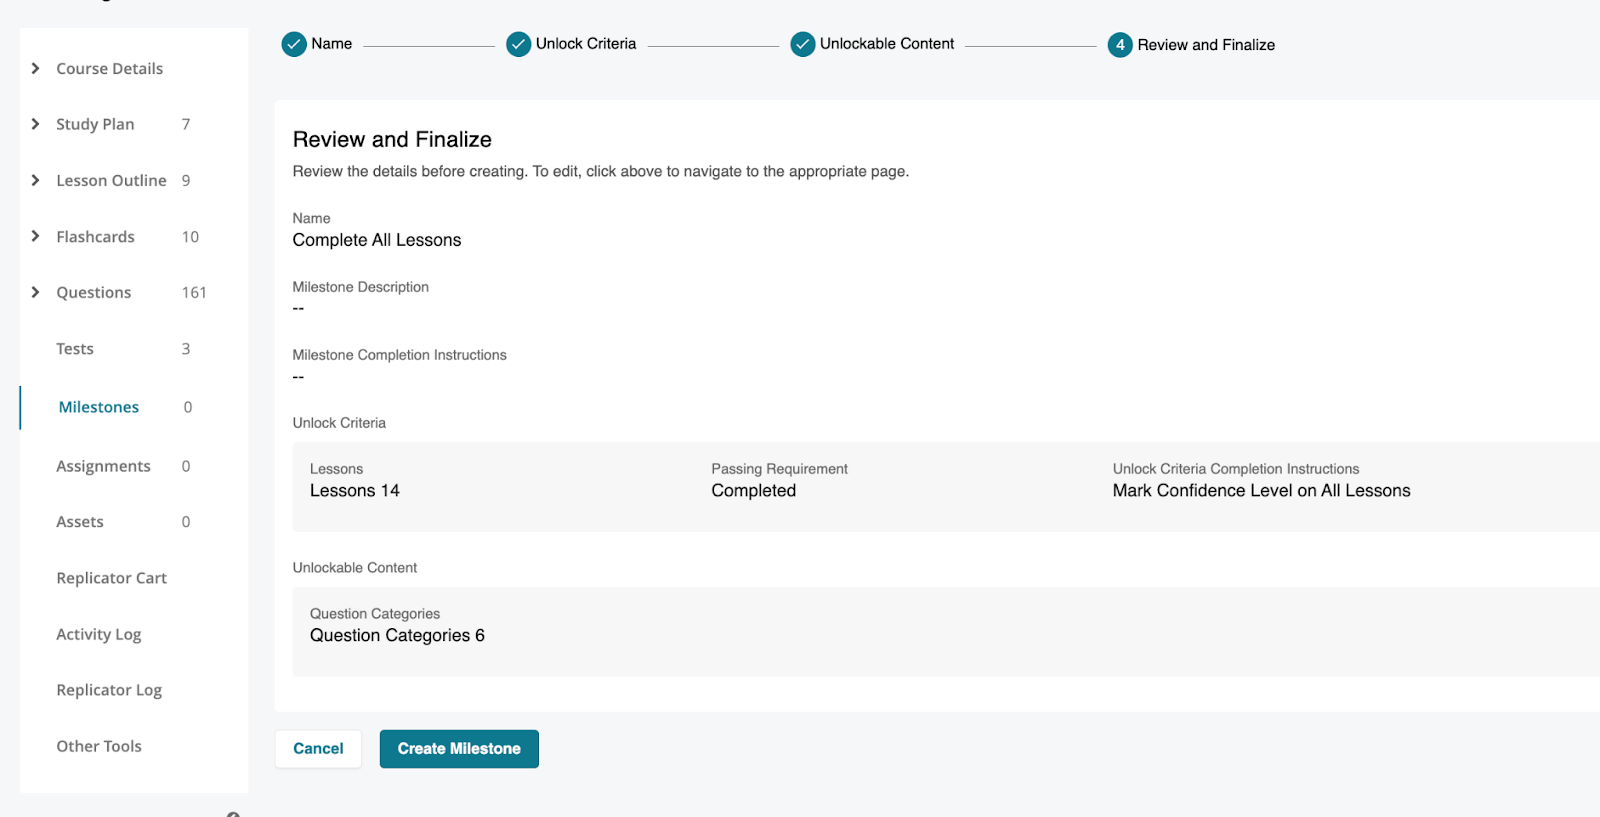
- Once on the Review and Finalize page, review the milestone you created and when ready select Create Milestone.
- Note that passing requirement state defaults to completed as lessons (the pieces of content used in this example as Unlock Criteria) do not have selectable Passing Requirement Conditions.
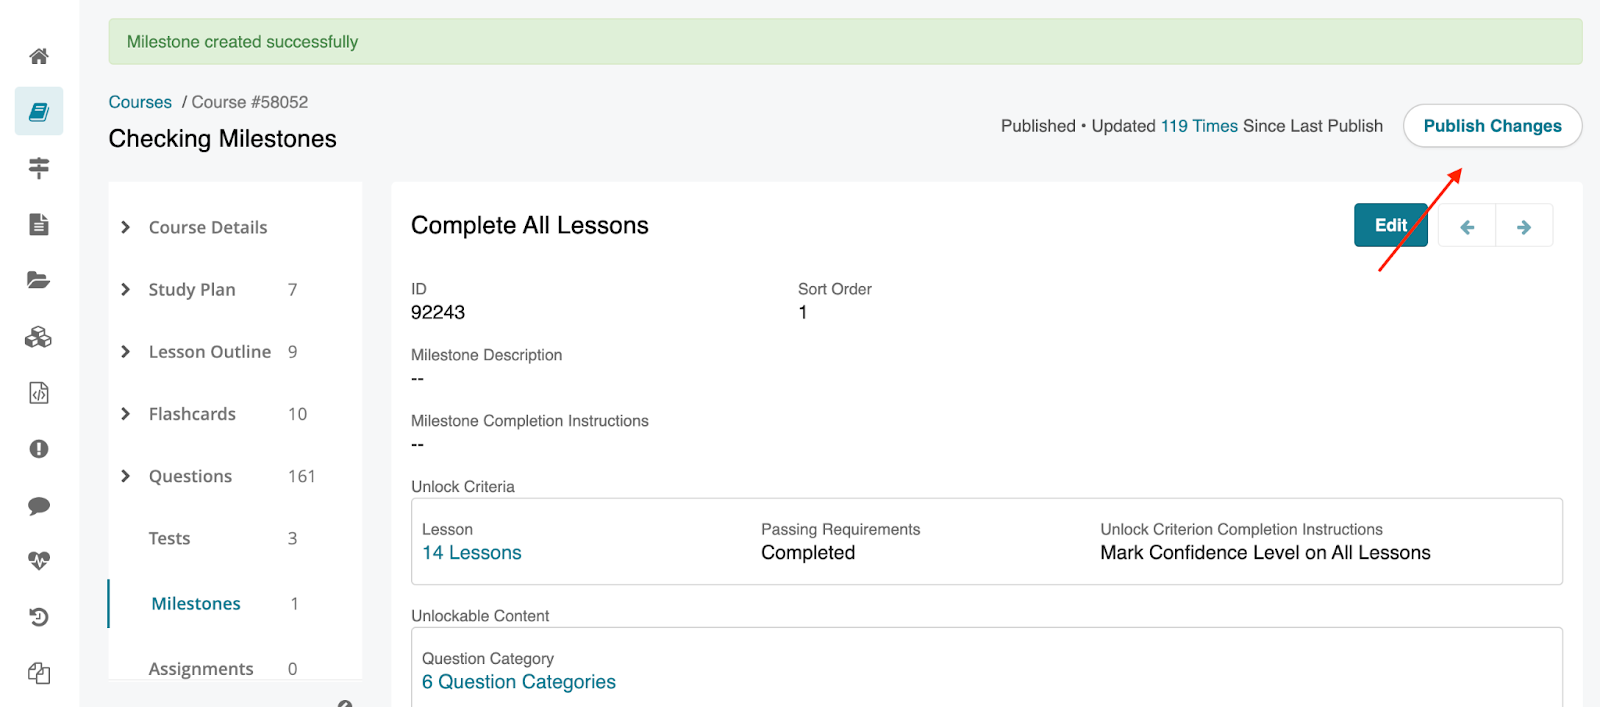
You will receive a “Milestone Created Successfully” notification at the top of the page and the Milestone will be listed within the Milestone section in the course.
- Note that passing requirement state defaults to completed as lessons (the pieces of content used in this example as Unlock Criteria) do not have selectable Passing Requirement Conditions.
- Next, repeat steps above if you would like to configure more milestones. When using question categories, tests or assets as Unlock criteria within milestones you will have the option to specify additional Passing Requirement Conditions. Check out the section below on the additional set up steps.
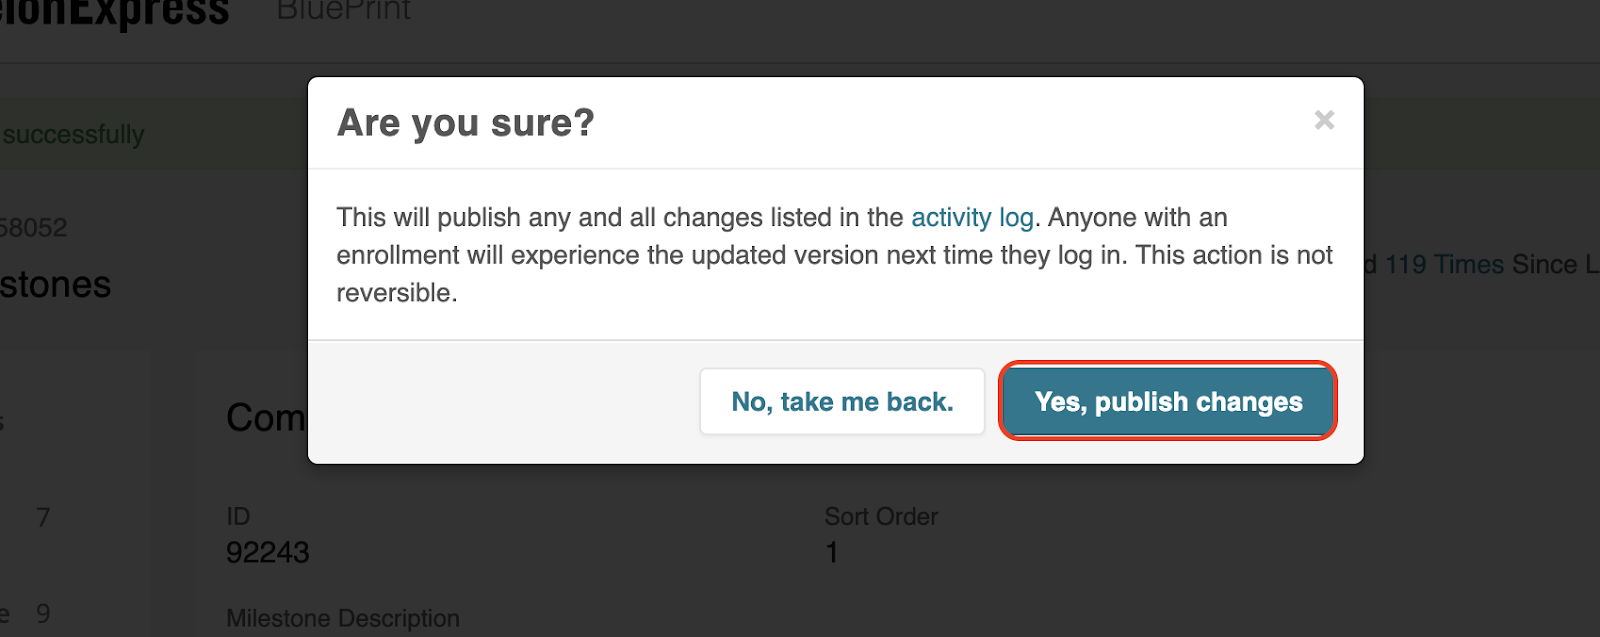
- Once completed, select Publish Changes to build the course. When the course is Published and the milestone feature access is ON for the course, the milestones will be accessible to learners in the learning application. To review how milestones work in the learning application click here. Note: courses in conversion state are not available to learners. Learn more about the course build process here.
Congratulations on completing a milestone!


Creating a Milestone with Passing Requirement Conditions
When choosing question categories, assets or tests as Unlock Criteria, after selecting the specific content piece(s) (step 7 above) you can specify Passing Requirement Conditions as well.
Passing requirement conditions are extra requirements that need to be completed to achieve the milestone. Examples include:
- Greater than 80% Complete
- 100% Completed
- At least 70% Completed
For Question Categories you can add passing requirements and select the Add button:

- Property
- Percentage Complete - the only property available
- Operator
- Choose one option from: equals, greater than, less than, etc. to establish completion criteria. For between criteria specify two values separated by a comma (e.g. 50,100)
- Condition
- Specify a numerical value a learner has to meet to pass the requirement. Do not include the % symbol, the field accepts numerical values only.
In the screenshot example above, the requirement will be achieved if the question category % completed will be greater than 80%.
For Tests you can add passing requirements and select the Add button:

- Property
- Correct Answer Count or Percentage Correct
- Operator
- Choose one option from: equals, greater than, less than, etc. to establish completion criteria. For between criteria specify two values separated by a comma (e.g. 50,100)
- Condition
- Specify a numerical value a learner has to meet to pass the requirement. Do not include the % symbol, the field accepts numerical values only.
Note that state equals complete tag is automatically applied, as the test has to be completed in order for other requirements to be applied.
In the screenshot example above, the requirement will be achieved if the correct answer count will be greater than 10 questions.
For Assets you can add passing requirements and select the Add button:

- Property
- Score - the only property available. When specifying a Score remember that:
- Not all asset types support a score (for example PDF and URL do not have a score)
- Just because an asset type supports a score (SCORM, xAPI, etc.), does not mean that specific asset has a score.
- Score - the only property available. When specifying a Score remember that:
- Operator
- Choose one option from: equals, greater than, less than, etc. to establish completion criteria. For between criteria specify two values separated by a comma (e.g. 50,100)
- Condition
- Specify a numerical value a learner has to meet to pass the requirement
Note that it is complete? equals true tag is automatically applied as the asset needs to be completed in order for other requirements to be applied.
Next, follow steps above (from step 8) to continue setting up your milestone.
Editing a Milestone
Editing a milestone is possible in BluePrint. Generally, we advise against updating milestones after a course is live as adding/removing/editing milestones and/or new content could cause confusion for learners who have been progressing through the course and affect their progress.
Additionally, editing a milestone might potentially involve editing subsequent milestones. For example, if you update content that is unlocked in milestone 1 (Unlockable Content) and you want that content to be used as Unlock Criteria in the next milestone (Unlock Criteria) you will need to update that milestone as well.
To edit a Milestone that has already been created, follow these steps:
- Select Milestones on the left-hand side.
- Select the pencil icon to edit the milestone you would like to update.
- On the Edit Milestone page you can edit the following:
Name
Milestone Description
Milestone Display
Unlockable Content
Note: The Unlock Criteria field can not be edited once a Milestone has been created.
- Click Save to save your changes.
- Once all changes have been saved, follow step 13 above to publish the course.


