 2418
2418
Resources are pieces of learning content not associated with a course, and they do not require an enrollment or payment. Resources can include any supported external asset type (SCORM, xAPI, URL, PDF).
Users with a BluePrint Admin role can upload tenant level resources through BluePrint and configure them for Learning Hub via Console. Learn more about the BluePrint Admin role here.
Uploading Resources via BluePrint
- Select Resources from the left hand navigation menu.

- Select Add Resource at the top-right.

- Choose your Resource Type from the dropdown list.

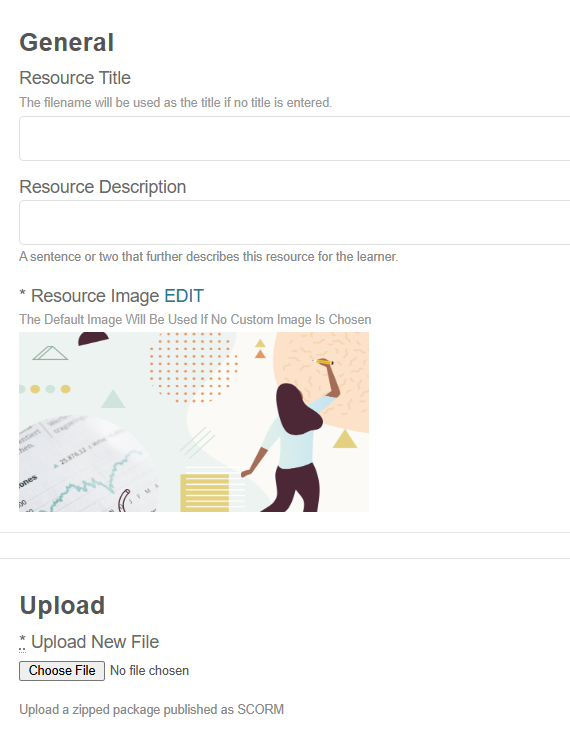
- Follow the steps on the page to name, upload, and configure your resource.

- For resource images, only JPG and PNG images are accepted. For best results, upload an image with dimensions 840 x 432 px.
- For certain resource types, you can set the Content Completion Threshold to determine how much of the resource your learner must consume before it is registered as "Complete."
- Note: In the "Learner's View", we recommend choosing the New Window launch setting:

- Select Create at the bottom (or top-right).
Once your resource has been added, it will be available in Console!
Configuring Resources for Learning Hub via Console
- In Console, navigate to Resources under the Learning tab and locate your resource.

- In the Configuration section, toggle Display on Browse page to On when you are ready for the resource to be available in the Learning Hub.

- The resource will immediately be available and searchable in the Browse page of Learning Hub!
For an overview of BenchPrep's Resources management capabilities, visit this article.


