
 1345
1345
Once the product catalog has been implemented users with an admin role or a custom role with Manage:Product_categories permission can associate categories in Console. Product Catalog will be availalbe on My Learning and Browse pages (if enabled). Only courses that are Browsable will be visible when utilizing the Filters on Browse page. Learn more about configuring courses for Learning Hub here.
To assign product categories follow these steps:
- In Console, select the Content Packages option under the Learning section to associate Courses or select Resources to associate free standing resources.
- Select the course/resource you would like to assign categories to.
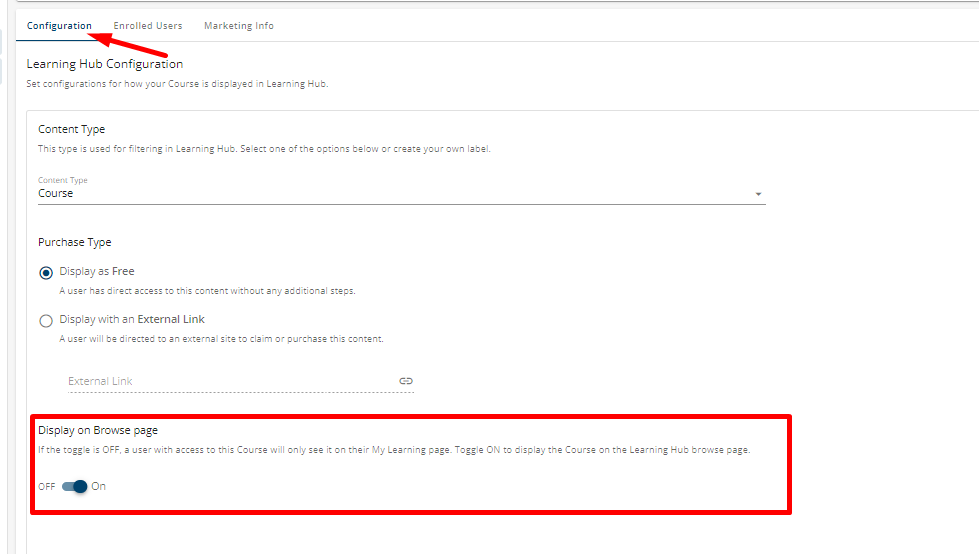
- Click on the Configuration tab and check if the course/resource Display on Browse page toggle is ON. Only Browsable learning products, courses/resources that can be displayed on the Browse page, will appear once filters are applied on the Browse page.
- Next, click on the Marketing Info tab on the details page. The page will show any current associations, if set up.
- Click on the Assign Category button and select all categories you would like to associate the content package to by checking desired boxes. A course or resource can be assigned to multiple product categories across multiple category groups.
- Click Save.
Follow the steps above for each course/resource you would like to associate categories to. Once the Product Categories Filter feature access is turned ON, Learning Hub’s My Learning and Browse pages will display filters based on the associated selections.
Editing Assigned Categories
To reassign learning products to any existing product categories follow these steps:
- In Console, select the Content Packages option under the Learning section to associate Courses or Resources to associate free standing resources.
- Select the course/resource you would like to update.
- Click on the Marketing Info tab on the details page. The page will show the current associations.
- Click on the Assign Category button and make changes (select/deselect desired categories to add/remove category association).
- Click on Save.

