
 1904
1904
After creating a group, you’ll be able to assign group managers. Any user with a role scoped to a given group becomes a group manager for that group. Like branch managers, there’s no one role that makes a user a group manager, allowing you the flexibility to assign multiple group managers with varying levels of permissions and access.
A group manager is the most comparable role in the branching system to an instructor in the legacy hierarchy.
Permissions you can grant to group managers include:
Viewing the group(s) they manage
- Viewing all members of the group(s) they manage
- Viewing data in the User Dashboard section for members of the group(s) they manage
- Viewing information about group members’ licenses and enrollments
- Impersonating group members
Group managers cannot create groups or add/remove members from the group they manage.
Group managers are not and do not need to be members of the group they manage. Because of this, a user can be a group manager for one or more groups at the same time, including groups that are not part of the same branch. They would use the “Current Role” drop-down in the Console header to switch between their different roles, i.e. manage different groups.
Adding Group Managers
One-by-One
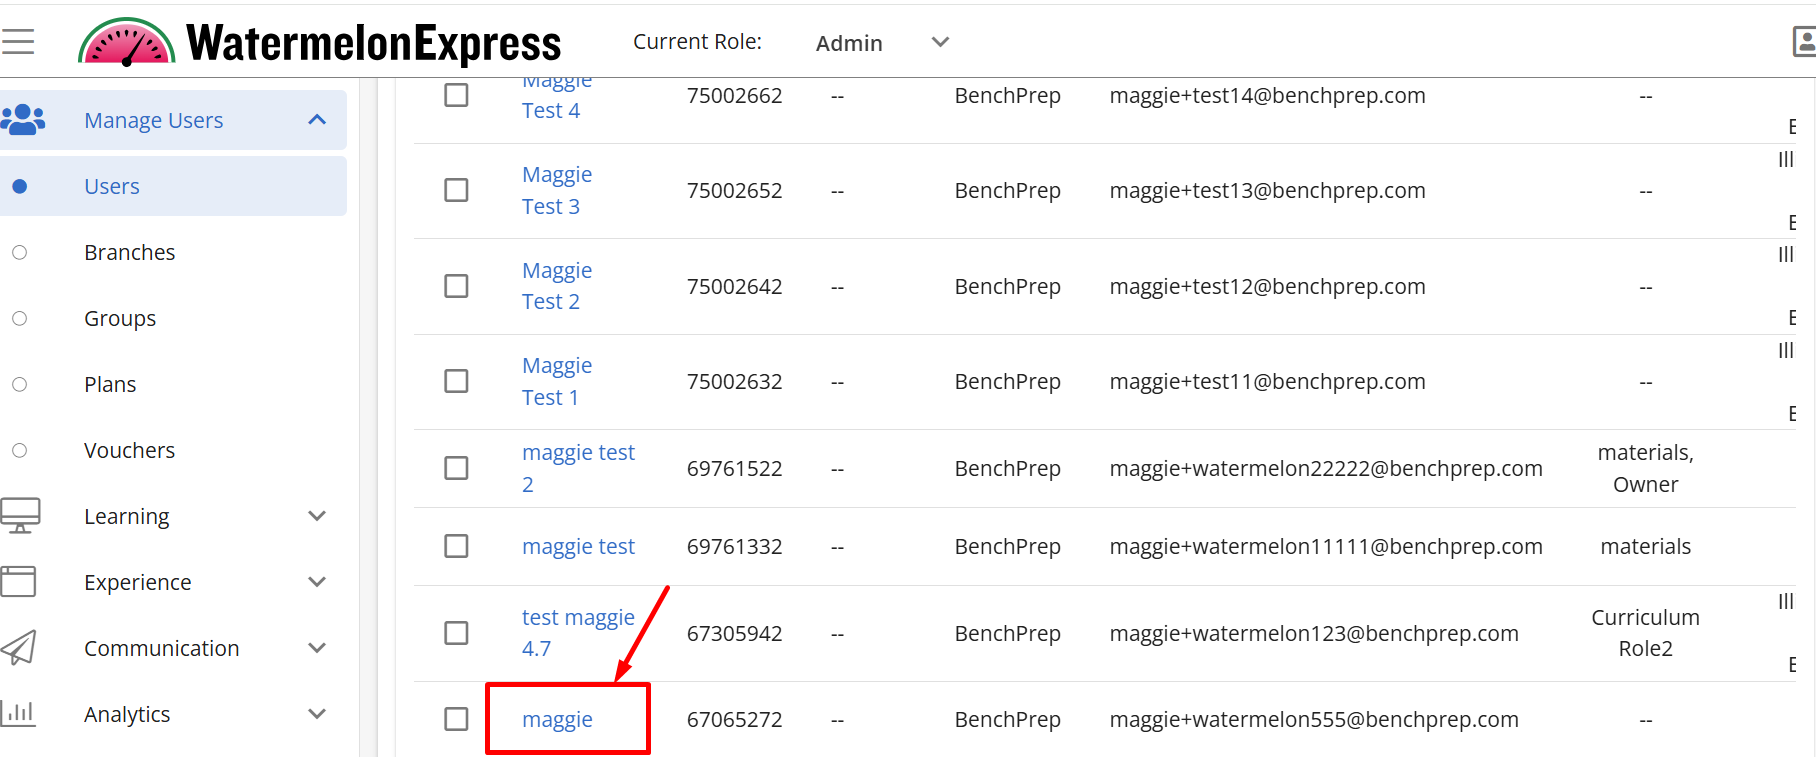
- Open Console and go to the Users section.
- Select the user you’d like to work with.
- In the Overview tab, select the Assign button.
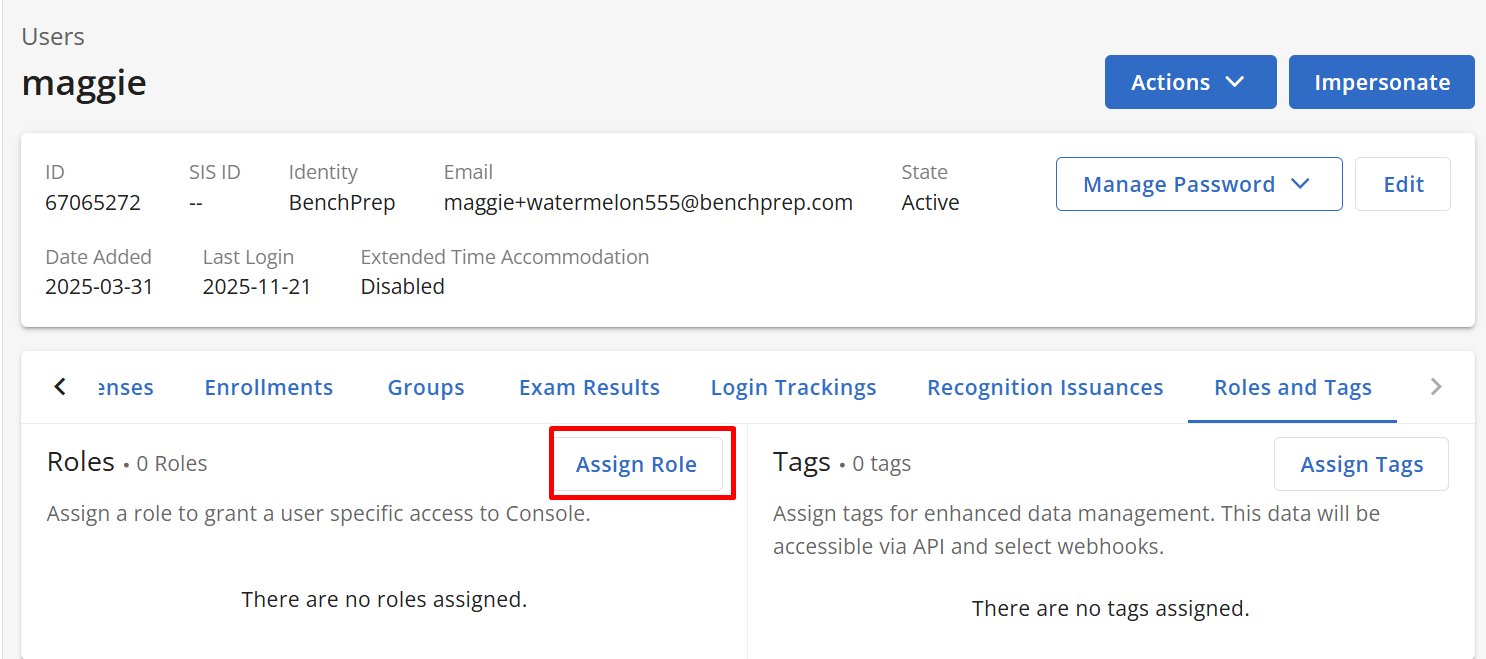
- Select the role you want this user to have. Remember that this role must be one that can be scoped to a group - make sure Group is listed as a possible scope for the role.

- Select Group from the Scope drop-down.

- Check the box next to the name of the group this user should be a group manager for, then select Save. You can also use the search bar to find groups more easily.

- You should receive a green push notification confirming you’ve successfully added this role to this user.
- If you want to make this user a group manager for another group, repeat this process.
Bulk
- Open Console and go to the Groups section.
- Select the group you want to work with.

- Go to the Group Managers tab, then select the Assign Managers button.
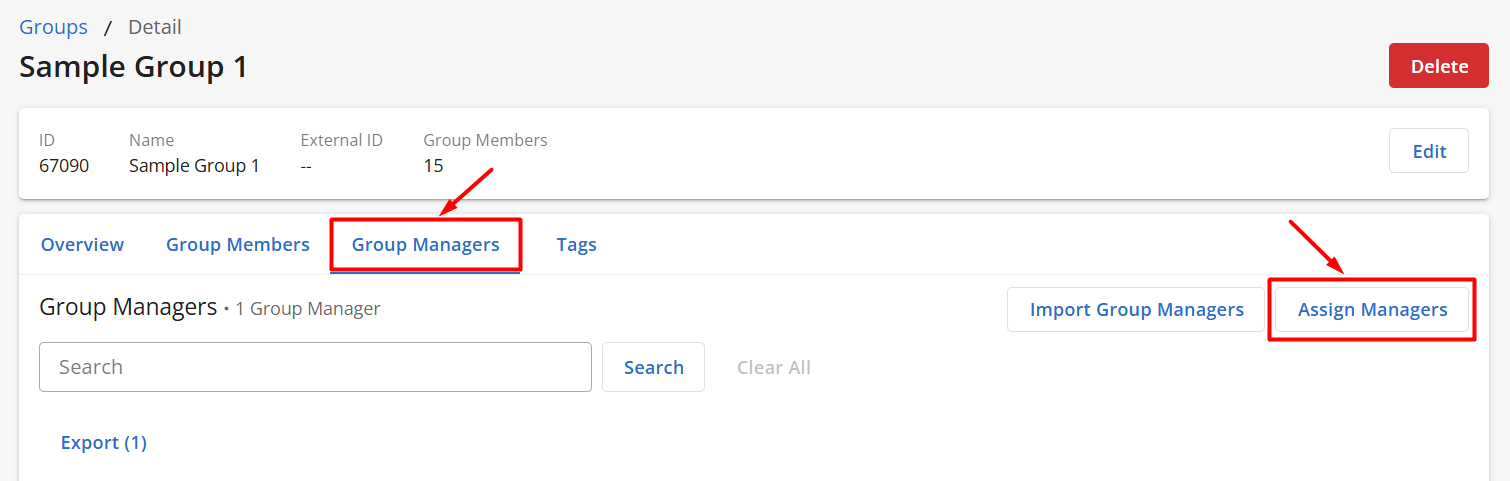
- The next page will show a listing of all users in your platform. Select the + sign next to each user you want to be a manager of this group, then select the Next button at the bottom of the page.

- On the next page, select the role that you want these users to have. This role will be scoped to this group. If you’re adding multiple group managers but want them to have different roles, perform these steps separately for each user.
- Select the Assign button.
Importing Group Managers
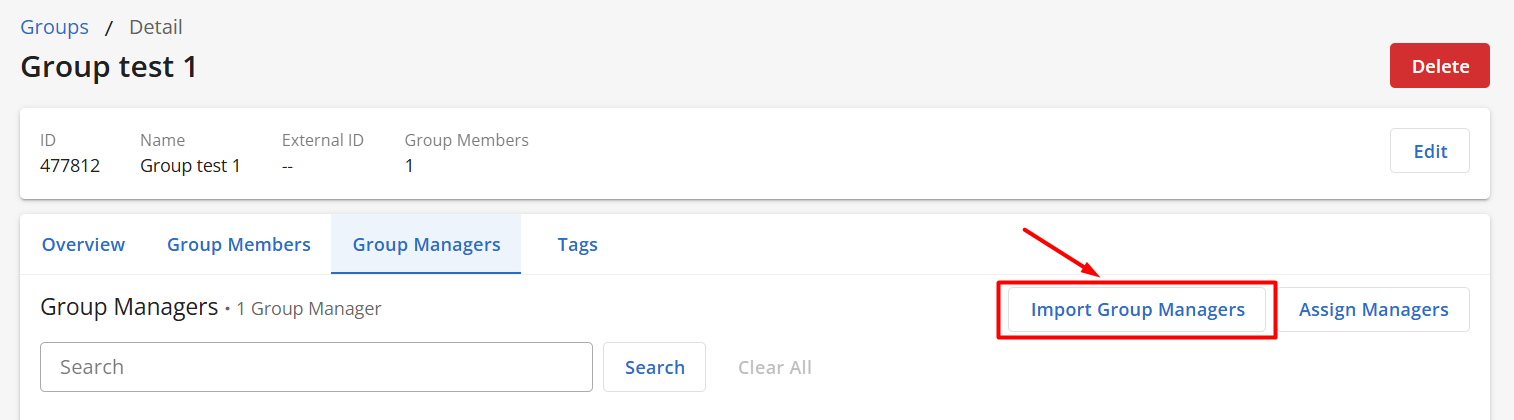
Using the Import Group Managers option allows you to import NEW users and assign them as Group Managers to a specific branch. Bulk importing users does not allow you to edit/update user names, emails, or passwords for accounts that already exist. These will be skipped during the import process.
- In Console, go to the Groups section.
- Select a group.
- Click the Import Group Managers button.
- Click on See upload instructions to download a template and create the CSV file.

- Select your CSV file for user import.

- Assign a branch (required) for your users and click Save.
- Assign a group (optional) for your users, and click Save. If there are no groups listed, the branch you selected does not have any groups yet.
- Assign a branch plan (optional) for your users, and click Save. If there are no branch plans listed, the branch you selected does not have any plans yet. If a branch plan is expired, it will not be selectable as indicated by the ⮾ icon.

- After selecting a branch plan, you'll be able to select which learnables from the branch plan to enroll your new users in (currently only courses are selectable). All courses associated to the branch plan will be selected by default. To remove a selected course, click on the - icon.
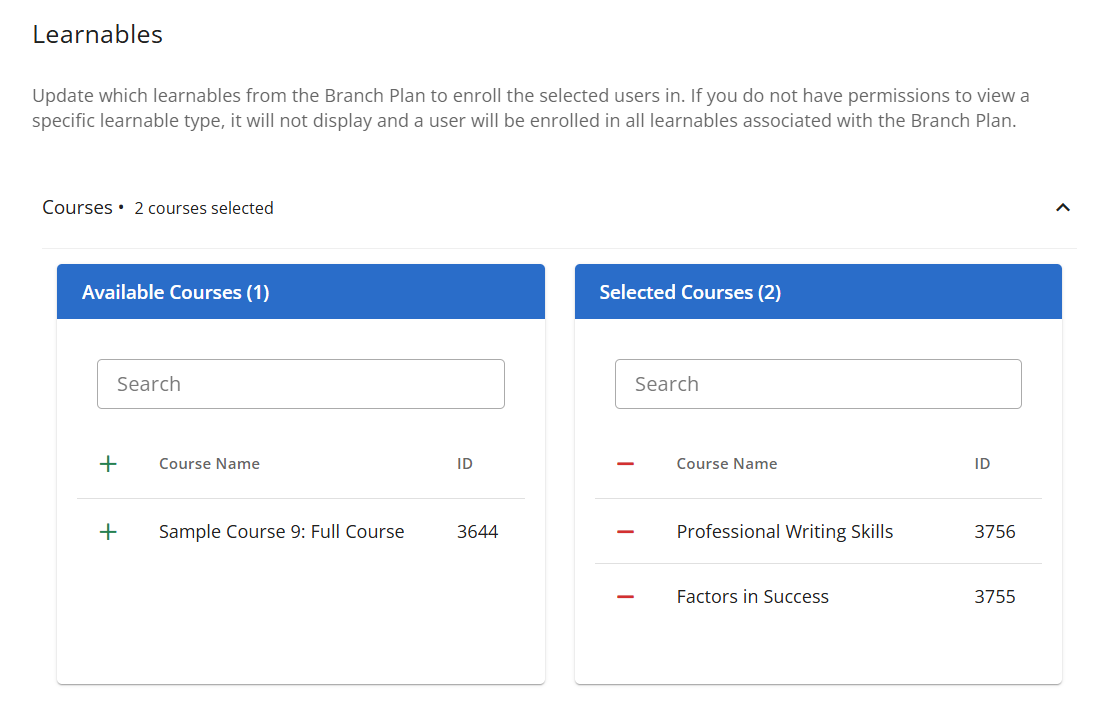
- After selecting a branch plan, you'll be able to select which learnables from the branch plan to enroll your new users in (currently only courses are selectable). All courses associated to the branch plan will be selected by default. To remove a selected course, click on the - icon.
- Assign a role (optional) for your users, select the role’s scope (i.e. tenant, branch), and click Save.
- If you’d like to create a new role, click on Create New Role. However, this will exit you from the importing page and will not save your changes. We recommend creating any custom roles that you need first before importing users.

- Click on Import to import your users.
- A pop-up message will appear indicating your import is in progress. You won’t be able to upload an additional file until this import has been completed.

- Once the import is finished, you’ll receive a confirmation email that will provide more details on what was imported and if any errors occurred during the process.
Removing Group Managers
One-by-One
- Open Console and select the user you want to work with from the Users section.
- In the Overview tab, you’ll see a list of roles this user has. If a role is scoped to a specific group or branch, you’ll see an arrow icon next to it; selecting the icon will show you the level and the specific branch or group the role is scoped to. Select Remove next to the role scoped for the group this user manages.

Bulk
- Open Console and go to the Groups section.
- Select the group you want to work with.

- Go to the Group Managers tab. This tab lists all users who have a role scoped to this group.
- Select Edit next to the user you want to remove, then select Remove User Role from the drop-down list.


- A pop-up will appear. Specify which role you want to remove from this user (or Remove all user roles), then select Confirm.


- Repeat this process for each group manager you want to remove.

