
 1713
1713
Console Admins can manage users within any group. Custom roles with the following permissions will also be able to manage group users:
- Read groups
- Update groups
- Read branches
- Read users
Any user who is a branch member can be added to a group in that branch, regardless of their account roles.
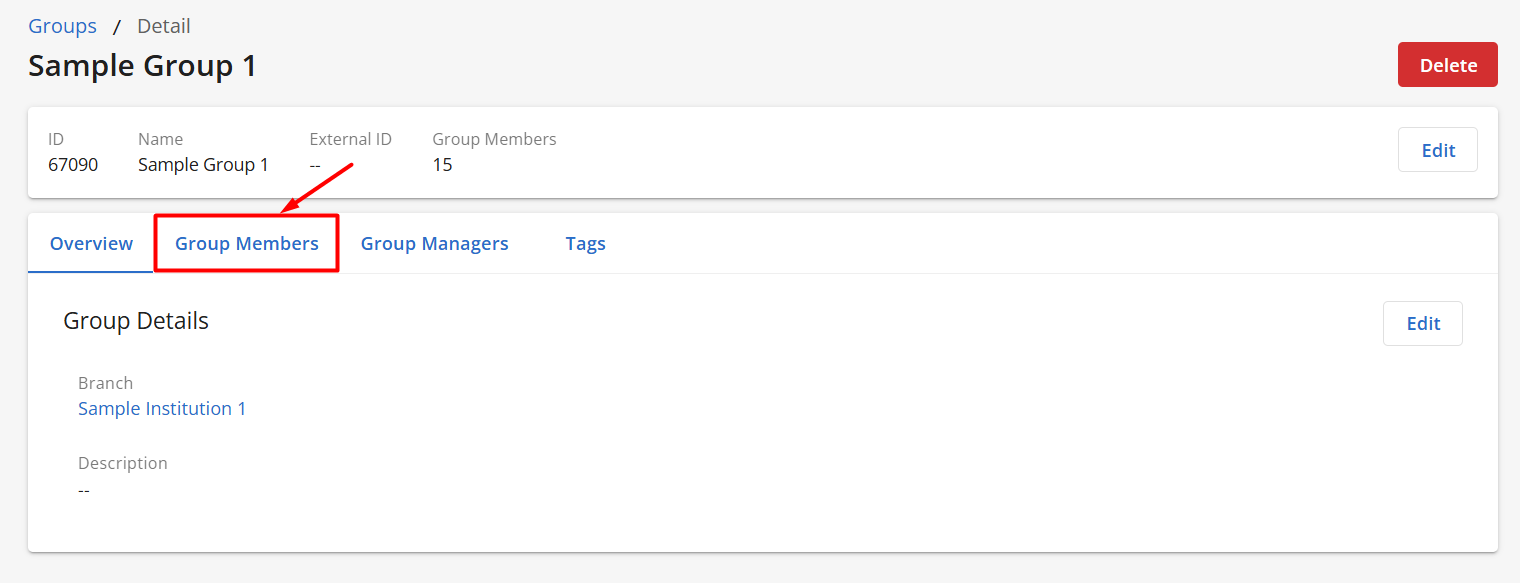
Adding Group Users
- Open Console and use the left-hand navigation to go to the Groups section.

- Select the group you want to manage users for.

- Go to the Group Members tab, then select the Manage Group Members button.
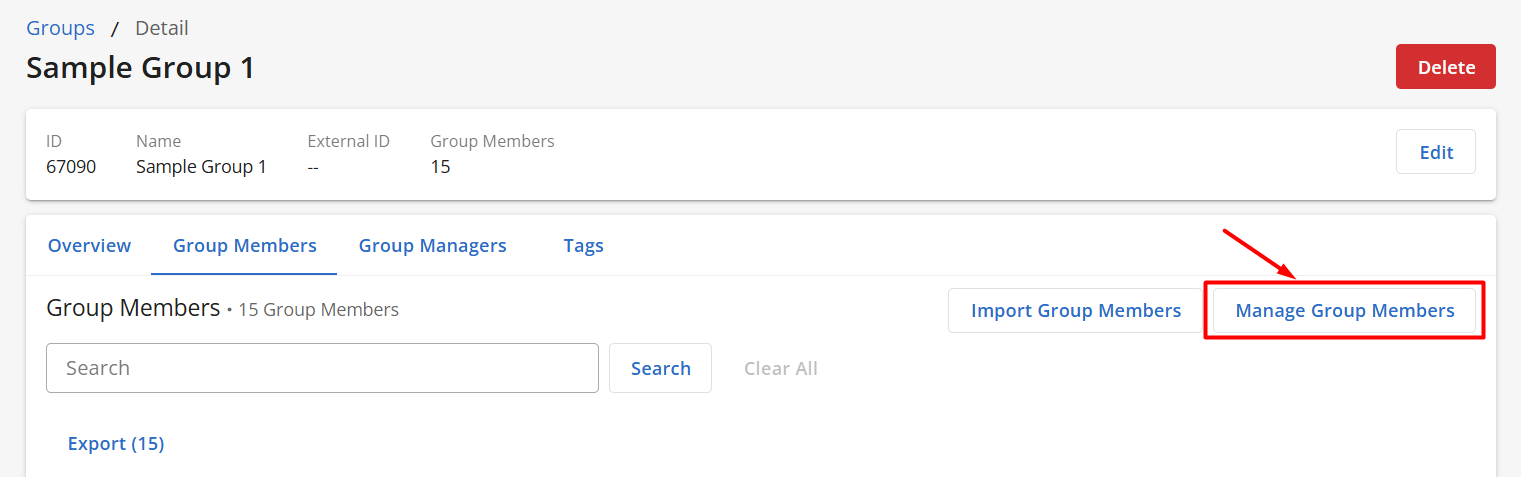
- The next screen will show you the users who are currently members of this group, as well as all of the members of the associated branch who are not in this group. Select the + sign next to the name of each user who you want to add to this group.

- Select the Save button.
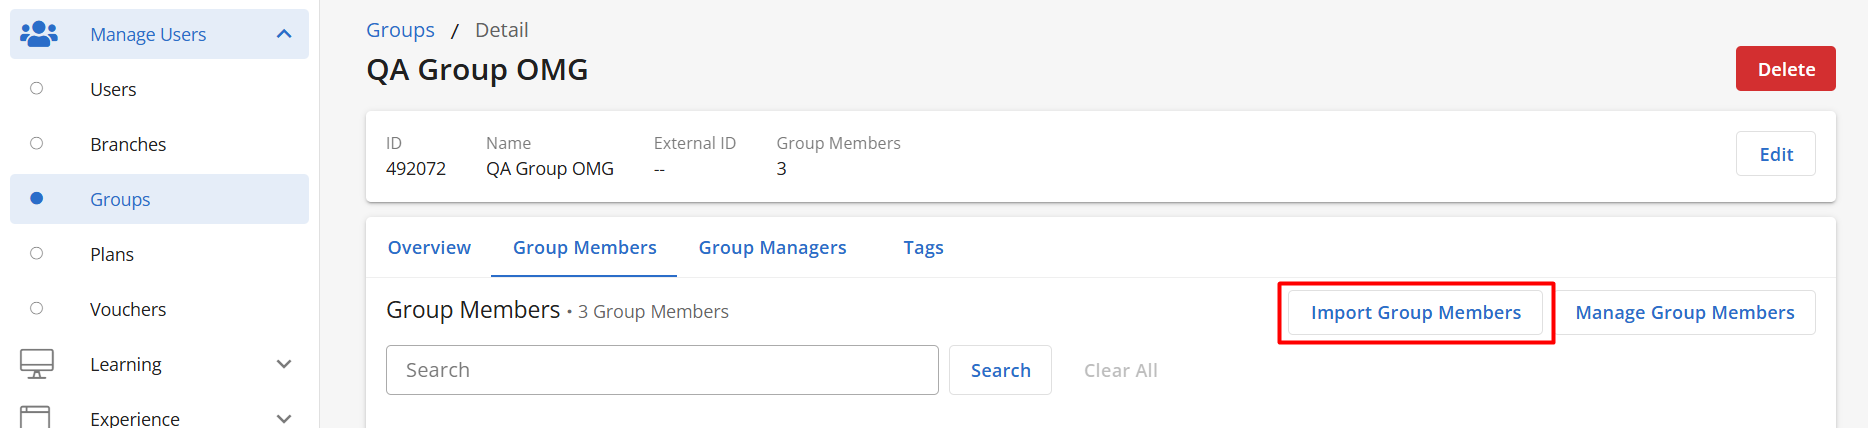
Importing Group Members
Using the Import Group Members option allows you to import NEW users and assign them as Branch Members to a specific branch. Bulk importing users does not allow you to edit/update user names, emails, or passwords for accounts that already exist. These will be skipped during the import process.
- In Console, go to the Groups section.
- Select a group.
- Click the Import Group Members button.
- Click on See upload instructions to download a template and create the CSV file.

- Select your CSV file for user import.

- Note that Branch Membership and Group Membership will be pre-selected.
- Assign a branch plan (optional) for your users, and click Save. If there are no branch plans listed, the branch you selected does not have any plans yet. If a branch plan is expired, it will not be selectable as indicated by the ⮾ icon.

- After selecting a branch plan, you'll be able to select which learnables from the branch plan to enroll your new users in (currently only courses are selectable). All courses associated to the branch plan will be selected by default. To remove a selected course, click on the - icon.
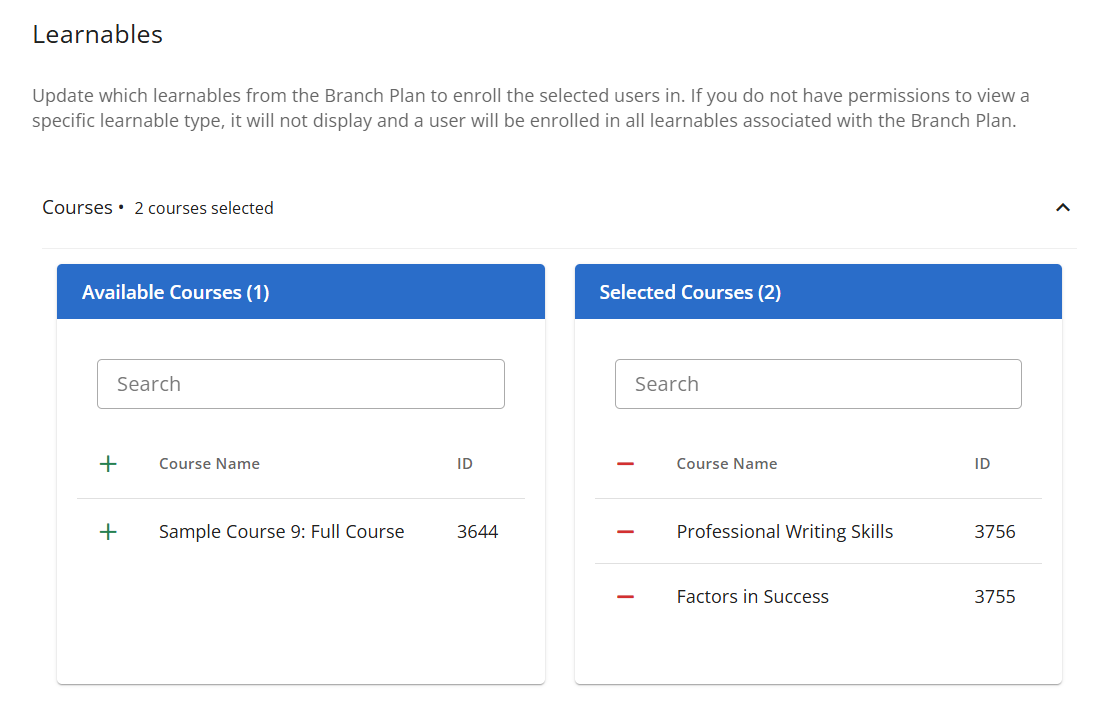
- After selecting a branch plan, you'll be able to select which learnables from the branch plan to enroll your new users in (currently only courses are selectable). All courses associated to the branch plan will be selected by default. To remove a selected course, click on the - icon.
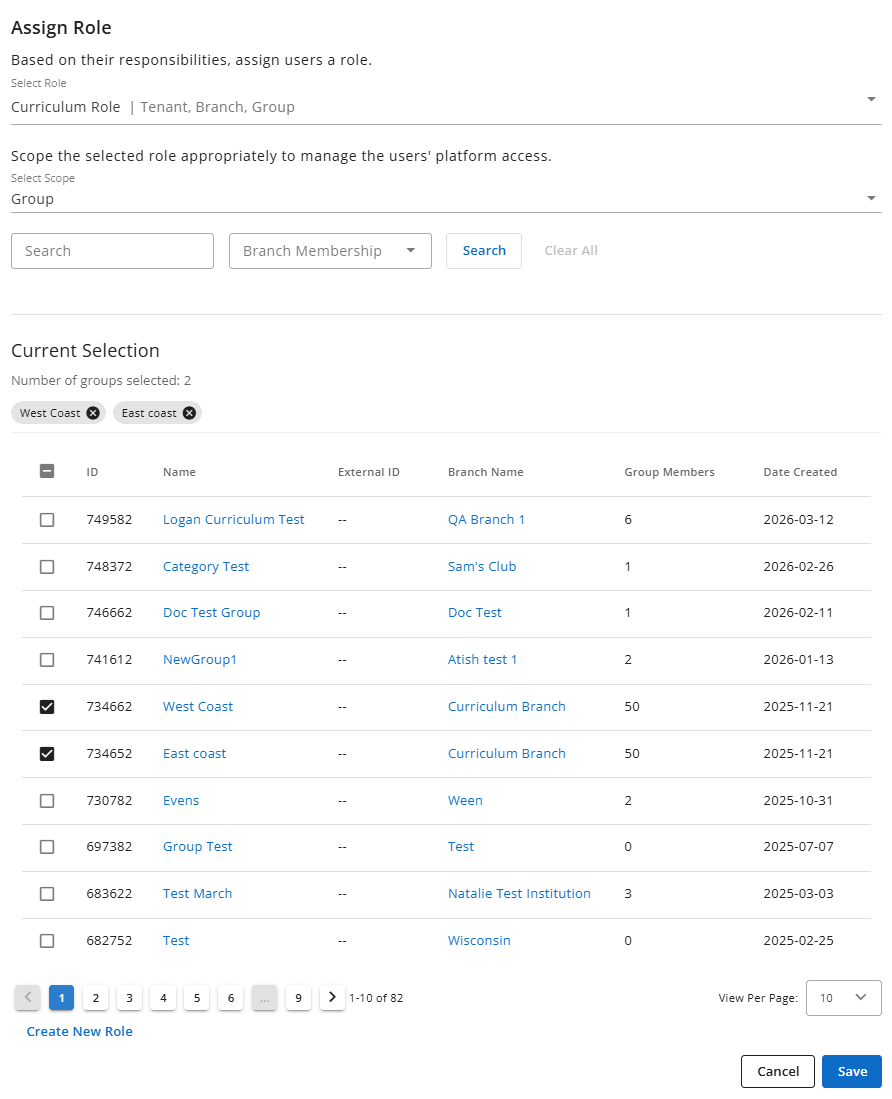
- Assign a role (optional) for your users, select the role’s scope (i.e. tenant, branch), and click Save. If you select a group or branch-scoped role, you can choose one or more groups/branches from the multi-select list by clicking the appropriate checkboxes. The role will be scoped to the selected groups/branches for all imported users.

- If you’d like to create a new role, click on Create New Role. However, this will exit you from the importing page and will not save your changes. We recommend creating any custom roles that you need first before importing users.
- Click on Import to import your users.
- A pop-up message will appear indicating your import is in progress. You won’t be able to upload an additional file until this import has been completed.

-
Once the import is finished, you’ll receive a confirmation email that will provide more details on what was imported and if any errors occurred during the process.
Removing Group Users
Removing Group Users in Bulk
- Open Console and use the left-hand navigation to go to the Groups section.
- Select the group you want to manage users for.
- Go to the Group Members tab, then select the Manage Group Members”button.
- The next screen will show you the users who are currently members of this group, as well as all of the members of the associated branch who are not in this group. Select the - sign next to the name of each user who you want to remove from this group.

- Select the Save button.
Removing Group Users Individually
- Open Console and use the left-hand navigation to go to the Groups section.
- Select the group you want to manage users for.
- Go to the Group Members tab.
- Select the Remove link to the right of the name of the user you want to remove from the group.

Removing One User from Multiple Groups
- Open Console and select the user you want to work with from the Users section.

- Move to the Groups tab.

- Select Remove next to the name of each group you want to remove this user from, or select Remove All to remove them from all groups they are currently a member of.

When setting up groups and users, you may run into different scenarios on how these need to be set up. Check out our article here for further instructions and recommendations on how to manage your users based on these scenarios.

