2. Managing Groups

Oct 16, 2025
 1987
1987
Creating Groups
To create a group, you will need either the console admin role or any custom role with the “Create groups” and “Read groups” permissions.
There are three ways to create a new group: From the Groups section of Console for a single group, bulk importing multiple groups, or from a specific branch’s details page.
Method 1: Via Groups Section for a Single Group
- Open Console and use the left-hand navigation to go to the Groups section.

- Select the Add Group button in the upper right-hand corner.

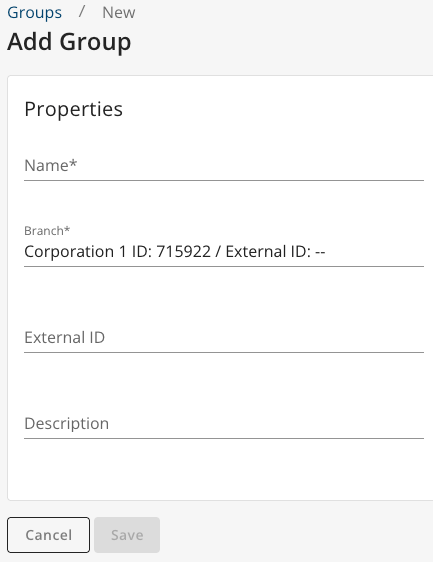
- On the next page, add your group’s name and select the branch this group is part of. There are also two optional fields that allow you to add an external ID or description if desired.
- Select Save.
Method 2: Via Groups Section for Multiple Groups
- Open Console and use the left-hand navigation to go to the Groups section.
- Select the Import Groups button near the upper right-hand corner.

- Upload your groups CSV file. Uploading groups here allow you to create multiple groups across multiple branches (as long as you have appropriate permissions), however, it does not allow you to add any users or edit/update groups' names, IDs or branches.

- For instructions on how to format your file, click on See upload instructions.

NOTE: You will only be able to create groups within your scope (i.e. A Branch Manager will only be able to create groups for their branch). - Select Import. The following message will appear to confirm your import is being processed. While your import is in progress, the Import Groups button will be greyed out.

- Once your import is complete, you will receive an email confirmation with your groups IDs. It will also include any errors (if they occurred) during the import process.
Method 3: Via Branch Details
- In the Branches section of Console, select the branch you want to add a group to.

- Go to the Group tab.

- Select the Add Group button.

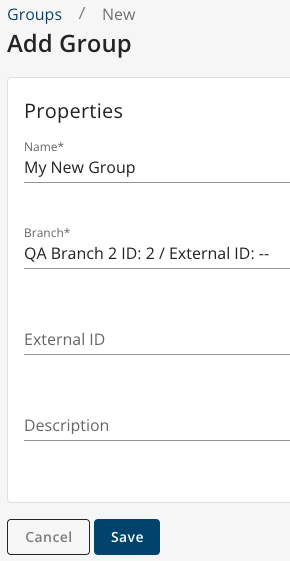
- On the next page, add your group’s name; the branch field will be filled in. There are also two optional fields that allow you to add an external ID or description if desired.
- Select Save.
Editing Groups
To edit a group, you will need to have either the Console admin role or a custom role with the “Read groups” and “Update groups” permissions.
- Open Console and select the group you’d like to work with in the Groups section. You can use the search option to find the group you would like to edit, or you can also use the Branch Membership dropdown to view all groups associated with a specific branch.

- To edit the name or external ID of the group, select the uppermost Edit button. Edit the information in the pop-up, then select Save.
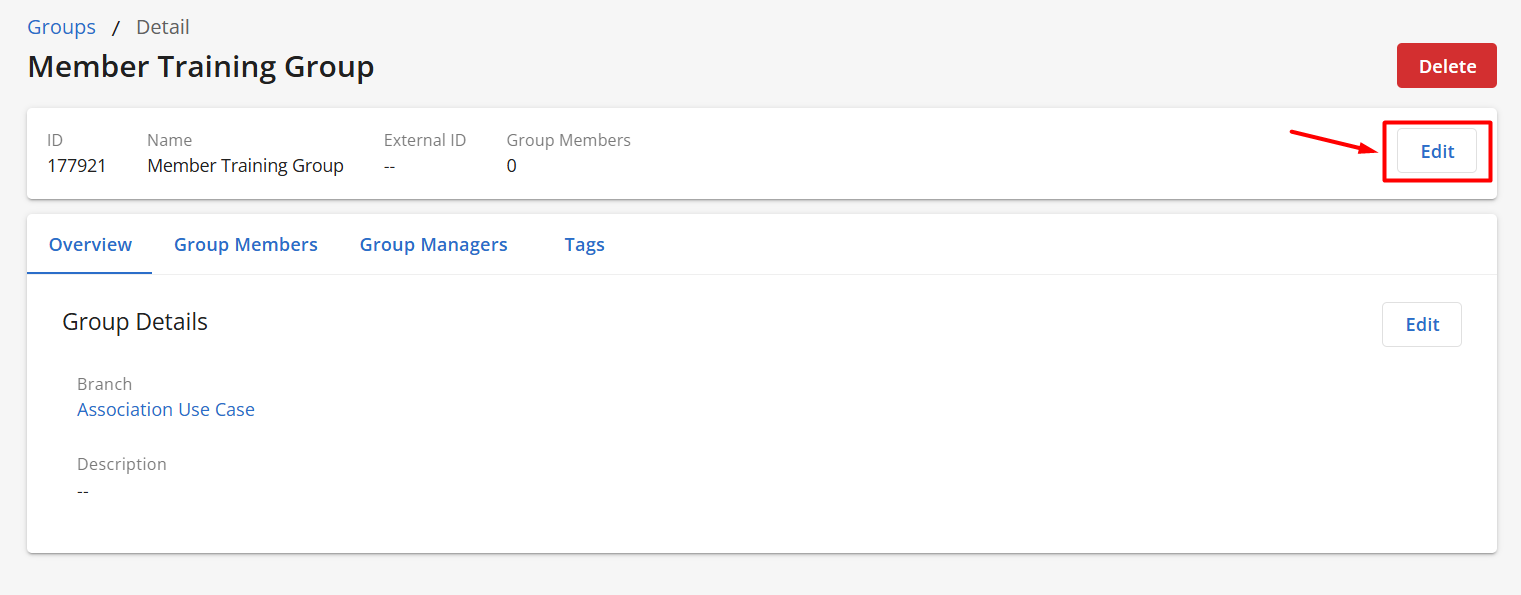
NOTE: If your group has an External System ID setup, this field will also appear on the group's details page and can be edited via the pop-up modal. - To edit the description of the group, select the Edit button in the Overview tab. Edit the information in the pop-up, then select Save.

- To add or remove members from the group, go to the Group Members tab and select the Manage Group Members button. For more information on adding/removing members, read our article on managing group users.
- To add or remove group managers, go to the Group Managers tab and select the Assign Managers button. For more information on managing group managers, read our article on Group Managers.
Deleting Groups
To delete a group, you will need to have either the Console admin role or a custom role with the “Delete groups” permission.
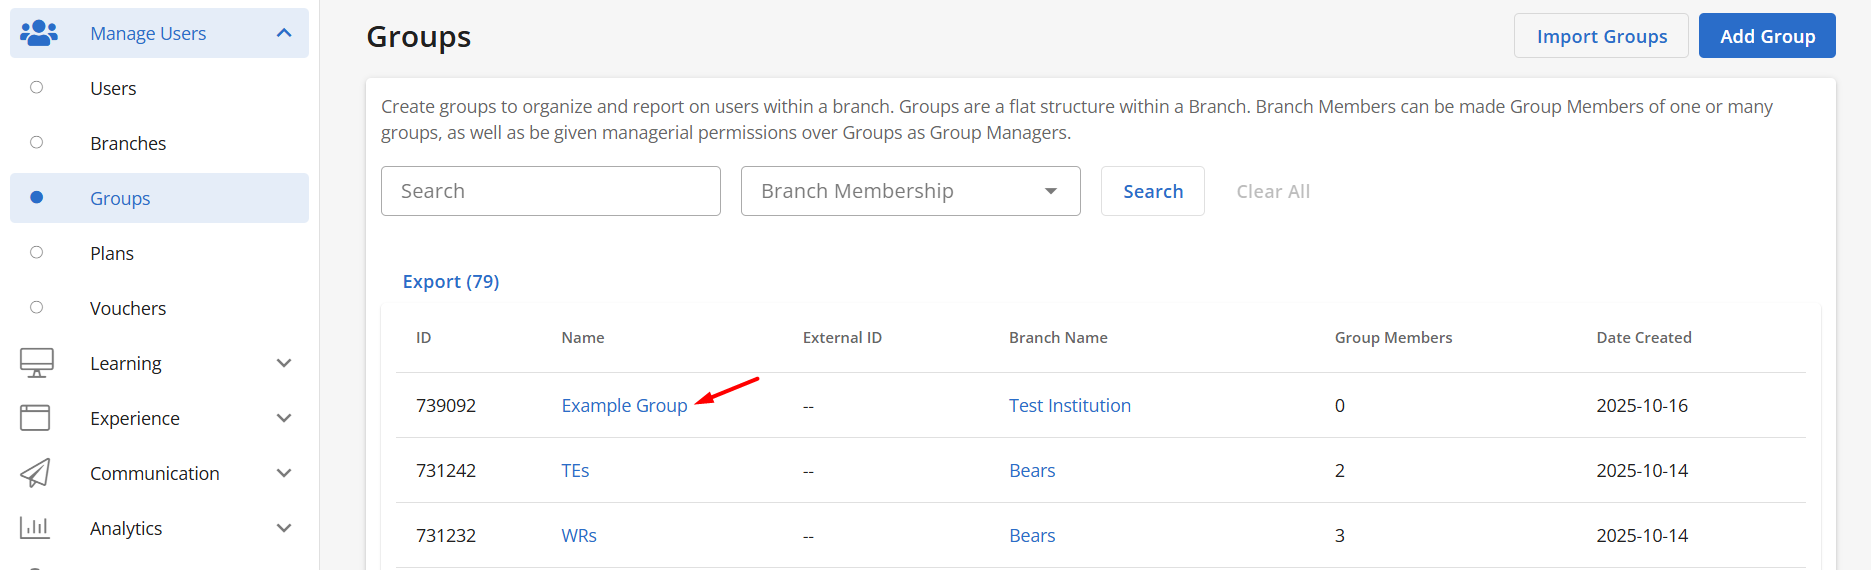
- Open Console and select the group you’d like to work with in the Groups section. You can use the search option to find the group you would like to edit, or you can also use the Branch Membership dropdown to view all groups associated with a specific branch.
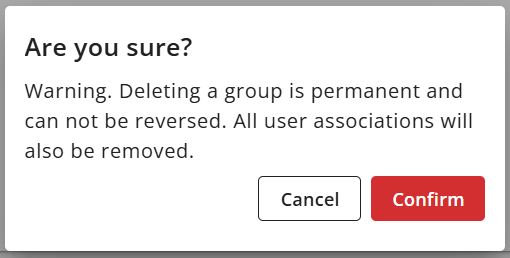
- Click on Delete near top-right.
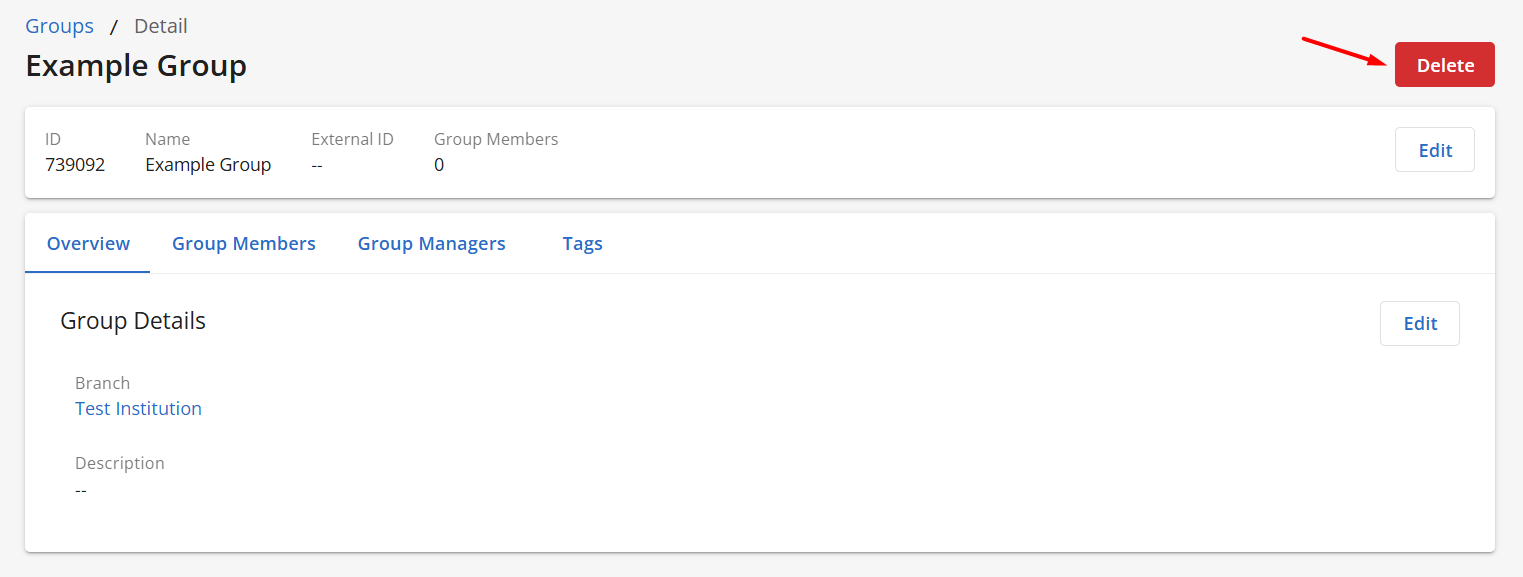
- Click on Confirm to delete the group. Deleting a group is permanent and once the group is deleted, all user associations will also be removed.