Configuring Assets

Apr 16, 2026
 3166
3166
Creating an Asset
To create a new asset in a course, follow these steps:
- Open BluePrint and select the course you want to work with.
- Select Assets in the left-hand navigation.

- Select the blue Add Asset button.

- In the Select Asset Type dropdown, select the type of asset you want to create. Your options include:
- SCORM
- AICC
- cmi5
- xAPI
- URL
- Video and Audio
- LTI 1.1
- LTI 1.3 Connector
Your selection here will change the fields shown on this page. For specific information about what each asset type requires, view the “Adding Asset/Interaction Content in BluePrint” article.
- Under the General heading, add your Asset Title. This is the name that learners will see for this asset.
- Add the source of your asset. The inputs that appear below the General heading will depend on the type of asset you've selected. For example, if you're creating a SCORM asset, you'll need to upload the .zip file for your SCORM package, and if you're creating a URL asset, you'll need to provide the URL. Some asset types will also ask you to provide a completion threshold. The completion threshold determines the amount of the asset the learner must consume (or the amount of time they must spend within it) in order for the asset to count as completed.
SCORM:

LTI 1.1:

PDF:

- Set your learner's view settings--For most asset types, the Learner's View section will appear next. This section determines where your learners will access the asset, how the asset will launch, and the data points the learner will see about this asset.
- Asset Display: If you want the asset to appear in the Interactions tab, select the button next to "New Window" (the asset will launch in a new window from the Interactions section) or "Frameset" (the asset will launch within the same browser tab). If you want to embed the asset in a lesson, select the button next to - Embed in a Lesson: Embed In A Lesson: Embedded Assets Will Not Display In Interactions Tab. If you select this choice, note that the asset will not appear in the Interactions section. If you want learners to see the asset title and have the option to expand the asset within the lesson, check the boxes next to “Show Asset Title” and “Show Expand Option,” respectively.
- Data Points to Display: The data that will display to learners in your course (Note: you can edit these later). This section only appears for certain asset types, and the available data points vary based on the asset type. The screenshot below shows an example of how data points display for assets embedded in lessons:
- Asset Completion: When creating a URL asset, this section will appear instead of the Data Points to Display section. It serves a similar purpose - check the box next to the data points you want the learner to see.

- Select the Create button to finish creating the asset. After creating an asset, you can add it to a Study Task, if desired.
If you chose "Embed In A Lesson" for the Asset Display, follow the steps below to place the asset into a specific lesson. You can either add the asset to an existing lesson, or create a new lesson to add it to. To learn more about creating and editing lessons, view the “Adding Lesson Content in BluePrint” article.
- Within the lesson text editor, select the Multimedia Upload button.

- Select the radio button next to “External Asset,” then open the dropdown. All unused assets where the learner’s view is set to “Embed In A Lesson” will appear in this dropdown.
- Select the asset you want to add to this lesson, then select the “Save” button.

- If you’re adding more than one embedded asset to a lesson, repeat this process. Otherwise, select the Save button at the bottom of the page to save your changes to this lesson.
Editing an Asset
To edit an asset, follow the steps below:
- Navigate to your course in BluePrint, and click on the Assets tab.

- Click on the pencil icon next to the asset you’d like to edit.

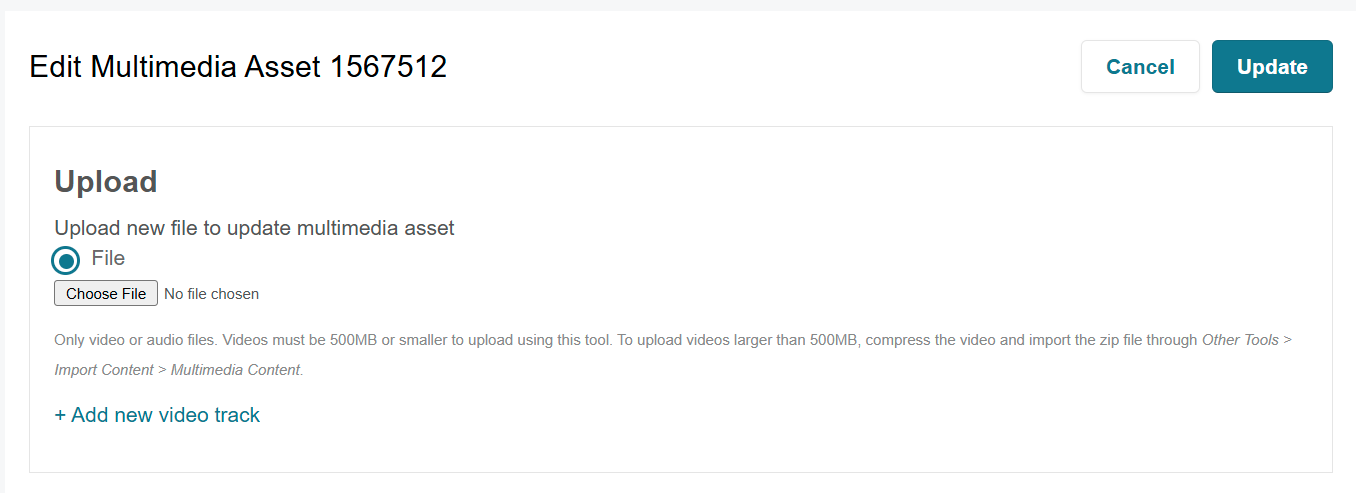
- Depending on the asset type, you’ll be able to update its title, upload a new file, and/or edit its configurations.

Note: For video/audio embed assets, you can upload a new file to replace an existing one. This update will automatically apply to every instance where the asset is used, including all copies, and will take effect immediately.
- Click on Save to finish updating the asset.
NOTE: If you’ve uploaded a new file and that asset also exists in other courses, a pop-up modal will appear to notify you that any updates to this asset will be immediately visible to learners in all courses where the asset is used, and it will list the applicable courses. If you’d like to continue, click on Confirm. If you’d like to go back, click on Cancel.

Deleting an Asset
To delete an asset, follow the steps below:
- Navigate to your course in BluePrint, and click on the Assets tab.
- Click on the pencil icon next to the asset you’d like to edit.

Click on Delete.

OR - Select the asset(s) you'd like to delete. Click on Delete.


