
 2244
2244
Pre-Condition: All Institutions have been created, a contract has been created for each Institution, and Institution Admins have been designated for each institution
Once logged into the Institution Admin dashboard, admins have the ability to do the following:
-
Create Student users
-
Create Instructor users
-
Create Institution Admin users (this functionality is also available via Tenant Dashboard, as outlined above)
Accessing Your Account as an Institution Admin
Institution Admins will receive an email notification to their inbox with steps for how to set up their account.
1. Navigate to your inbox and locate your activation email
2. Click the Complete Registration link

3. Create your password

4. Click Register
5. Institution Admin will be taken to their Institution Admin dashboard

Creating New Students
Check out "How do I create a new student" article for step-by-step instructions on creating new students.
Creating new Instructors
Instructor users will be granted access to BenchPrep’s Boost Dashboard
Instructors should be added through the Institution Admin dashboard by following these steps:
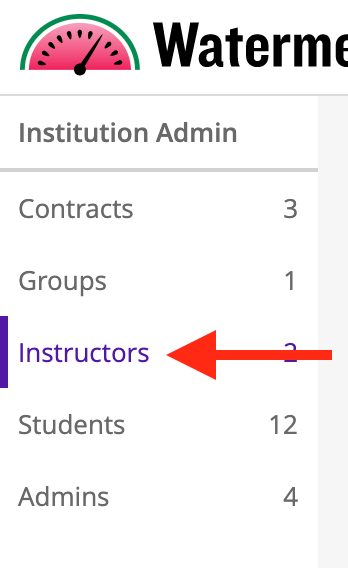
1. Select Instructors tab on the left-hand navigation
Adding a single Instructor
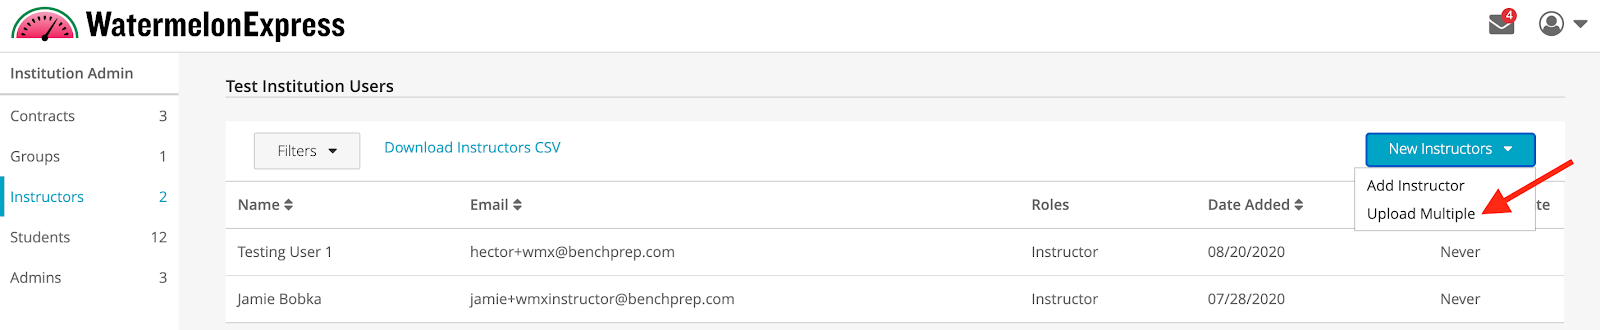
1. Select New Instructor to open the menu, then select Add Instructor to add a single Instructor into the platform

2. A new Instructor form will open up. Fill in the following fields:
- Name: Instructor's name
- Email: Instructor's email address
- Password: Leave this field blank!
- By leaving the field blank, this will trigger a registration email to the instructor to set up their account and access the platform
- Contract: Lists the contract; no action needed
- Add roles: Instructor role will be selected by default
- Do not select any additional fields unless instructed otherwise

3. If you wish to exclude the Instructor from the overall seat count, please check the box next to that option
Note: This option will only display if your seat count has a cap

4. Select Create
At this time, Instructors will receive an email notification with steps to setup their account and access the platform.
Adding multiple Instructors
1. Return to the Instructors tab and select New Instructors dropdown, then select Upload Multiple option
2. Create a spreadsheet in Excel with 3 headers - email, name, password
3. Add each Instructor's information below the headers:
- Email: Instructor's email address
- Name: Instructor's First and Last name
- Password: Leave blank - Instructors will receive an email notification with steps to setup their account and set their own password

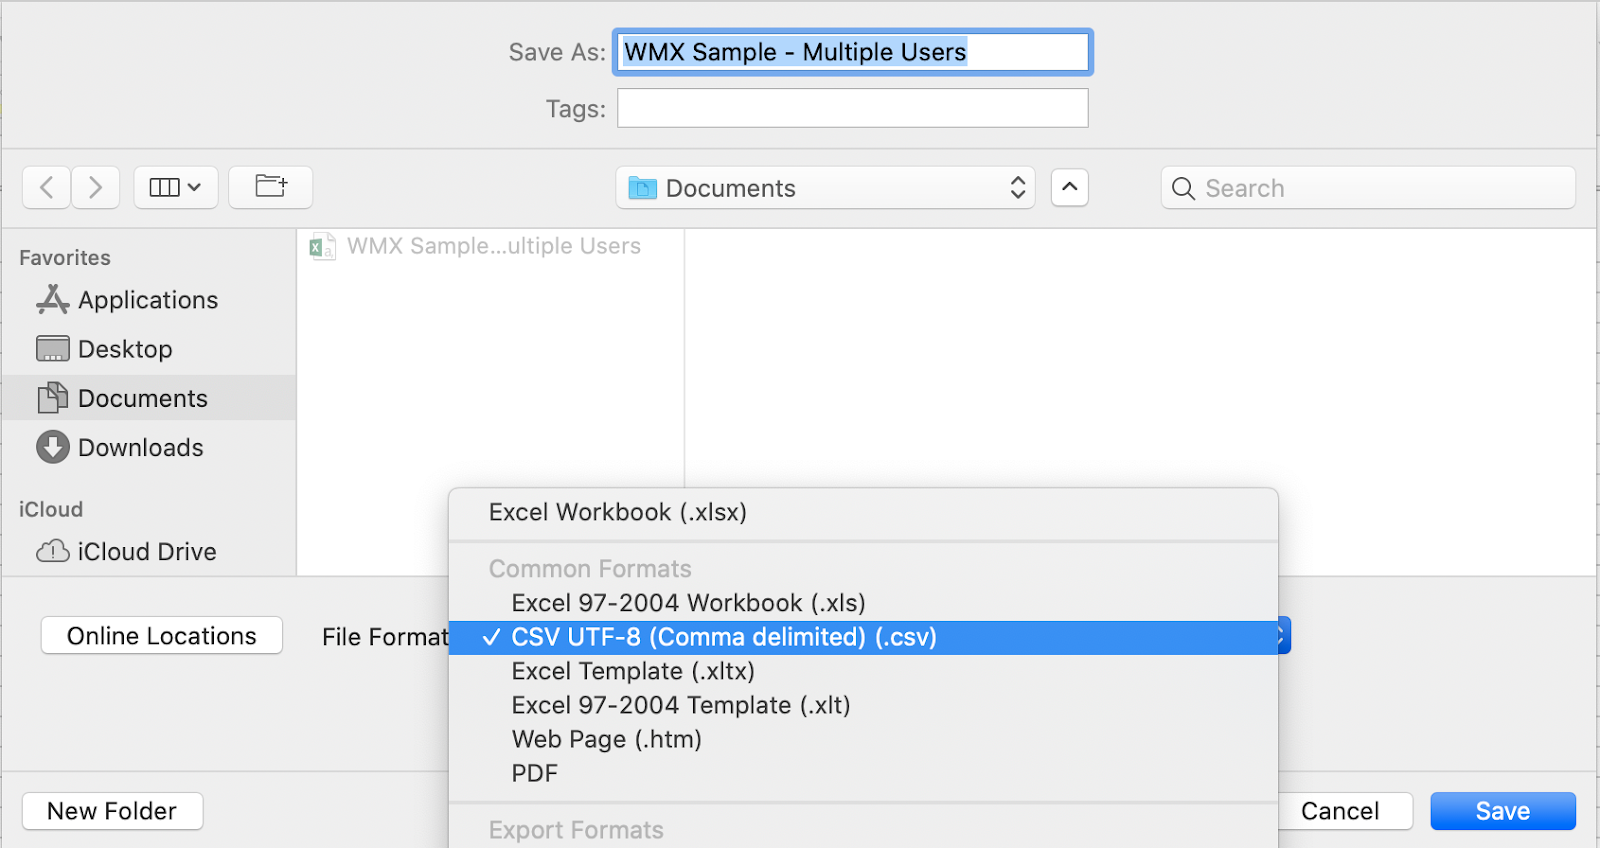
4. When saving your spreadsheet, save as a CSV UTF-8 to a known location on your computer
5. Return to the Institution Admin screen and upload your .csv file at the bottom of the form
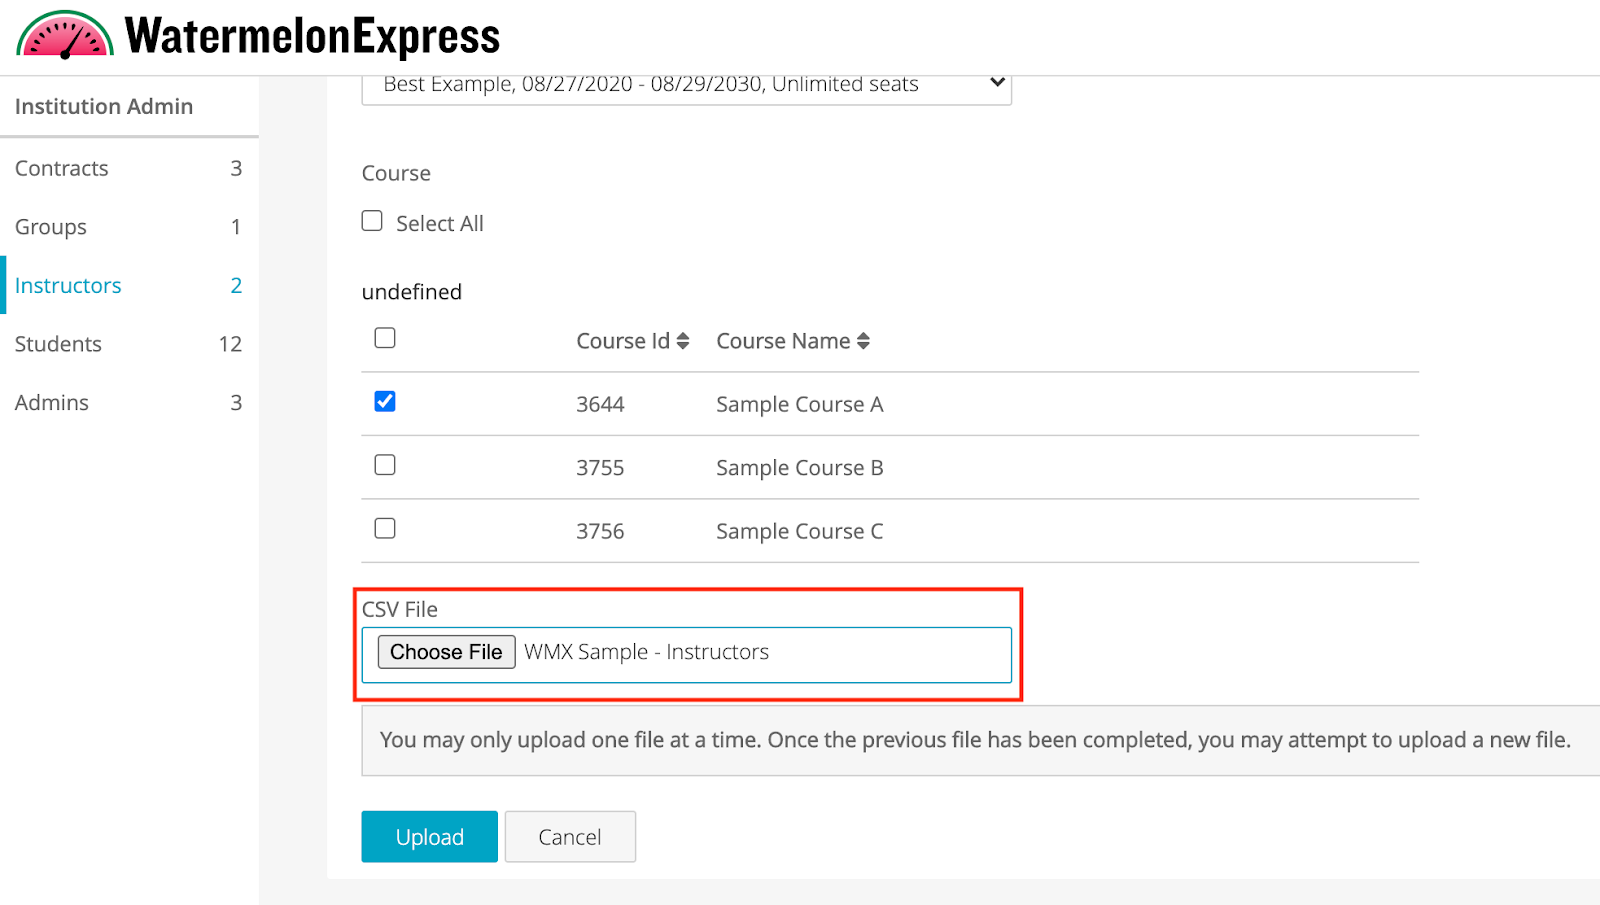
6. Select a Contract then select which courses these Instructors should have access to
7. If you wish to exclude this group of Instructors from the overall seat count, please check the box next to that option
Note: This option will only display if your seat count has a cap
Creating New Groups
Check out "How do I create a new group" article for step-by-step instructions on a new group creation
Adding multiple groups
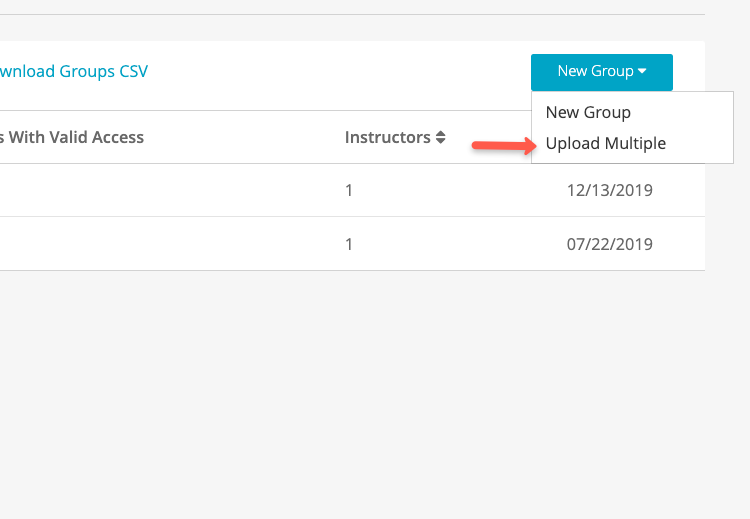
1. Return to the Groups tab, select New Group, then choose Upload Multiple option
2. Create a spreadsheet in Excel with 6 headers - group name, user name, user email, user password, user type, user sis_id
You can also import multiple groups, students and Instructors to your Institution at one time (as opposed to creating individual groups or accounts).

3. Add each group and/or student/Instructor information below the headers

4. When saving your spreadsheet, save as a CSV UTF-8 to a known location on your computer
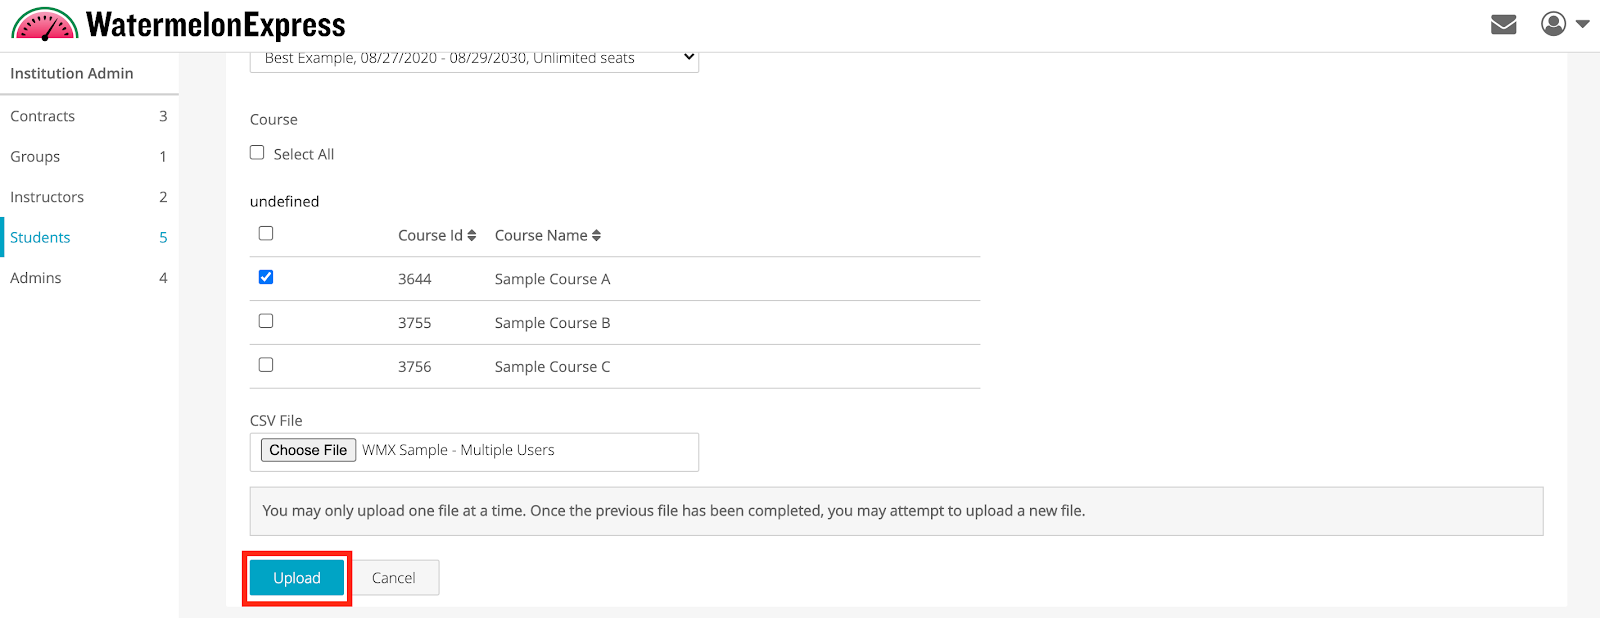
5. Return to the Institution Admin screen and upload your csv file at the bottom of the form
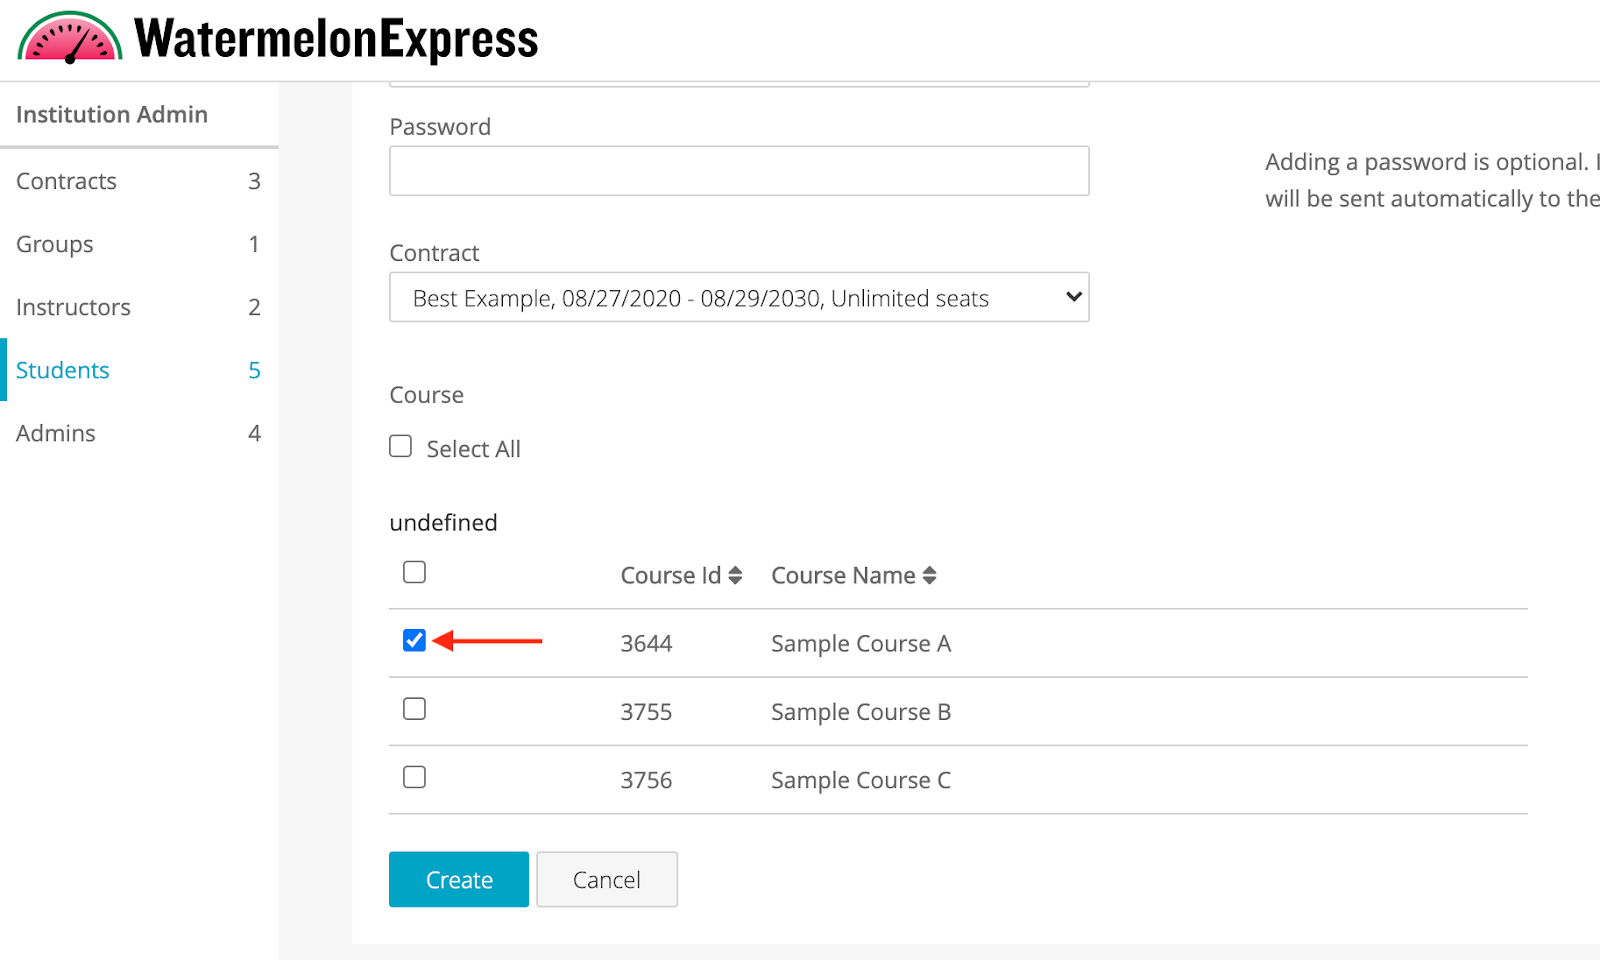
6. Above that, select the checkbox(es) next to the Course that will be assigned to all of the groups (plus, students and/or instructors if applicable) in your csv file
(All users will receive the same course assignment)
7. Select Upload
A banner message will display at the top of the page notifying you that groups are ready for import. Once the import is complete, you will receive an email notification confirming your csv import was successful!
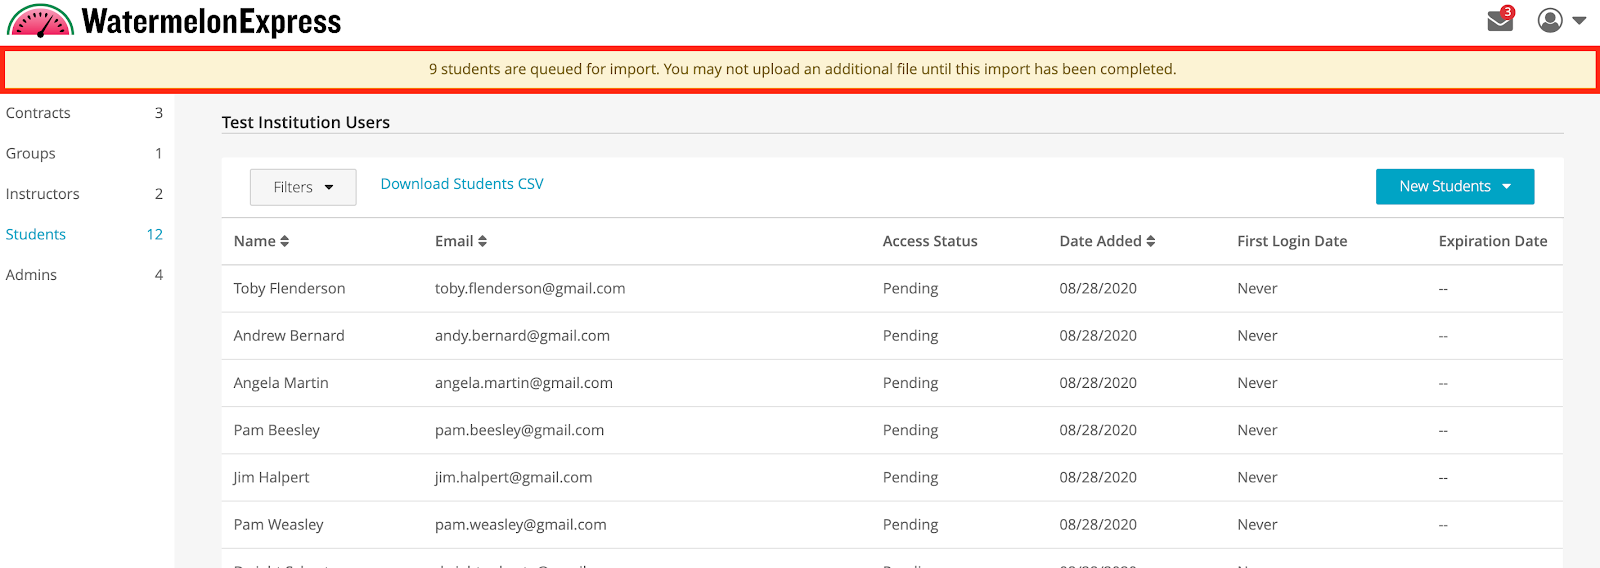
For final confirmation, you will see all of your new groups uploaded on the groups listing page (any students and/or instructors will be located on their respective tabs).


