
 1967
1967
Creating an Institution
NOTE: You must have your Administrative Division and District created first before proceeding to this step.
You can create an Institution within Tenant Dashboard by following these steps:
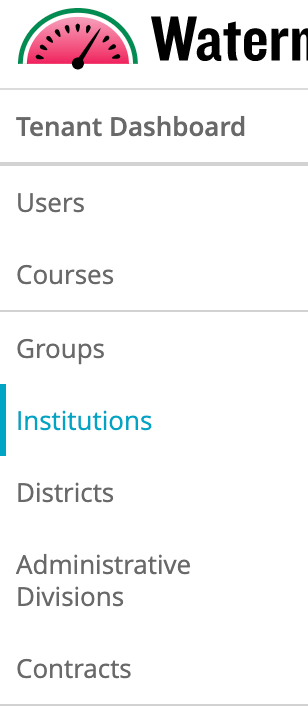
- Select Institutions on the left-hand navigation
- Click New Institution button
- Fill out the following fields:
- Name: Enter desired Institution name
- Name: Enter desired Institution name
- Create Institution Admin (Optional). Institution admin can be created now or added later once the Institution is already created. If you would like to create one now, enter admin name and email


5. Create Contract (Optional):
Creating a new contract is required to set up your institution. A contract defines the access period and which courses are available to assign out within that institution.
At a minimum, one contract is required for each institution. Admins can skip this step and create the contract later, however, it is recommended to complete this all in one step.
Fill in the following, required fields to set up the contract:
- Name: The name you'd like to give the contract (i.e. Institution A Contract)
- Start date: The first date a Institution Admin can add student or instructor accounts to their institution
- End date: Set to date in the future. This is the last date an Institution Admin can add student or instructor accounts to their institution
- Admin access expiration date: This is the date that administrators lose access to the platform
- First Student Activation Date: The first date a user may activate their account
- Last Student Activation Date: The last date a user may activate their account
- Final Access Date:
- Date all students will lose access to the course
- If all students should lose access to the platform on the same date, regardless of when they activated their account, set this date
- Otherwise, leave it blank
- Duration: Leave this field blank or set a specific number of months
- This is how long the students will have access to the platform once they have activated their account
- It will default to 12 months
- Type: Select unlimited if the institution should have unlimited licenses; select limited if the institution should have a finite number of licenses and then designate the number of seats
- You can always add more seats later
- Concurrent User Limit: This is the number of users that can be logged in at one time. Field can be left blank
- Courses: Select which courses should be made available
- Institution Admins have the ability to control which specific courses individual students will have access to
- This is the global setting to enable courses at the Contract level
This determines what courses will show up for the institutions to select from
6. Click Create
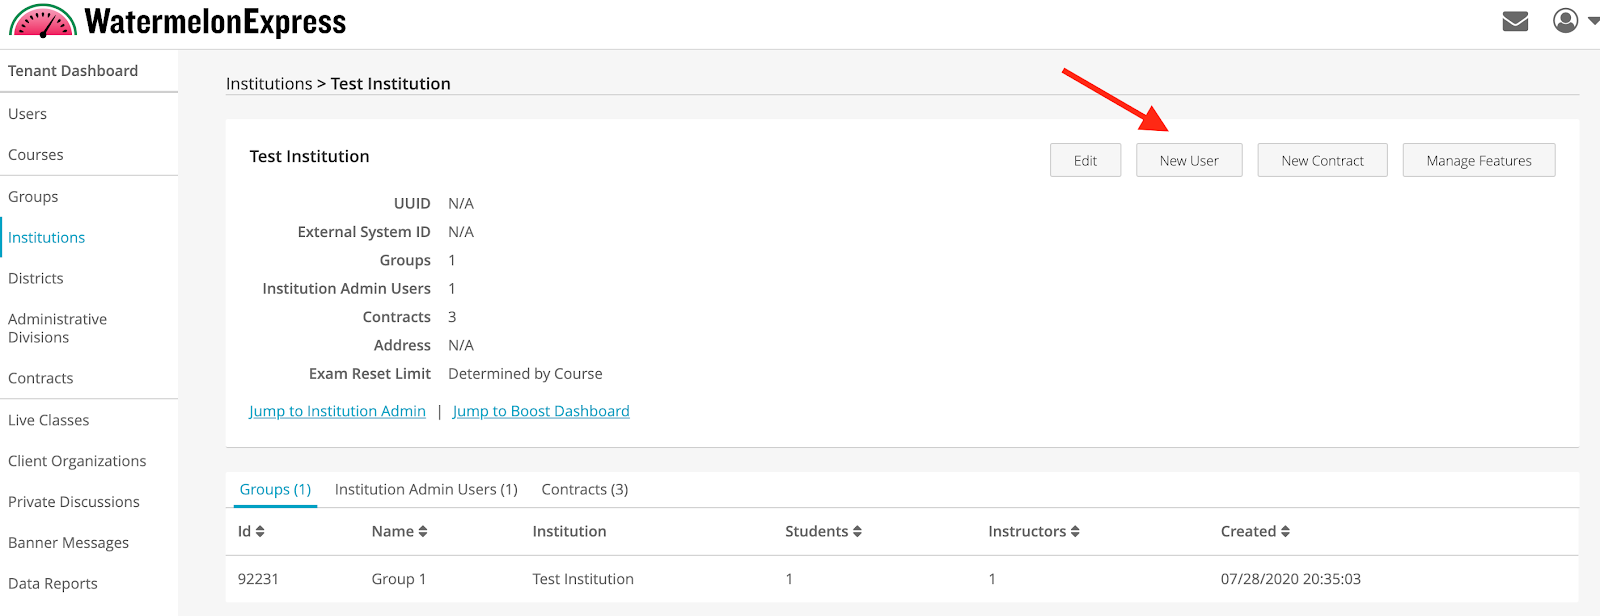
Tenant Admin will be returned to the Institution details page. From this page, you can toggle the tabs to view the assigned Institution Admin and Contract Information:

Institution setup is now complete! Repeat this step for each individual institution.
To create an Institution Admin follow these steps:
Pre-condition: The Institution & Contract must already be created.
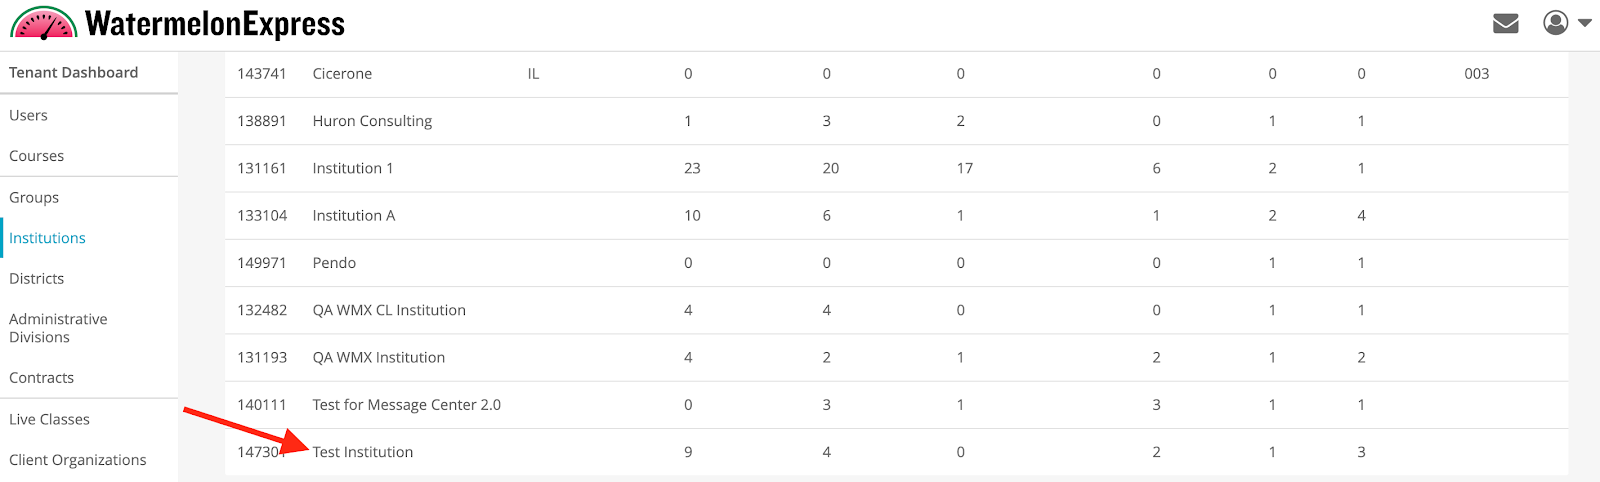
1. Select Institutions from the left-hand navigation
2. Click on your desired Institution to open up that Institution's detail page
3. Select New User at the top. This new user will automatically be assigned to the selected institution
4. Fill in the following information:
- Name: Admin's name
- Email: Admin's email
- Password: Leave field blank to trigger a registration email to that user

NOTE: Once you submit this form, the Institution Admin will receive an email notification with steps to set up their account and access the Institution Admin dashboard.
5. The Institution will automatically be populated on the form. Select the Institution Admin checkbox to provide Institution Admin access to your user.

6. Select Create
NOTE: The Institution Admin will receive an email notification with steps to set up their account and access the platform once you complete this form
To associate an Institution Admin with a new Institution:
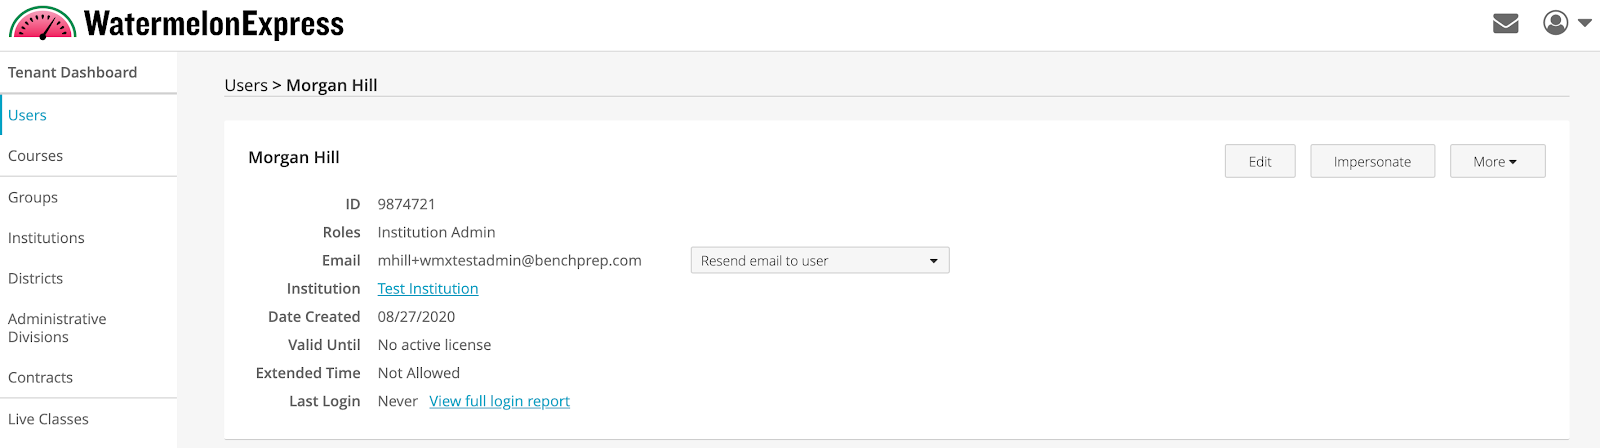
1. Select Users on the left-hand navigation
2. Search for the user and click on their name
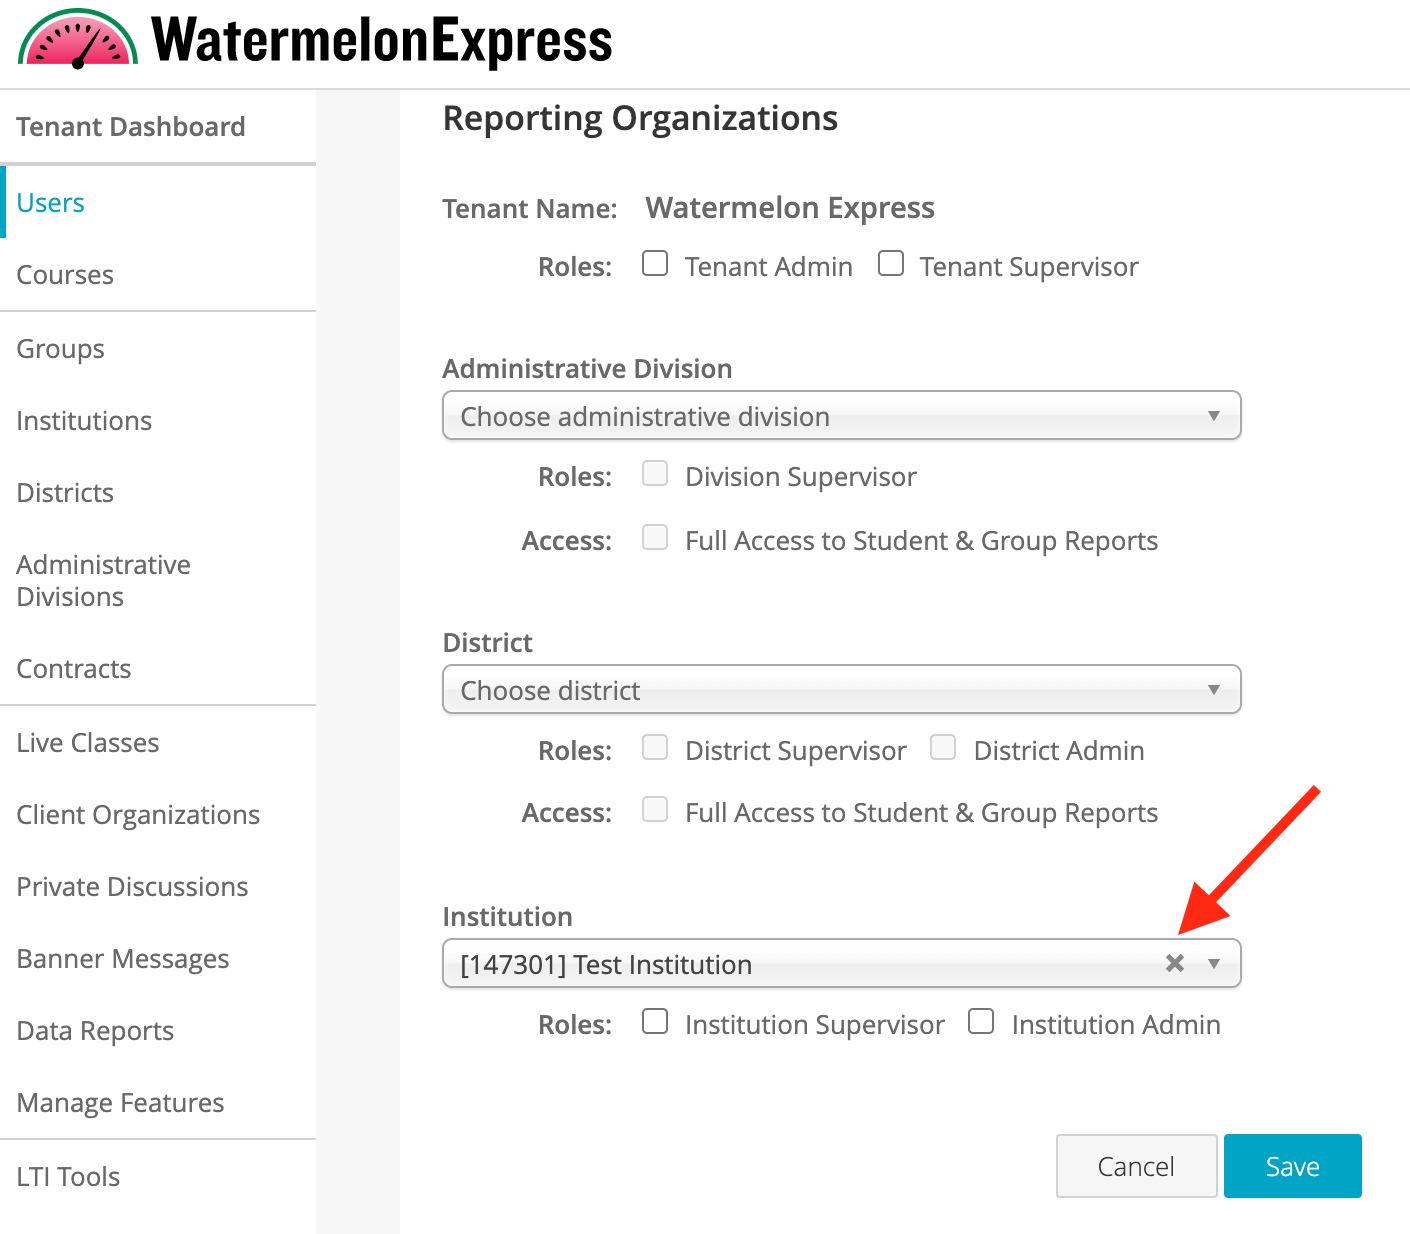
3. Click on the Edit button
3. Scroll down to Reporting Organizations section. Click on the X on the right side of the drop down list under Institution to remove the association.
5. Type in the first few letters of the new Institution you would like to associate our user with. Once full Institution name pops up, click on the Institution name.
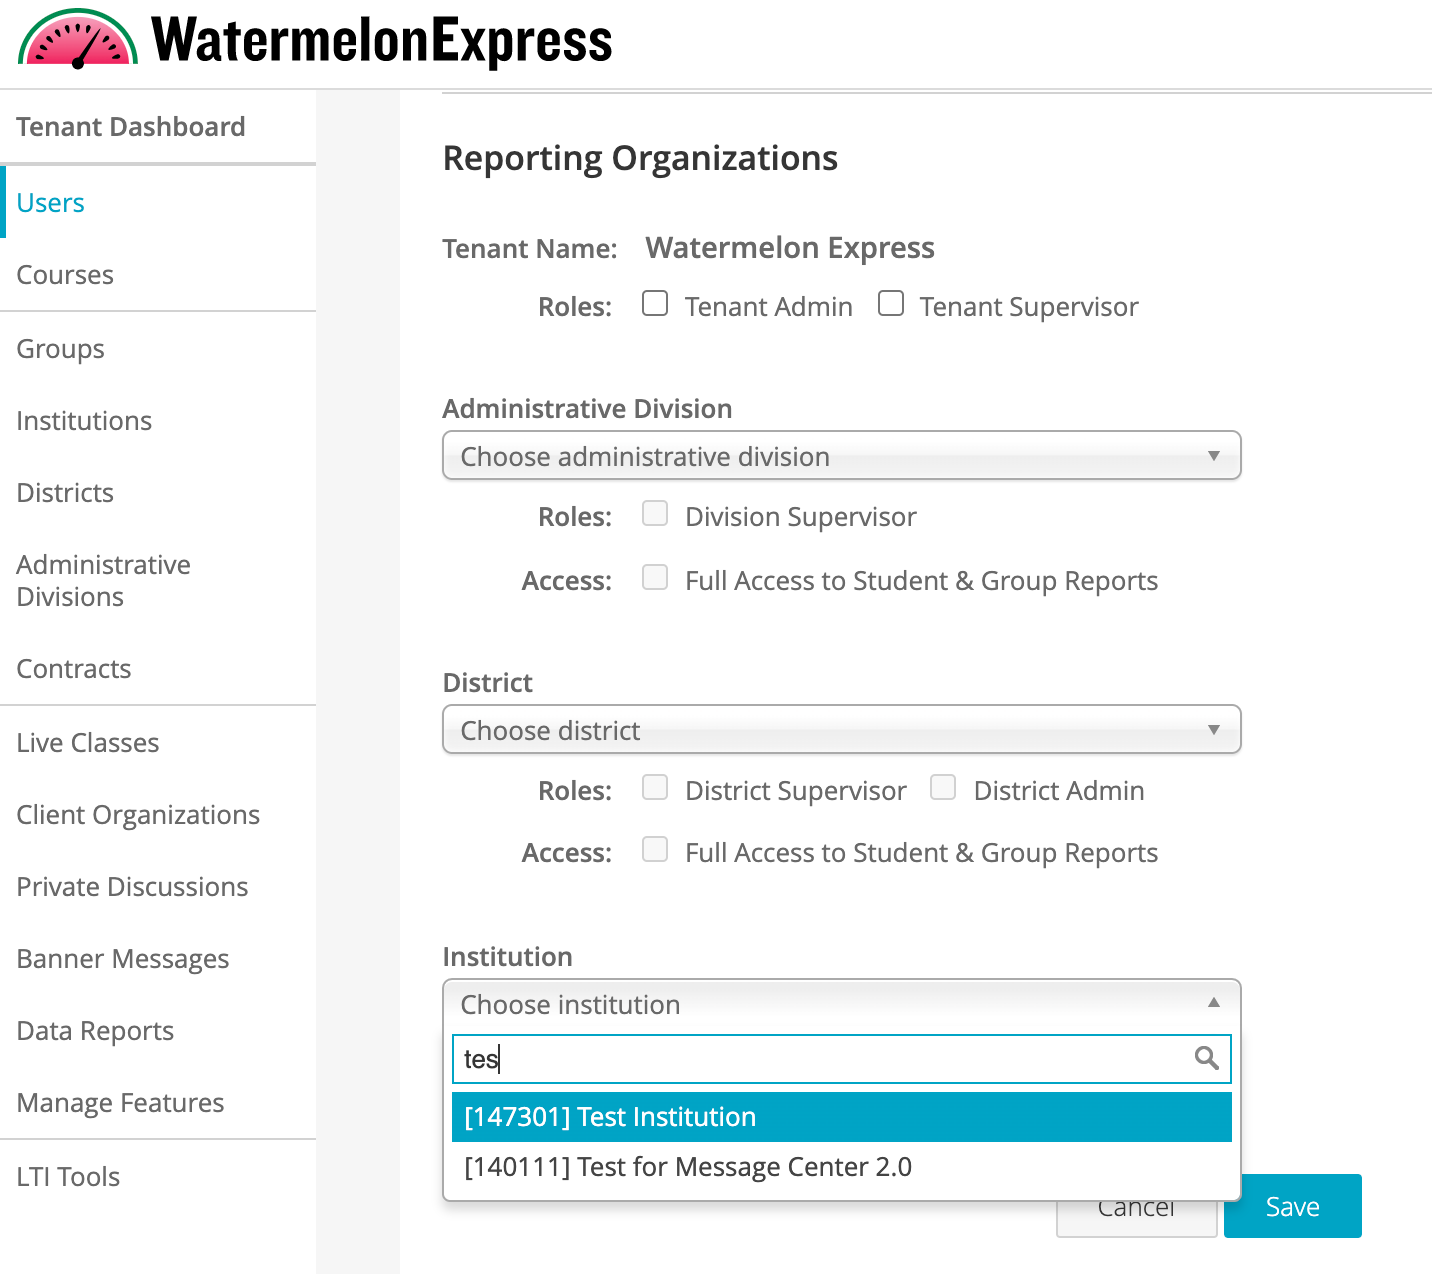
6. Select Save.

