2348
2348
After your recognition types are set up and your courses are published, you’ll be able to send recognition information to third party systems using webhooks. Whenever a learner is issued a recognition, it will trigger the corresponding webhook. For more information about webhooks, you can check out our articles here.
You’ll also be able to integrate your recognitions with Credly and/or Accredible if you’d like your badges to display more information in the Learning Hub. To enable recognitions for a course in Learning Hub, check out our article here.
Creating a Recognition Issuance Webhook
To create a new webhook for your recognitions, follow the instructions in our Managing Webhooks article. If you’re using Credit Units or Certificates, Credly Badges, and Accredible Badges, you will need to create a webhook for each one. They should be configured according to the details below.
Creating a Webhook for Credit Units or Certificates
- On the Webhook Details page, input the name, status, and destination URL of your webhook. Custom headers are not needed.
- On the Content Selection page, select Issuance of a Recognition as the trigger event type.

- Select your course and recognition. If all recognitions in the course should trigger the webhook, select Any Recognition.
- Select Default as the formatter.
NOTE: If “Any Recognition” was selected as the recognition, all types of recognitions will be sent as a part of the webhook. If, for example, you only need information for Credit Units and not Credly Badges, the badge information will need to be filtered out by your external system after the data is sent from our platform.
Creating a Webhook for Credly Badges
- On the Webhook Details page, input the name, status, and destination URL of your webhook. The destination URL should be set as the following with your Organization ID:
- Production:
https://api.credly.com/v1/organizations/<organization_id>/badges - Integration/Staging:
https://sandbox-api.credly.com/v1/organizations<organization_id>/badges
- Production:
- Add the following custom header:
- Key: Authorization
Value: The result from following the steps in Credly’s Web Service API
- Key: Authorization
- On the Content Selection page, select Issuance of a Recognition as the trigger event type.

- Select your course and recognition. If all recognitions in the course should trigger the webhook, select Any Recognition.
- Select Credly as the formatter.
NOTE: This will set the webhook to only send information related to Credly Badges.
After creating a webhook, test it out by earning the corresponding recognition in your course. Once earned, it will trigger the webhook and send that information to your external system. Ensure that your external system is receiving the data and that the data is correct.
Creating a Webhook for Accredible Badges
- On the Webhook Details page, input the name, status, and destination URL of your webhook. The destination URL should be set as the following:
https://api.accredible.com/v1 - Add the following custom headers:
- Key: Authorization
Value: Token token = [Tenant API Key]
(Your Tenant API Key can be found from Accredible.) - Key: Content-type
Value: application/json
- Key: Authorization
- On the Content Selection page, select Issuance of a Recognition as the trigger event type.

- Select your course and recognition. If all recognitions in the course should trigger the webhook, select Any Recognition.
- Select Accredible as the formatter.
NOTE: This will set the webhook to only send information related to Accredible Badges.
After creating a webhook, test it out by earning the corresponding recognition in your course. Once earned, it will trigger the webhook and send that information to your external system. Ensure that your external system is receiving the data and that the data is correct.
Setting Up an Integration with Credly
To integrate your recognitions with Credly so that badge information is displayed in the Learning Hub, follow these steps:
- Navigate to Console, and click on Settings.
- Click on Integrations.

- Click on Add Integration.

- Select Credly Badge as the integration type.
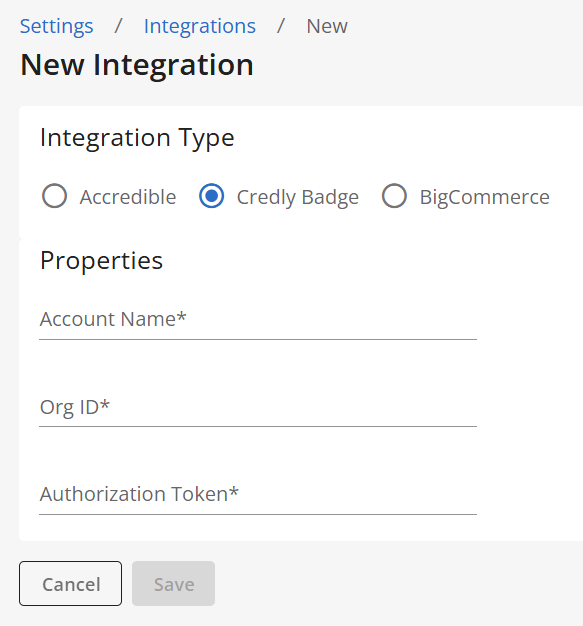
- Input your Account Name, Org ID, and Authorization Token. The account name field can be a generic name for your integration. Org ID and Authorization Token can be found from your account with Credly.
- Click on Save.
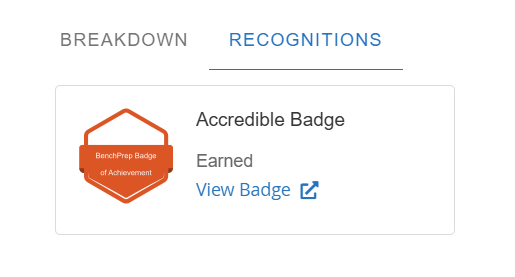
Once the integration has been set up, your badges will now display information from Credly in the Learning Hub. To view a Credly badge, click on View Badge.

Setting Up an Integration with Accredible
To integrate your recognitions with Accredible so that badge information is displayed in the Learning Hub, follow these steps:
- Navigate to Console, and click on Settings.
- Click on Integrations.
- Click on Add Integration.
- Select Accredible as the integration type.
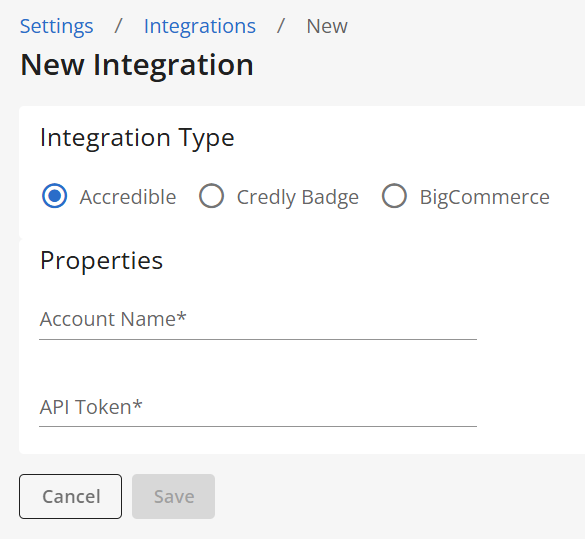
- Input your Account Name, and API Token. The account name field can be a generic name for your integration, and the API token can be found by accessing your account with Accredible, going to Integrations, and copying the API Key.
- Click on Save.
Once the integration has been set up, your badges will now display information from Accredible in the Learning Hub. To view an Accredible badge, click on View Badge.