2584
2584
Enabling LTI functionality requires assistance from BenchPrep, as the option does not automatically appear in Console by default. For security reasons, certain configuration changes need to be made by our team before LTI can be turned on.
Before you begin the setup process, review the following recommendations:
- Make sure you have a designated technical expert responsible for establishing and managing the LTI configuration
- The technical resource should have applicable administrative access within the LTI 1.3 platform
- The technical resource should have Console admin role or a custom role with the following permissions to manage LTI configuration:
- Create LTI Tools
- Read LTI Tools
- Update LTI Tools
- Delete LTI Tools
- Additionally, for Branch specific LTI Tools, the technical resource should have Console admin role or a custom role with the following permissions:
- Read Branches
Creation Flow
Setting up an LTI tool and Deployment involves taking steps in BenchPrep and LTI Platform (LMS) to ensure a seamless integration.
Typically, the process entails the following sequence of steps:
- Set up the LTI tool in BenchPrep.
- Use information generated from the setup (ie Public Key ID) to set up the LTI tool within the LTI Platform (the LMS).
- Use the information generated from the setup to configure a Deployment in BenchPrep.
- Optionally, you can map global LTI role at the tool level and configure group association at the deployment level.
Please see the instructions provided below for accessing and adjusting a Tool at either the Tenant or Branch level. Please be aware that a Tenant-level setup may not necessarily grant complete access to the entire tenant; rather, it may correspond to the access level assigned to you according to your custom role and the scope of that role.
Tenant Level Setup
To initiate the set up process at the Tenant Level follow these steps:
- Access Console and select Settings on the left-hand side.
- Choose LTI from menu options.

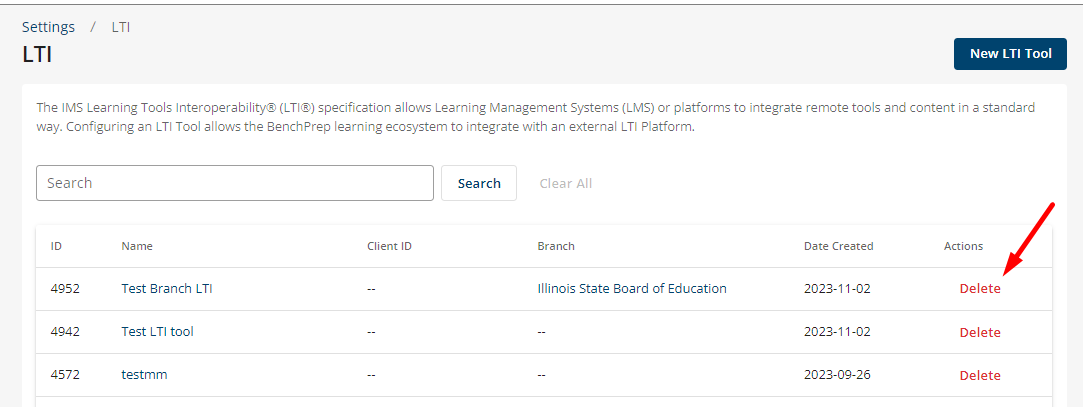
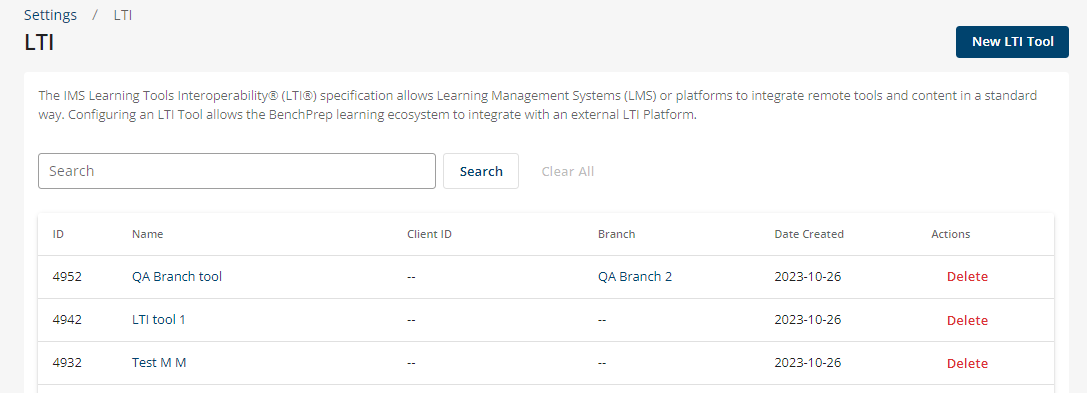
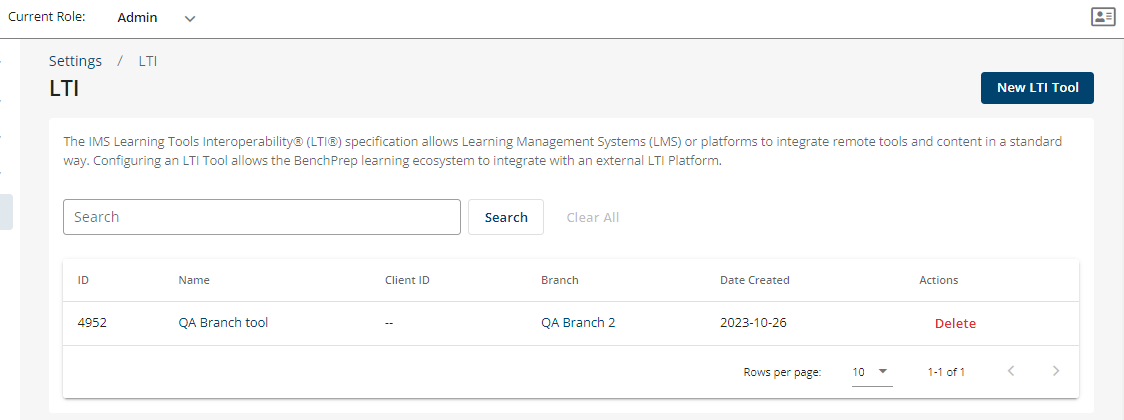
- The LTI page displays all LTI tools that you have access to see (tenant and branch) and includes the following details:
- ID
- Name
- Client ID
- Branch - if blank the LTI tool is a tenant level tool
- Date Created
- Actions
- Select New LTI Tool button.
- On the next page, input the LTI Name (required) and select Save.
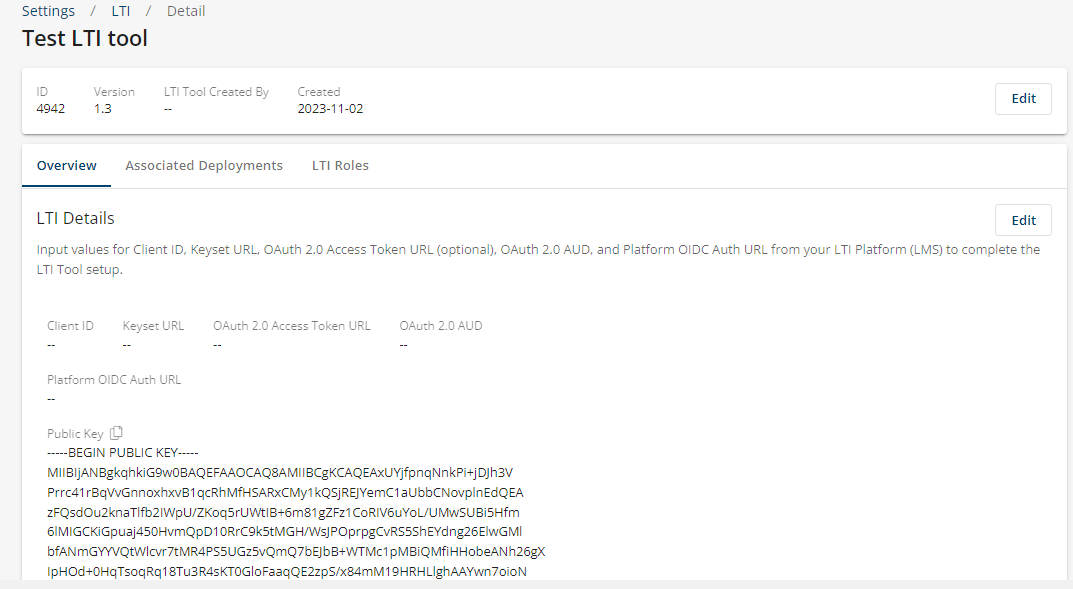
- After the LTI tool is saved, the Overview Section will display LTI details with keys/URLs/endpoints necessary to successfully configure the LTI tool on the LMS side.
- Upon successful configuration on the LMS side the following fields will be generated and will need to be saved on BenchPrep’s side.
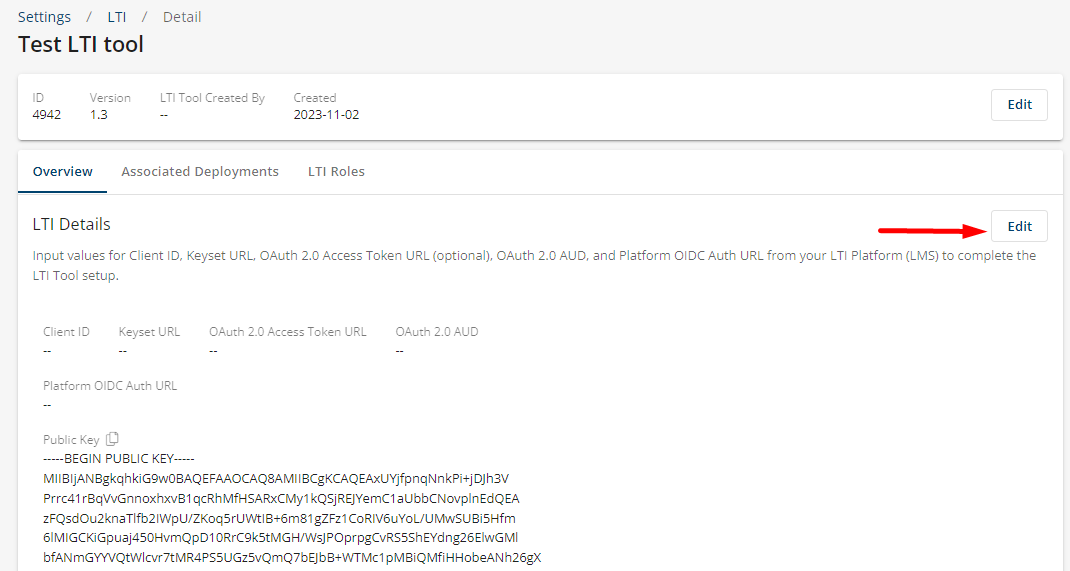
- Click Edit on the left-hand side.
- Input applicable fields in the pop up box.
- Select Save.


After saving the LTI tool, follow the “Creating a Deployment” section below to create a deployment.
Branch Level Setup
To initiate the set up process at a Branch Level, follow these steps:
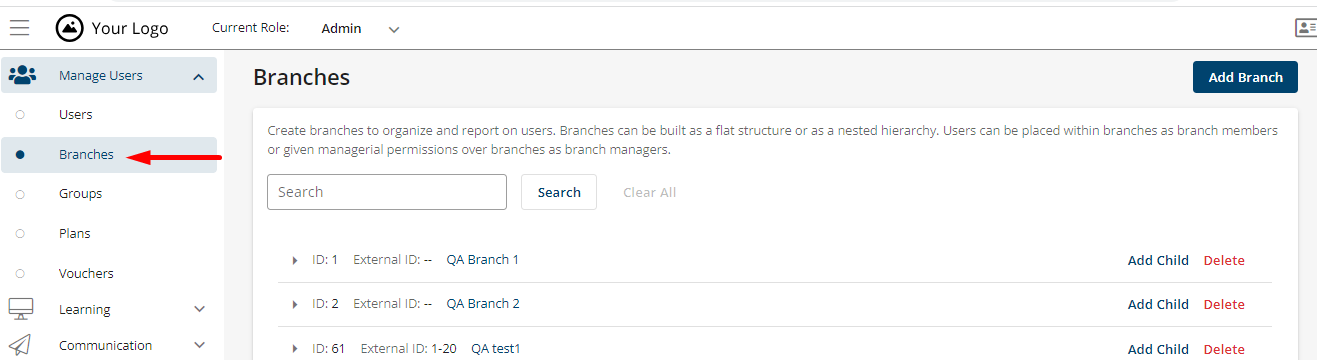
- Access Console and select Branches underneath Manage Users on the left-hand side.
- Locate the desired branch and select it.
- Click Settings on the right-hand side.
- Choose LTI from menu options.
- The LTI page displays all LTI tools that you have access to see (tenant and branch) and includes the following details:
- ID
- Name
- Client ID
- Branch - if blank the LTI tool is a tenant level tool
- Date Created
- Actions
- Select New LTI Tool button.
- On the next page, input the LTI Name (required) and select Save.
- After the LTI tool is saved, the Overview Section will display LTI details with keys/URLs/endpoints necessary to successfully configure the LTI tool on the LMS side.
- Upon successful configuration on the LMS side the following fields will be generated and will need to be saved on BenchPrep’s side.
- Click Edit on the left-hand side.
- Input applicable fields in the pop up box.
- Select Save.

After saving the LTI tool, follow the steps in the section below to create a deployment.
Creating a Deployment
An LTI Tool’s Deployment determines where it can be used. For instance, an instructor can deploy a tool in one specific course, or an institution can deploy it across the entire institution, accessible in all current and future contexts within the institution. Enabling a single tool for multiple deployments allows us to support various scenarios and use cases.
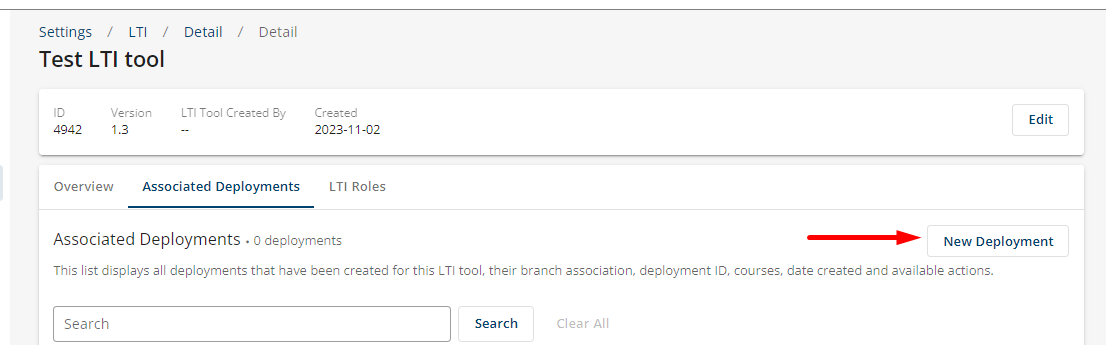
You can add a deployment to an existing LTI tool (both tenant or branch) by following these steps:
- Select the LTI tool you would like to create a deployment for.
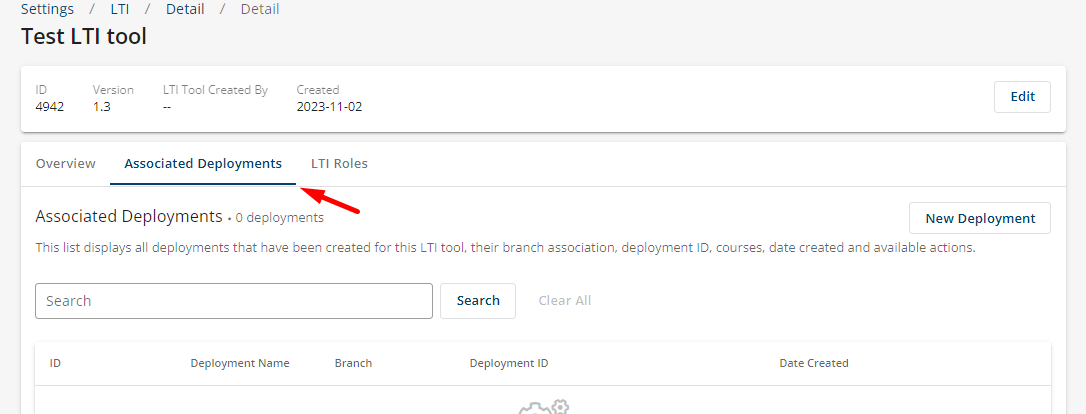
- Navigate to the Associated Deployments tab.
- This page displays all deployments associated with this LTI tools and includes the following details:
- ID
- Deployment Name - internal only, editable field
- Branch - lists branch association (including children branches, if applicable)
- Deployment ID - editable field
- Courses
- Date Created
- Actions
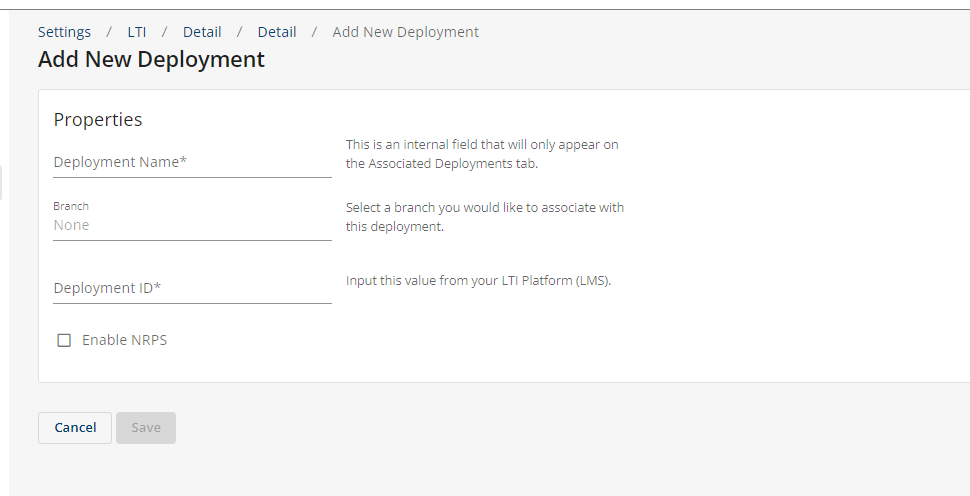
- Input the following:
- Deployment Name - internal only, appears on Associated Deployments page.
- Branch - choose a branch this deployment will be associated to. Branch Level deployments will have the corresponding branch auto-filled in.
- Deployment ID - input value from your LTI platform (LMS).
- Select Next.
- Click the + icon next to the desired courses to move them from Available to Selected Courses section.

- Click Create Deployment.
After your LTI tool and Deployment is created, test your configuration to ensure it functions correctly.
Modifying LTI Tool and Deployment
After creating and LTI tool you can edit the following:
- LTI tool name
- Details in the OVerview Section
After creating a Deployment you can edit the following:
- Deployment name
- Deployment ID
You can Delete an LTI tool and remove an associated Deployment.
Select the Delete link next to the LTI tool you wish to remove: