2794
2794
Creating Branches
The steps for creating branches are slightly different depending on the type of branch you’d like to create.
A root branch is the top branch of a hierarchy. A child branch is a branch that’s nestled under another branch. A child branch can be nestled under the root branch, or under another child branch of that root branch. There is no limit on how many child branches a branch can have; a branch hierarchy can have up to ten levels.
In order to create branches, your account must have a role that grants you permission to create branches. The Console admin role allows you to create branches. If you’re using custom roles, ensure your role has these permissions:
- Create Branches
- Read Branches
The only users that can create branches are tenant-scoped users, such as a Console admin. Branch managers cannot create, update, or delete branches.
Sample hierarchy for a school use case
Sample hierarchy for a corporate use case


Creating Root Branches
- Open Console and select Branches from the drop-down under Manage Users.

- Select the Add Branch button. This will bring up a row under the search bar where you can add a new branch.
- Add your branch name to the Branch Name field, then select Save. The new branch will immediately appear in the branch listing (you also have the option to add an external ID (EID) to your new branch, if you want to demonstrate that this branch is equivalent to an item from another database).


Creating Child Branches
- From the Branches section of Console, find the branch you want to add a child branch to. You can add a child branch to a root branch or another child branch.
- Select Add Child next to the name of the branch. This will bring up a row under the branch where you can add a child branch.
- Add the name of your child branch to the Branch Name field, then select Save. The new child branch will immediately appear in the branch listing.


Editing Branches
To edit a branch, ensure you have a role with the following permissions:
- Update Branches
- Read Branches
- In the Branches section, select the name of the branch you’d like to edit.
- On the next page, select the Edit button. Here, you can edit the name, external ID, or slug of the branch.

Some branches may have a lock icon instead of the “Edit” button. This means that this branch is synced with a legacy hierarchy created in the Tenant Dashboard. To edit this branch, open the Tenant Dashboard and edit the hierarchy it’s synced with. You can see exactly which administrative division, district, institution, or group this branch is linked to by hovering over the lock icon.
- Select save to finish editing.


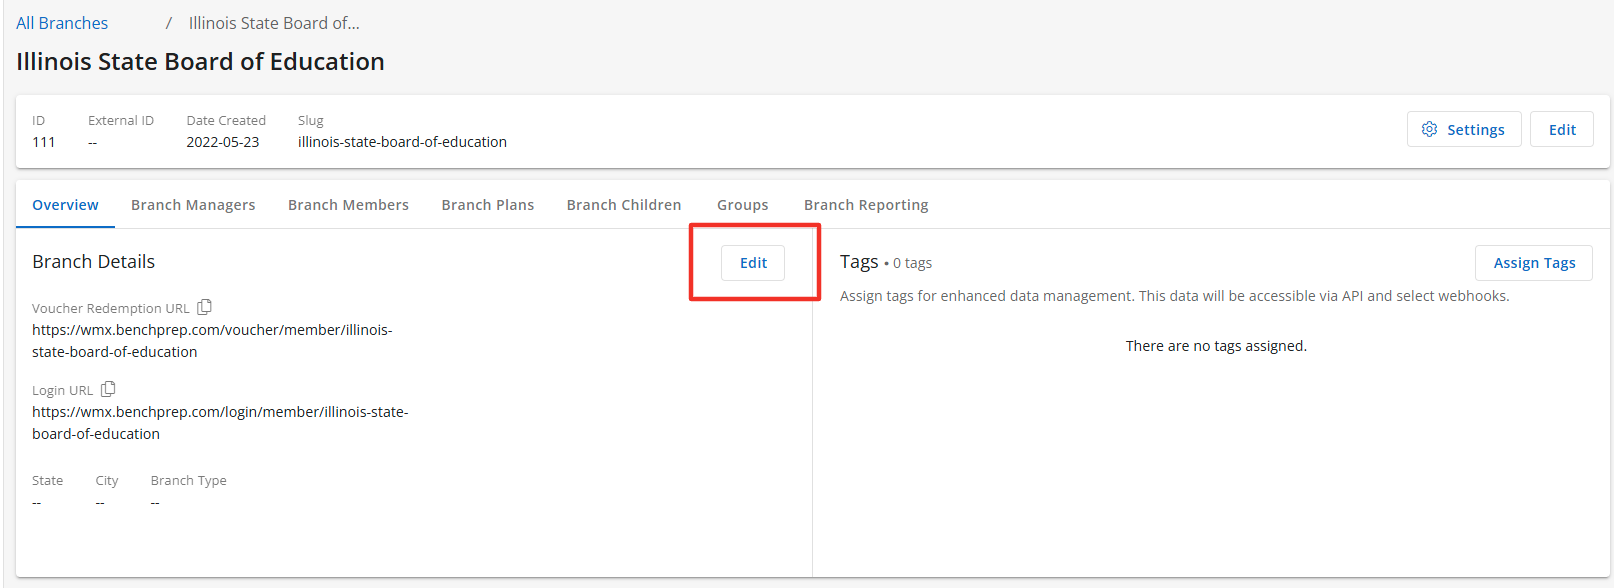
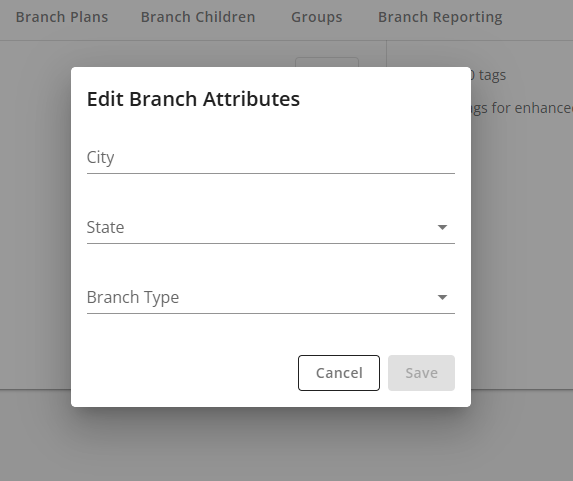
If the Feature Access Additional Branch Attributes is enabled you can edit and add the State, City, and Branch Type. To edit or add theses details click on Edit in the Branch Details section.
Deleting Branches
The only users that can delete branches are tenant-scoped users. Branch managers cannot create, update, or delete branches.
To delete a branch, ensure you are a Console admin or have a role with the following permissions:
- Read Branches
- Delete Branches
In order to delete a branch with branch managers, you must also have the permission Delete User Roles. This is because deleting a branch with branch managers will also delete the associated user role for each of the associated branch managers.
If you have the Delete Branches AND Delete User Roles permission, but attempt to delete a branch with a Branch Manager that has a role with permissions that go beyond those of your role, you will be unable to delete the branch. This is in order to restrict removing of User Roles that you do not have the ability to remove.
- In the Branches section, select Delete next to the branch you’d like to remove.
Some branches may have a lock icon instead of the “Delete” option–this means that this branch is synced with a legacy hierarchy created in the Tenant Dashboard. To delete these branches, reach out to your BenchPrep contact.
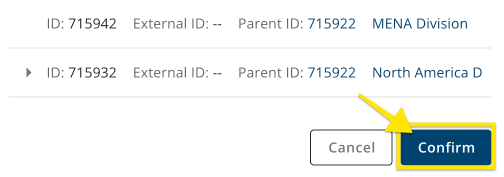
- A pop-up window will confirm which branch you’ve decided to remove. If you’re removing a branch with children, note that deleting this branch will also delete all of its child and descendant (i.e. grandchild, great-grandchild, etc.) branches. Deleting a branch will not delete the branch managers and members. Branch managers will lose the user role scoped to the deleted branch, and branch members will be unassigned from the deleted branch.
- Select Confirm to delete the branch.

NOTE: Deleting of a branch with any associated Branch Plans or Groups is not allowed.