4. Disabling and Enabling Webhooks

Sep 02, 2022
 2636
2636
Disabling a webhook will immediately stop the webhook from sending data to the destination URL. Enabling a webhook means that the webhook will begin sending data to the destination URL as soon as a trigger event occurs. If trigger events occur while a webhook is disabled, enabling the webhook later will not retroactively deliver those trigger events to the destination URL.
Disabling Webhooks
- In the Settings section of Console, select Webhooks.
- Locate the webhook you want to disable in the webhook listing. Then, select Disable.
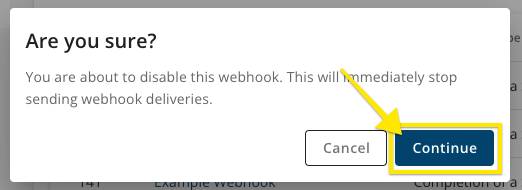
- A pop-up window will appear to have you confirm that you want to disable this webhook. Select the Continue button.
- A banner will appear to confirm the webhook has been disabled.

Enabling Webhooks
- In the Settings section of Console, select Webhooks.
- Locate the webhook you want to disable in the webhook listing. Then, select Enable.
- A banner will appear to confirm the webhook has been enabled.

You can also enable or disable webhooks by selecting the webhook’s name from the webhook listing and then selecting the “Disable Webhook” or “Enable Webhook” button on the webhook’s details page.
Note: Managing Webhooks is done via Console, check out Who Can Set up Webhooks? to learn more.

