617
617
Premium Content for your courses can be configured from BluePrint. The content you’d like to set up as Premium Content will already need to exist in your course, and you will need to have custom modals created in Console. More information on custom modals can be found here.
The Content Locking feature access will also need to be enabled at the tenant, course, and branch/institution level, and the Premium Content feature access will need to be enabled at the course-level.
To configure Premium Content in BluePrint, you will need to be a BluePrint Admin or be assigned as an owner or collaborator of the course.
Adding Premium Content
To add Premium Content to your course, follow these steps:
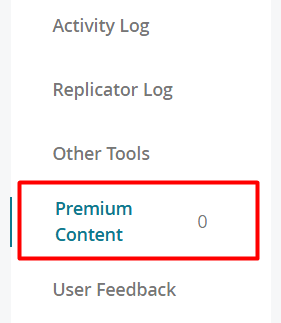
- Navigate to your course in BluePrint, and click on the Premium Content tab.
- Click on New Premium Content.

- Input a title, description (optional), and slug. The title and description are internal fields, so learners will not see these. Click on Next.

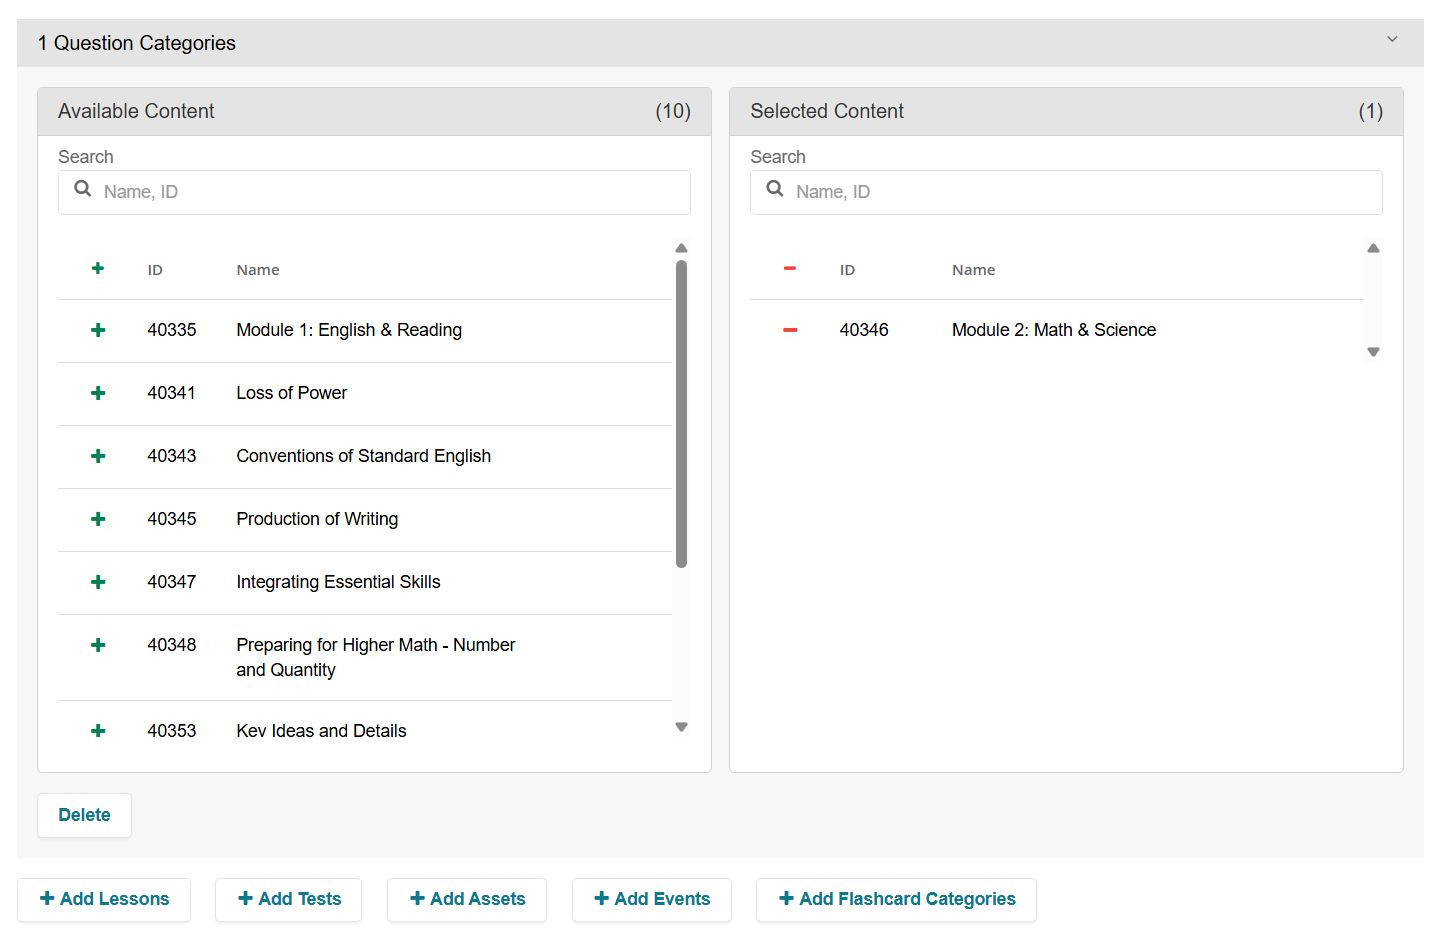
NOTE: If no slug is entered, it will automatically use what you have as the title. - Add the content that will be unlocked by this Premium Content. You can add lessons, question categories, tests, assets, events, or flashcard categories. More than one content type can be added.
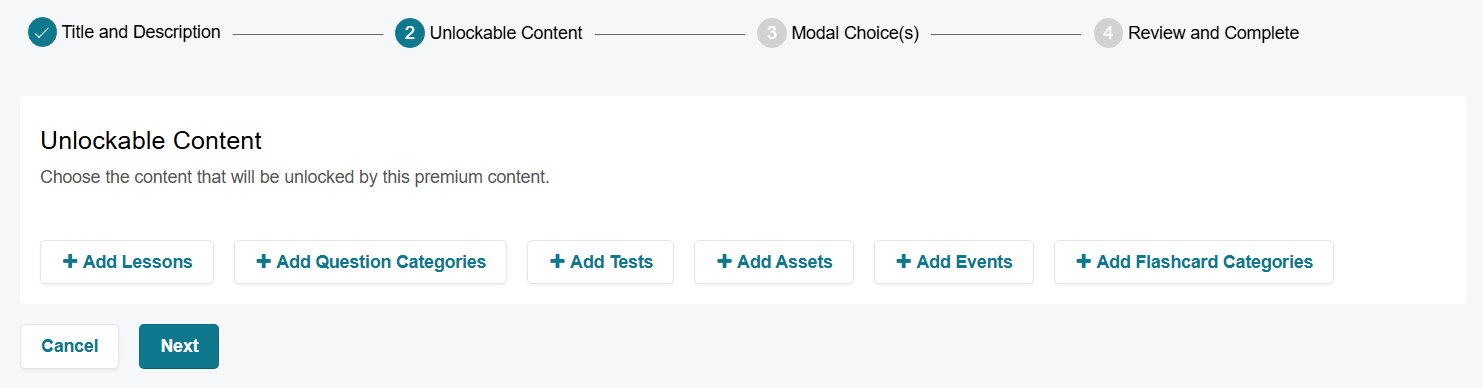
NOTE: If your course does not use a content type, no content will appear when attempting to add that criteria (e.g. If you have no tests in your course, clicking on + Add Tests will display no results).- Move content from the Available Content to the Selected Content section by clicking on the + icon next to an item. Selecting the - icon will remove the item from the selected content side.
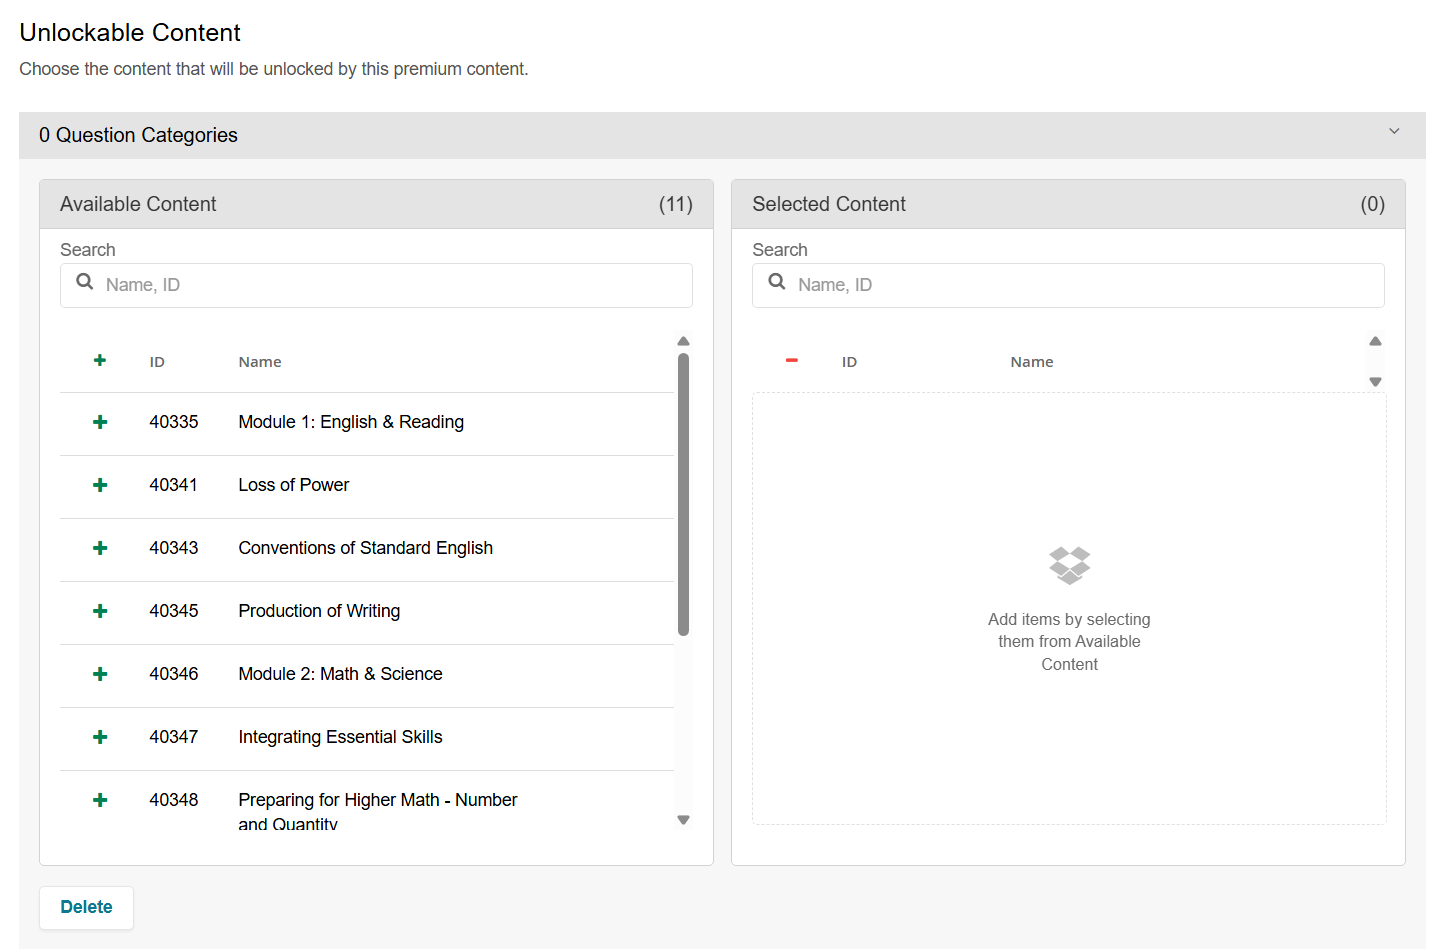
- To delete a content type, click on Delete near the bottom.
- Click on Next.
- Move content from the Available Content to the Selected Content section by clicking on the + icon next to an item. Selecting the - icon will remove the item from the selected content side.
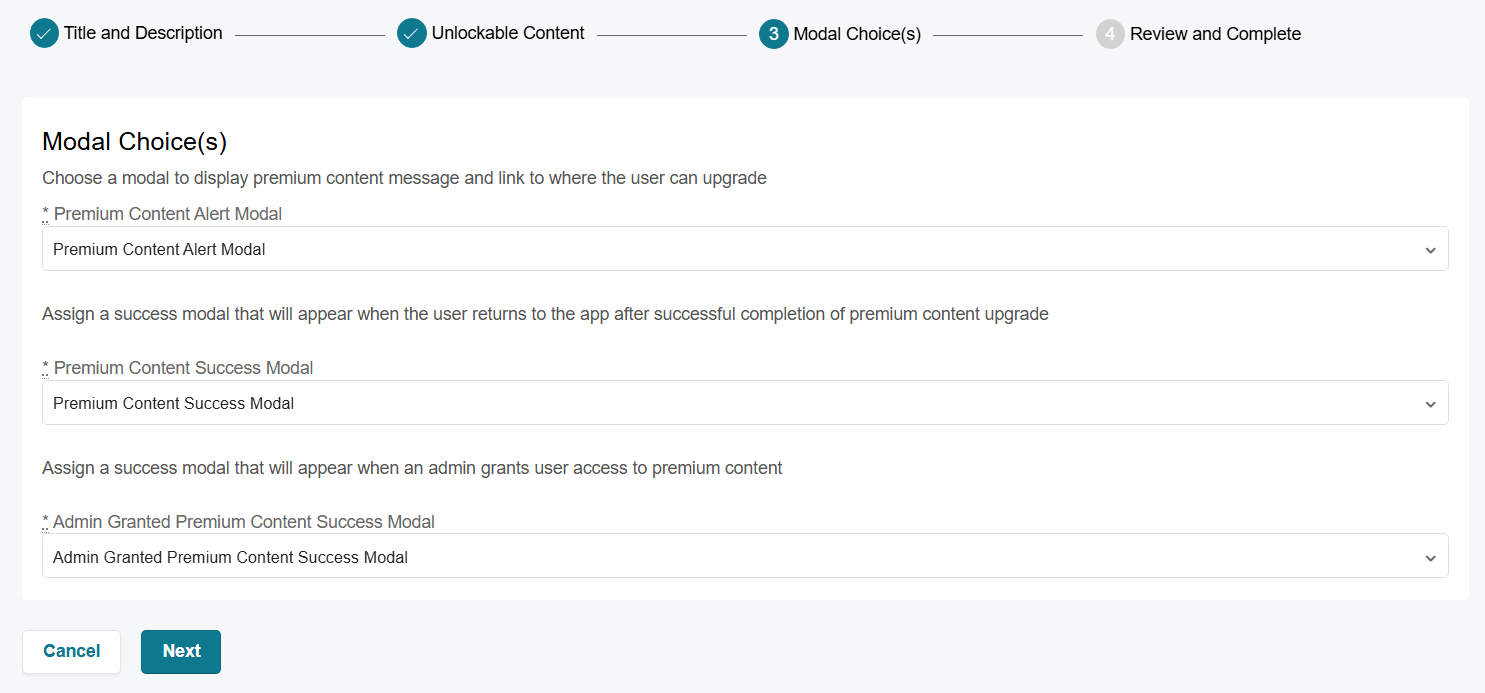
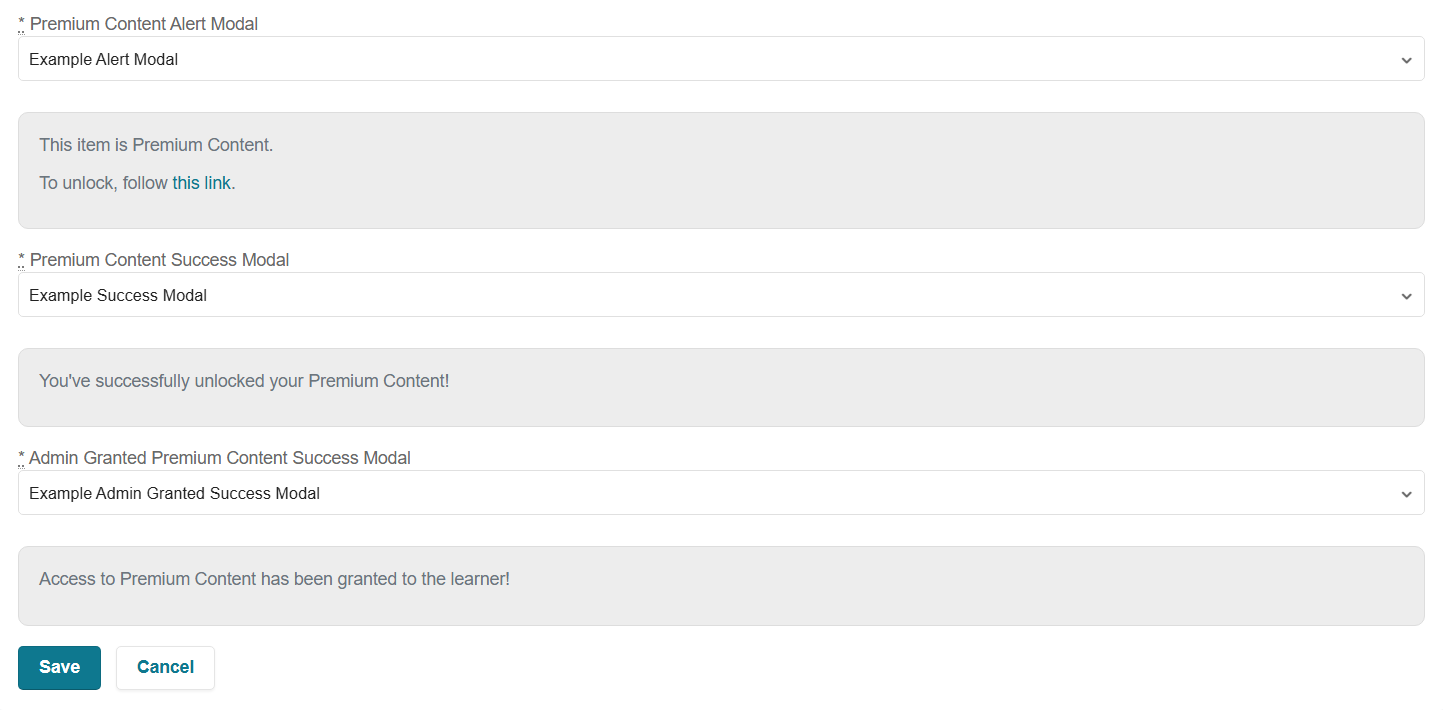
- Select which modals will appear for your Alert Modal, Success Modal, and Admin Granted Success Modal. Click on Next.
- Review your Premium Content details. If you need to edit anything, click on the appropriate section to navigate to that page.
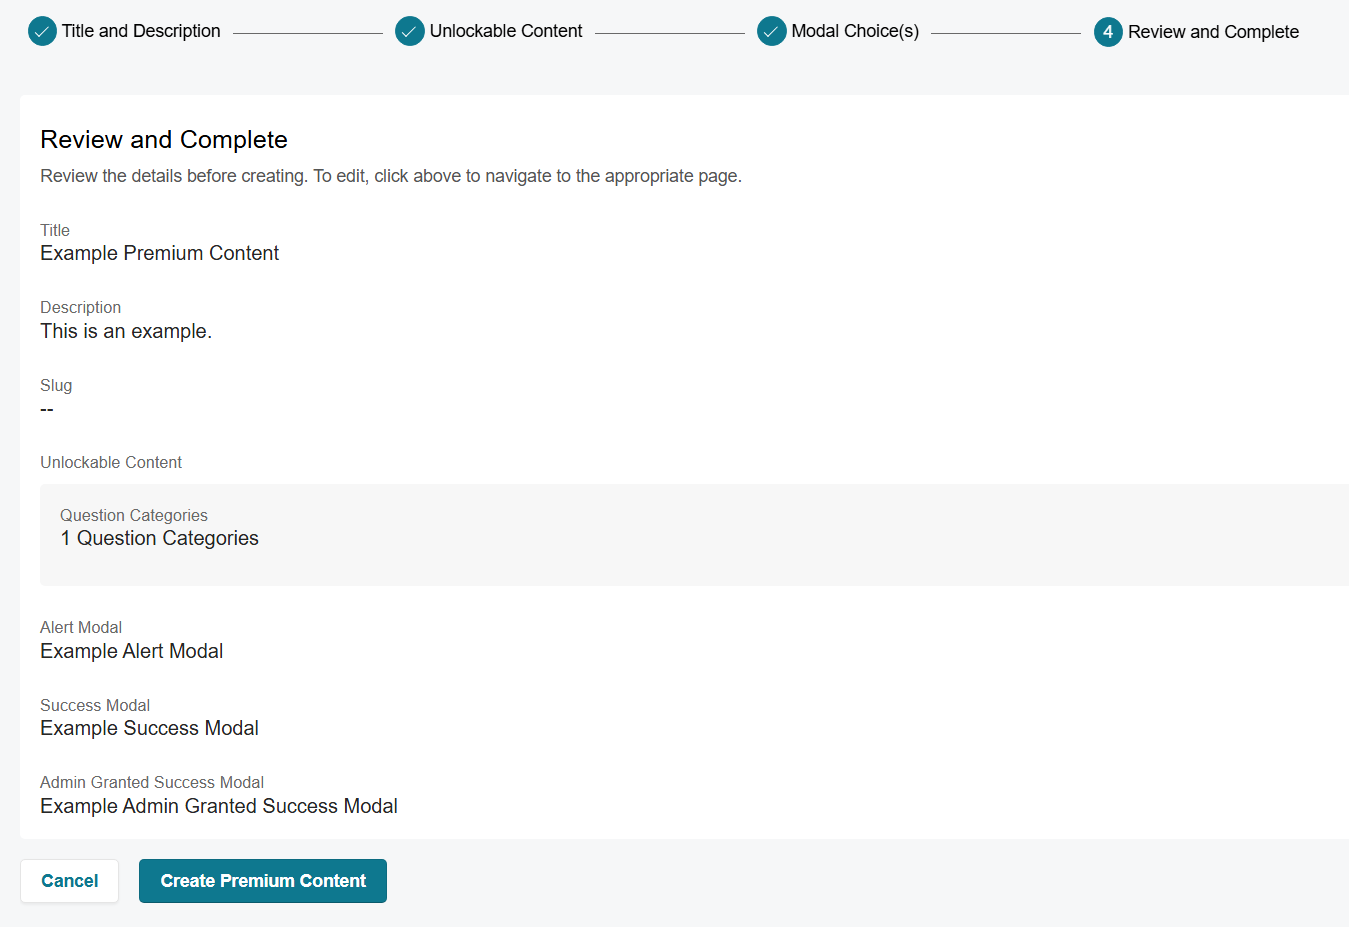
- Click on Create Premium Content.
- Once it’s created, publish changes to your course.
- Navigate to your course in the Learning Platform and ensure your Premium Content has locked the correct content. We also recommend testing out your Premium Content to make sure that learners are able to unlock the content.
Editing Premium Content
To edit Premium Content in your course, follow these steps:
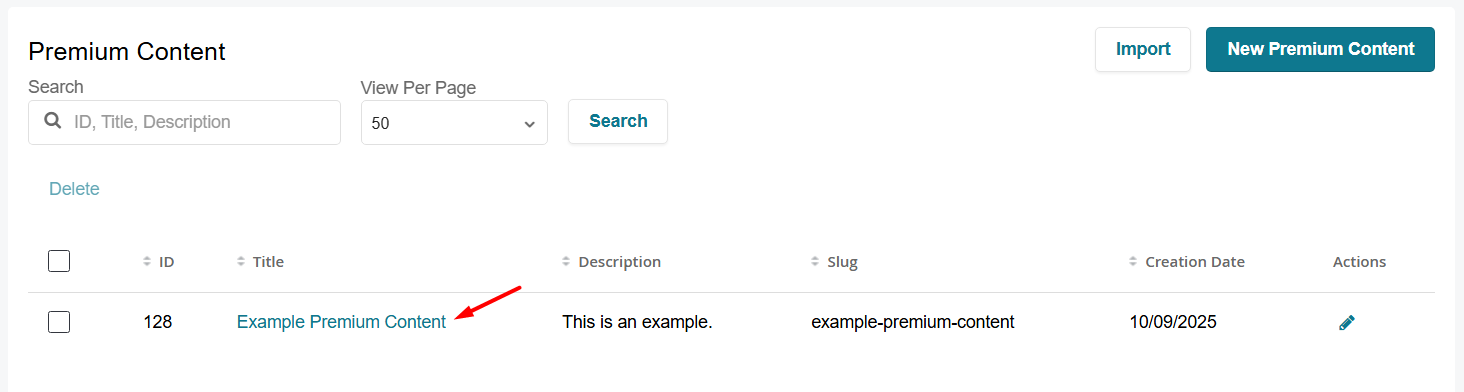
- Navigate to your course in BluePrint, and click on the Premium Content tab.
- Click on the name of your Premium Content, and click on Edit.

OR
Click on the pencil icon next to the Premium Content you’d like to edit.

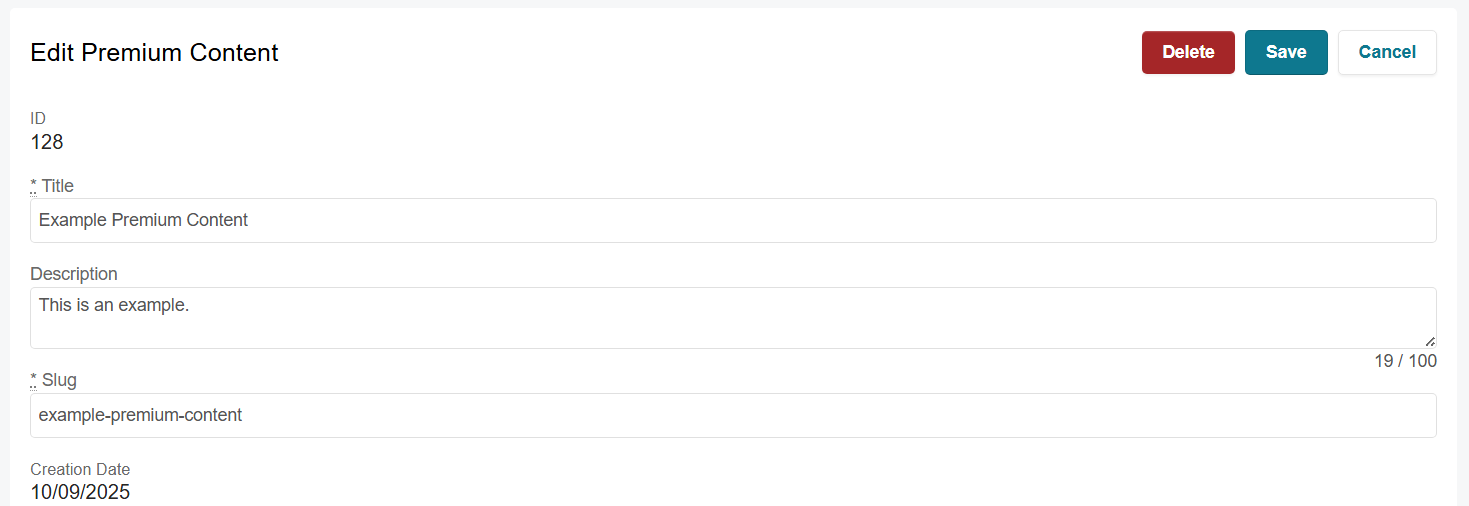
- Edit the title, description, and/or slug for your Premium Content.
- If you’d like to add items to your unlockable content, click on the appropriate content type.

- Move content from the Available Content to the Selected Content section by clicking on the + icon next to an item.
- Move content from the Available Content to the Selected Content section by clicking on the + icon next to an item.
- If you’d like to remove items from your unlockable content, click on the appropriate content tab, and click on the - icon next to the item(s) you’d like to remove.
- To change a Premium Content modal, select a new modal from the dropdown.
- Click on Save.
Deleting Premium Content
To delete Premium Content from your course, follow these steps:
- Navigate to your course in BluePrint, and click on the Premium Content tab.
- Click on the name of your Premium Content, and click on Edit.
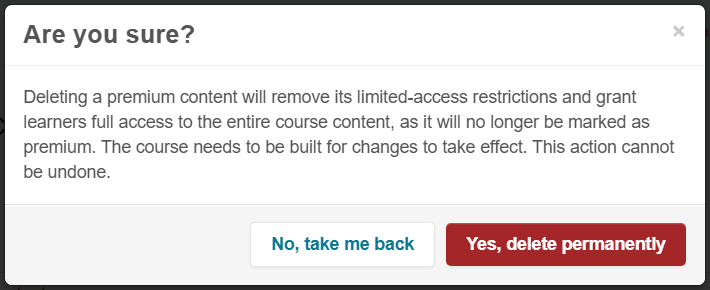
- Click on Delete.

- Click on Yes, delete permanently to confirm. Once the Premium Content is deleted, all learners enrolled in the course will be able to access that content now.
Identifying Premium Content in BluePrint
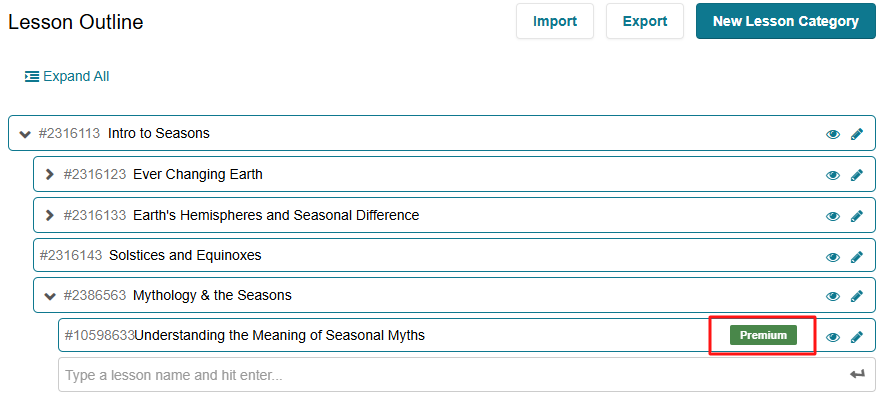
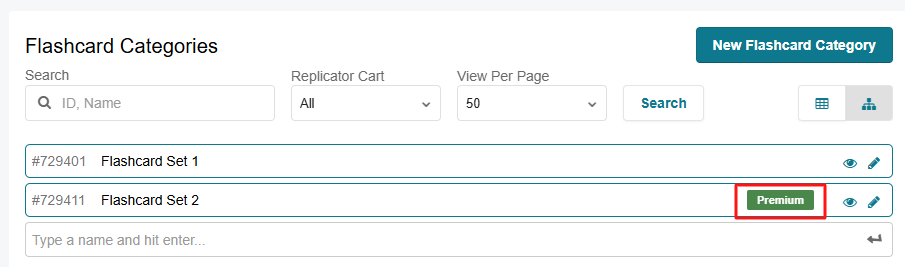
Lesson Outline and Tree View
In BluePrint, premium content is marked with a green “Premium” label displayed on the right-hand side in Lesson Outlines and tree view for Question Categories, Flashcard Categories, and Tests.
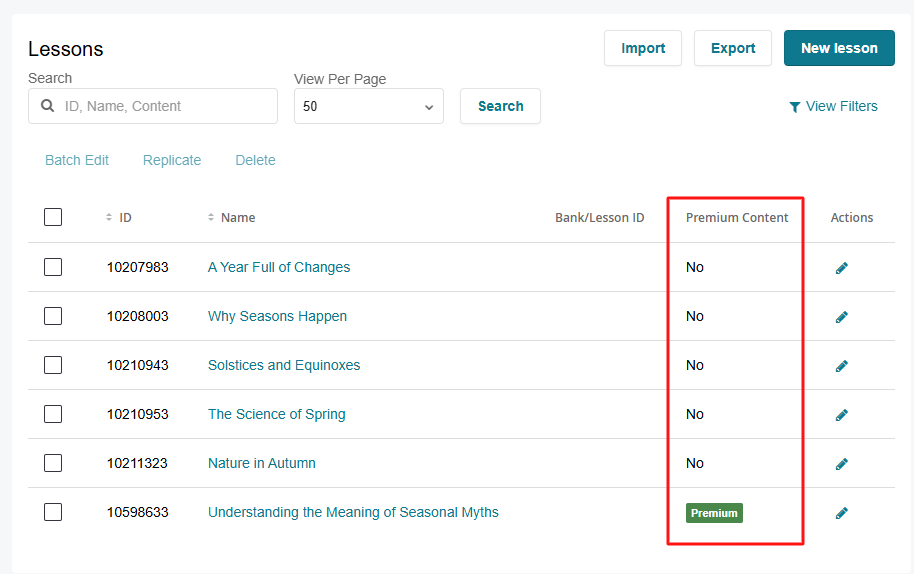
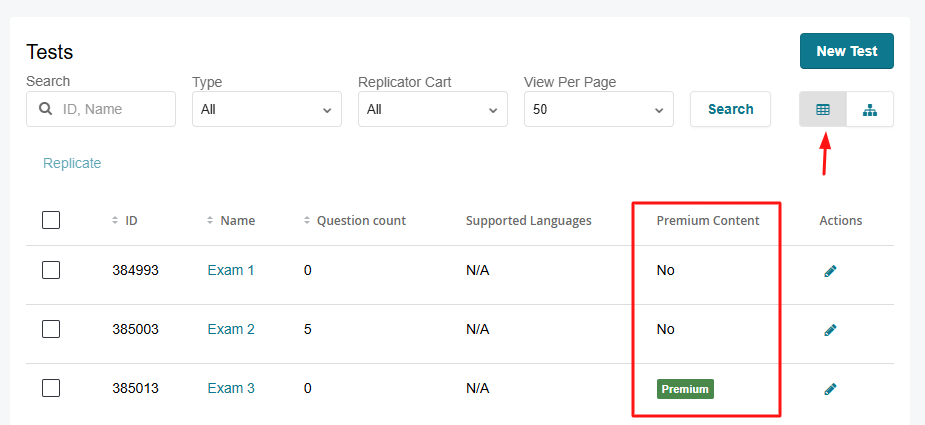
Lessons and Table View
In Lessons and table views of Flashcards, Tests, and Assets, premium items are marked with a green label in the “Premium Content” column of the table.
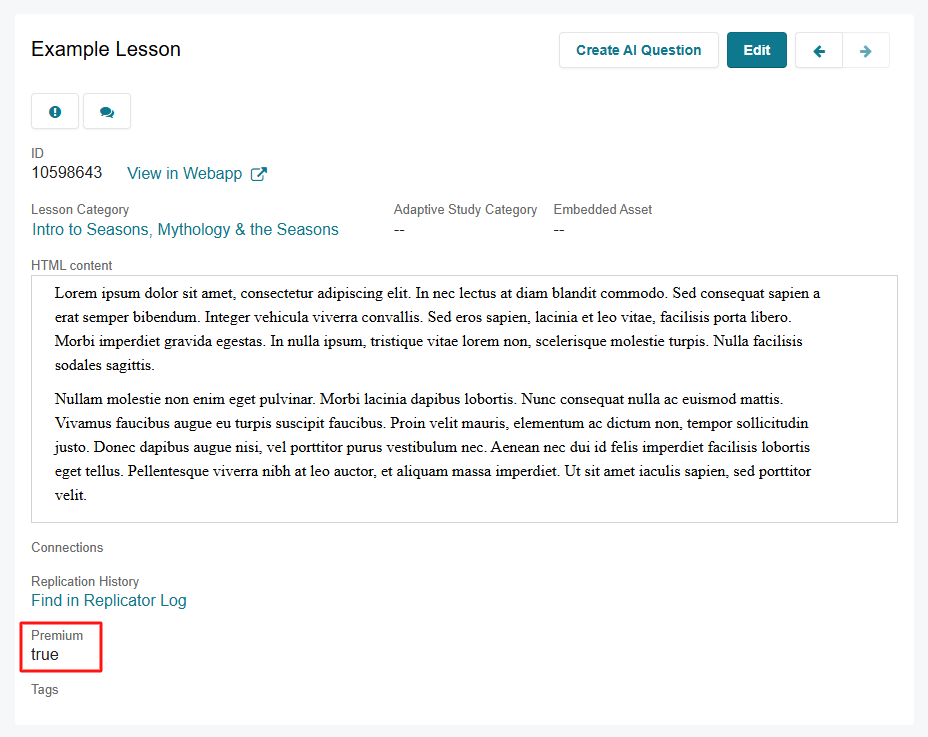
Detail Pages
On Detail pages for Lessons, Question Categories, Flashcard Sets, Assets, and Tests, premium content is indicated by the Premium Content field. The field displays “true” or “false”, with true meaning the content is premium.