
 3261
3261
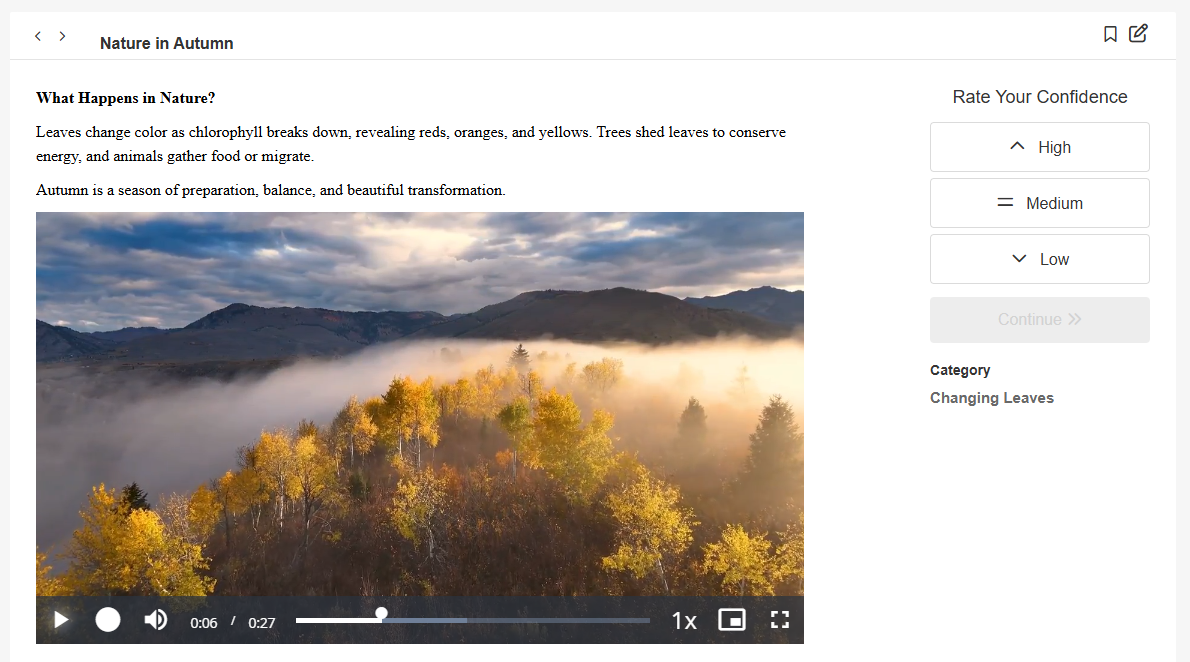
When creating your course, videos are a great way to enhance your content for learners. Whether it’s a webinar recording, an interview with industry experts, or a demonstration of a technical process, videos allow you to deliver content in a more interactive way.
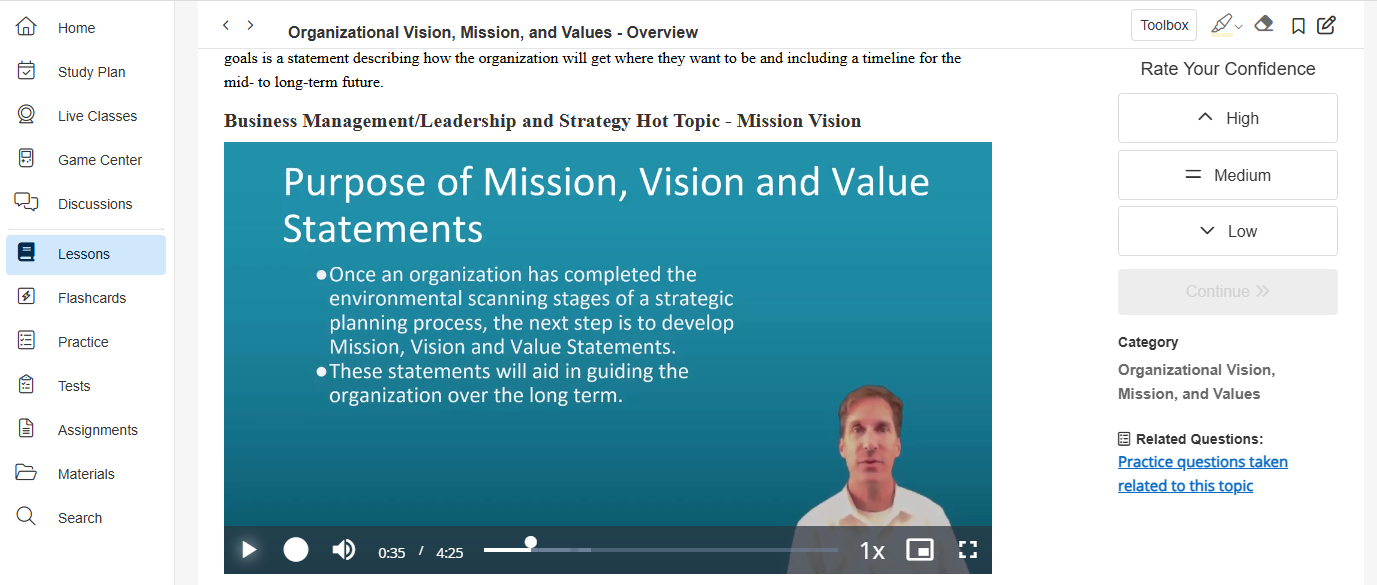
Videos can be uploaded directly to our platform and configured to appear within a lesson or as an interaction. They can also be embedded within a lesson from another video hosting website.
Uploading Videos for Lessons
To add videos to your lessons, you’ll need to upload them as multimedia assets within BluePrint. There are several different methods you can use to upload your videos including:
- Uploading a video directly to a lesson from the lesson’s edit page
- Creating a new video asset from the Assets tab
- Uploading videos using the Import Tool (ideal for bulk imports)

The following video formats are accepted by our system: mp4, ogv, mov, wmv, m4v, mkv, avi, mpg, mpeg, and vtt or srt for captions. For optimal viewing and performance, we recommend the size/resolution/bit specs for the video to be 30fps (frames per second), resolution - 1280x720 with the highest bitrate possible. If your video's resolution is higher, it will need to be less than 2048x1080 to upload to our system.
As for file size, if your videos are 500MB or smaller, any of the methods listed above can be used for upload. However, if your videos are larger than 500MB, they should be compressed into a Zip file and then uploaded using the Import Tool. For more instructions on how to upload your videos and add them to lessons, check out our article here under the section called Multimedia Assets.
Embedding Videos for Lessons
If you already have videos hosted on an external website, you also have the option of embedding them into your content. Our article here provides more details about embedding multimedia content using HTML code and an iframe.
When embedding your videos with an iframe, we recommend to use a <div> around the <iframe> with the following styles:
position: relative;
display: block;
max-width: 768px;
padding-top: 56.25%;
And the following styles on the <iframe>:
position: absolute;
top: 0px;
bottom: 0px;
height: 100%;
width: 100%;
Hosting Videos on BenchPrep vs. External Website
If you’d like to keep track of all of your content from one place, we recommend uploading your videos to our platform and organizing them here. If you’d like to use specific video features or controls only available on other websites (e.g. YouTube, Wistia), then you can upload them there and embed them into your content. However, we recommend hosting videos directly on BenchPrep, as videos hosted externally are limited by where they are hosted (i.e. connectivity is dependent on the hosting site). Depending on how you intend to use your videos and your preferences in managing them can help determine where they should be hosted.
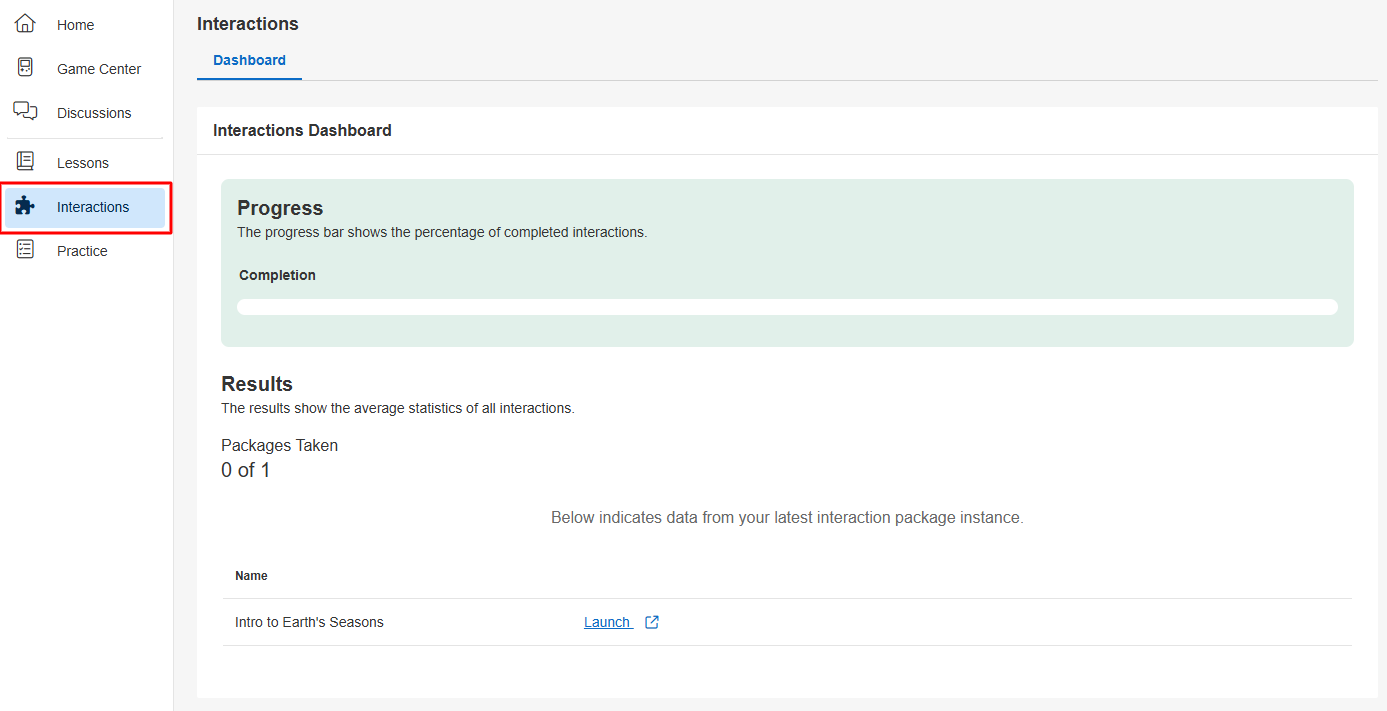
Uploading Videos as Interactions
If you’d like to include videos in your course but want them to be viewed as individual media versus within a lesson, you can set them up as interactions. Once added to your course, the videos will appear within the Interactions tab in the Learning Platform. If you have an asset-based course, only interactions will be shown.
To create a new interaction, you’ll need to create a video asset by going to the course’s Assets tab within BluePrint. More instructions on how to create an asset can be found here. When creating your asset, the Asset Type should be set to Video and Audio and the External Assets option should be selected underneath.

For more information about other interactions and assets you can use, check out our articles here.
Video Best Practices
- Before uploading your videos, give them a naming convention that makes sense for you so that you can easily identify them.
- Make sure you have the final cut of your videos before uploading. If they require any edits later, the videos will need to be removed and then reuploaded. Videos cannot be edited within BluePrint. If you’re adding captions or subtitles to your videos, make sure they’re in the correct file format (we accept .vtt or .srt files) and test out your videos to check that they’re timed correctly.
- If you have a lot of videos that you want to add to your course, include them together in a .zip file and upload them in bulk to save time.
- If you would like a user to be able to download a video, save the video inside of a .zip file and upload the file into the page of content as you would other supplementary material.
- To support accessibility, add closed captioning to your videos or include a transcript. Transcripts can be uploaded as supplementary material within your lessons or added as a resource to the course.
- If using embedded videos, be sure to use the resources and settings for closed captioning available on the platform that hosts your videos. Many platforms can enable captions as a feature and can host them.
- For videos that are coming from Brightcove or another similar source, double-check that your video embed codes do not include any javascript or json coding. BluePrint will strip that encoding out for security reasons. If you are trying to embed a video from Brightcove or another source that uses this type of code, you will need to get a regular URL for the video and display it inside an iframe in your HTML in the source editor. Please reach out to BenchPrep support if you need help with creating this HTML coding.

