
 2601
2601
Occasionally, you'll need to deactivate a group of users. Instead of spending time deleting them individually, try using our Bulk Deactivate feature in Tenant Dashboard or Institution Admin. In this article, we'll walk through the process and point out a few things worth noting.
Deactivating a user renders their account unusable; they will no longer be able to log in and therefore will be unable to access their courses. The profile and its data will still exist and still be visible to you, though, and you can reactivate it whenever you want to. Once reactivated, the user will be able to go back in to the profile and resume progress. In certain instances assistance from BenchPrep will be provided to restore access, contact support to confirm.
To bulk deactivate via Tenant Dashboard follow these steps:
- Select the Users panel from the left navigation bar in Tenant
- Select Deactivate Users from the top left
- Follow the instructions on the next page, which instruct you to download a CSV template
- Fill out the CSV with all relevant information:
- email - the email address of the user
- user_id - the ID number of the user
- username - the username of the user
- sis_id - the (optional) external ID given to the user
- institution - the ID of the institution the user is in (Note: this must be the institution ID, not the institution name)
- remove_from_group - enter either "y" or "Y" to remove user from group. (Note: If field is left blank user will not be removed from group)
- Select Upload, and select Yes, deactivate users from the pop-up.


To bulk deactivate via Institution Admin follow these steps:
1. Select the Students tab on the Institution Admin dashboard
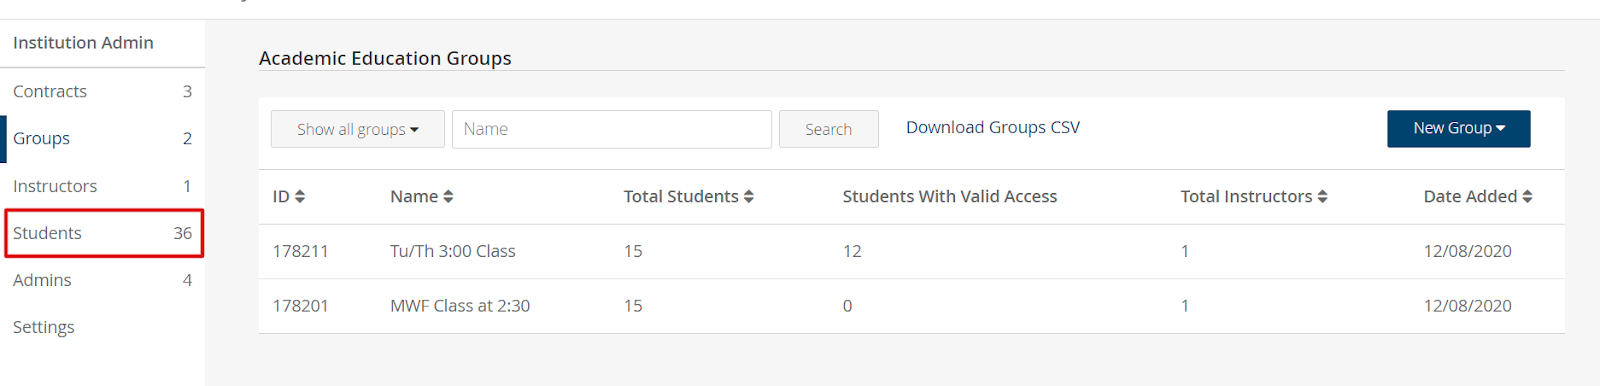
2. Then select the Deactivate Students button

3. Follow the instructions on the next page, which instruct you to download a CSV template
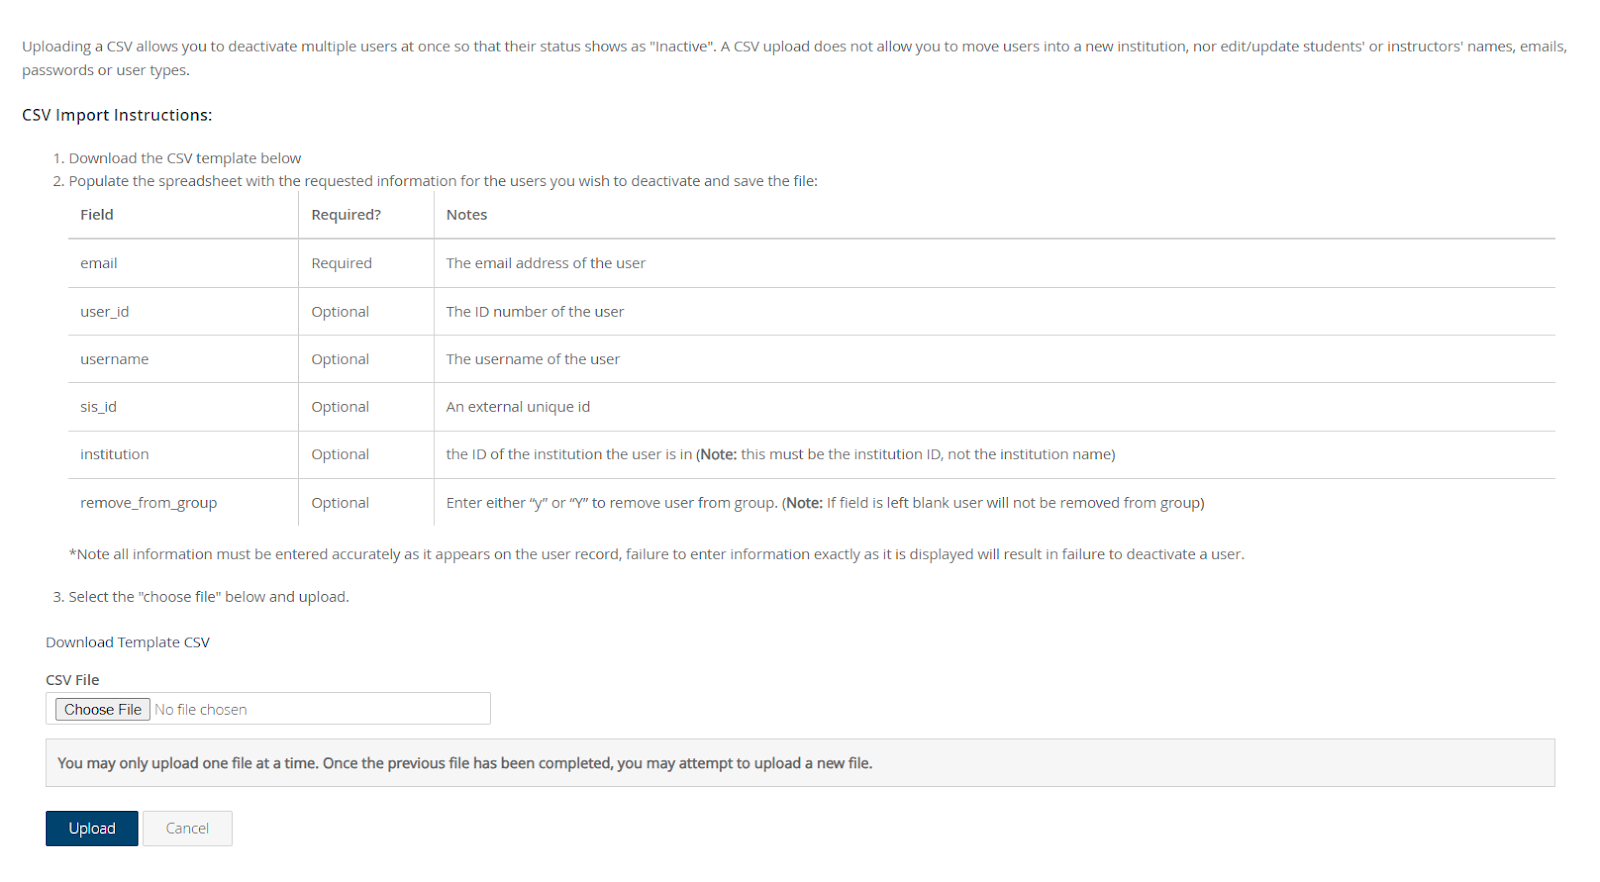
4. Fill out the CSV with all relevant information:
- email - the email address of the user
- user_id - the ID number of the user
- username - the username of the user
- sis_id - the (optional) external ID given to the user
- institution - the ID of the institution the user is in (Note: this must be the institution ID, not the institution name)
- remove_from_group - enter either "y" or "Y" to remove user from group. (Note: If field is left blank user will not be removed from group)
5. Select Upload, and select Yes, deactivate users from the pop-up.
Note: the only necessary column to fill out is the email address.
- If only the email address is entered and nothing else, the feature will still successfully delete the user.
- If the email address is entered correctly but another column is entered incorrectly, the user will not be deleted.
- If the email address column is left blank, the user will not be deleted.

