 7137
7137
Before you add your SCORM package in BluePrint, make sure you have a compressed .zip package as a single file on your computer. (This compression is usually done in the export process of your content authoring tool.) BluePrint supports every version of SCORM through Rustici Engine.
- Open BluePrint
- Select Assets in the left hand navigation
- Click the green New Asset button
- In the Select Asset Type dropdown, select SCORM (max file size is 4GB)
- The following inputs will appear:
- Asset Title: The name you would like for this package to have in your course (if blank, the filename will be used as the title)
- Upload: Where to add your SCORM package as a .zip file
- Learner's View: Select the way you’d like this SCORM content presented: In a pop-up window, in the same tab, or embedded within a lesson.
- Data Points to Display: The data that will display to learners in your course (Note: you can edit these later. For more information, visit Articulate’s Help Desk.)

- Click Add Asset
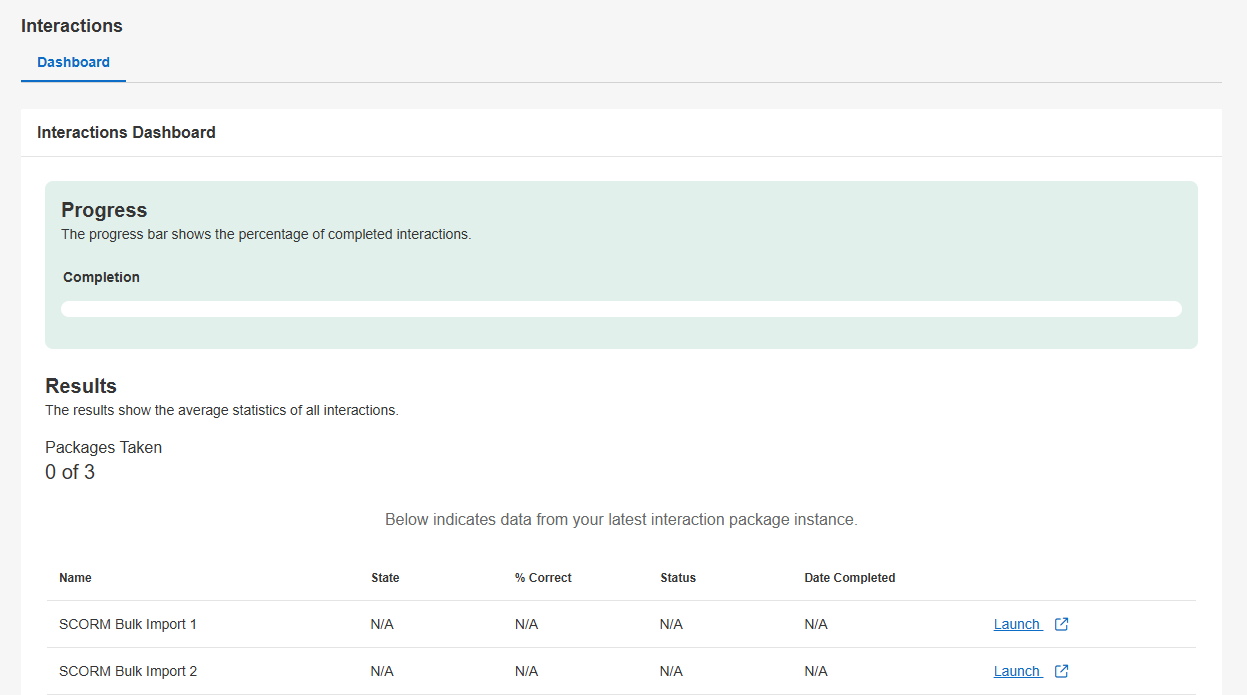
You will now see this SCORM package in the Assets page in BluePrint. After you publish changes to your course, if you selected "New Window" or "Frameset," the package will display in the Learning Platform under the Interactions section for default course type. If you selected "Embed In A Lesson," you will be able to add the SCORM package to a lesson. To learn more about how to add an uploaded asset to a lesson, click here.

Updating SCORM Packages
- Open BluePrint
- Select Assets in the left hand navigation
- Select the SCORM package you want to update
- Next Click on Edit in the right hand corner
- Upload the new SCORM file
- After uploading the new SCORM package confirm the Learner's View and the Data Points to Display
- Choose how users will access the updated SCORM from the following options. NOTE: The options will appear after choosing the file you want to upload.

- Not launched or completed - New version will be given to learners who have not launched the interaction, and those who relaunch after completing a previous version. Learners with an interaction in a paused state will continue with the original version.
- Not launched only - New version will be given to learners who have not launched the interaction. Learners with an interaction in a paused or completed state will see the original version when relaunching.
- All interaction states - New version will be given to all learners, regardless of whether they have started, paused, or completed the previous version.
- Not launched or completed - New version will be given to learners who have not launched the interaction, and those who relaunch after completing a previous version. Learners with an interaction in a paused state will continue with the original version.
- Click Save to update the SCORM package.


