

 3215
3215
Assignments are configured in BluePrint. In BluePrint toggle the Assignments Feature ON at the desired course to enable assignments in the Learning Application. Click here to learn how to enable the feature access.
To set up Assignments in a Course, follow these steps:
- In BluePrint, find the appropriate course and click on the Course Name.
- Select Assignments on the left hand side.

- Select the New Assignment button.
- On the New Assignment screen, fill out the following:
1. Select the assignment type: Written Assignment or File Submission. In a Written Assignment, the learner will prepare a written response to the prompt. A File Submission allows a learner to upload a file in response to the prompt. Supported file types are .jpg, .jpeg, .png, .gif and .pdf. and a maximum file size of 25mb.
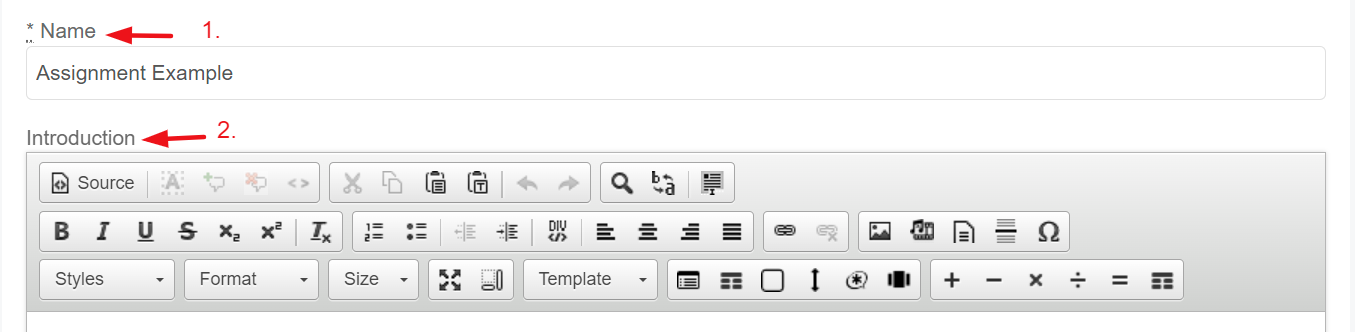
2. Name - Title of the assignment.
3. Introduction - Instructions on how to use the platform to write and submit their assignment.
4. Assignment Prompt - The question or topic the learner’s response should address.
5. Assignment Instructions - A shorter version of the assignment prompt for the learner to reference while writing or uploading a file. When a learner minimizes the assignment prompt, they will see only the assignment instructions.
6. Solution - The assignment rubric/grading criteria.

5. Select one of the options below to designate Assignment Time.
- Unlimited - no time limit to complete the essay. Learners will see a Time Elapsed indicator to show time spent within the Assignment module.
- Timed - specify a max assignment time to allow learners to complete the assignment (in minutes). If set, learners will see Time Elapsed as well as Total Time remaining.

6. Select one of the options below to designate Character Limit.
- Unlimited - default value, no restrictions on the number of characters used in essay response.
- Number of characters - if selected, input the maximum number of characters allowed in an essay response. Learners will see a character count / out of the max number of allowed characters (i.e. 5000/10000). Submit button will not be clickable if the number of characters exceeds the maximum. (Not Applicable for File Submission)

7. Select the Assignments Grading Type.
- Manual (Submitted to a grader) through BenchPrep, accessible to appropriate graders via BluePrint.
- Self-Graded (Graded by the learner).
- Custom Grading - select only if your platform is integrated with an external grading system. This type of grading can only support Written Submissions.

8. Choose Yes or No to indicate whether the Assignment is eligible for feedback
prior to submitting for scoring (only visible for Manual grading type).

9. Choose Percentage or Numerical Range to designate the Scoring value for the Default Overall trait as well as any additional traits you want to create. A trait is a set of gradable criteria for feedback or score, such as “punctuation” or “clarity of argument.” Score Range is not displayed for Percentage scoring.
NOTE: At least one additional Assignment topic trait is required for Self-Graded Assignments.
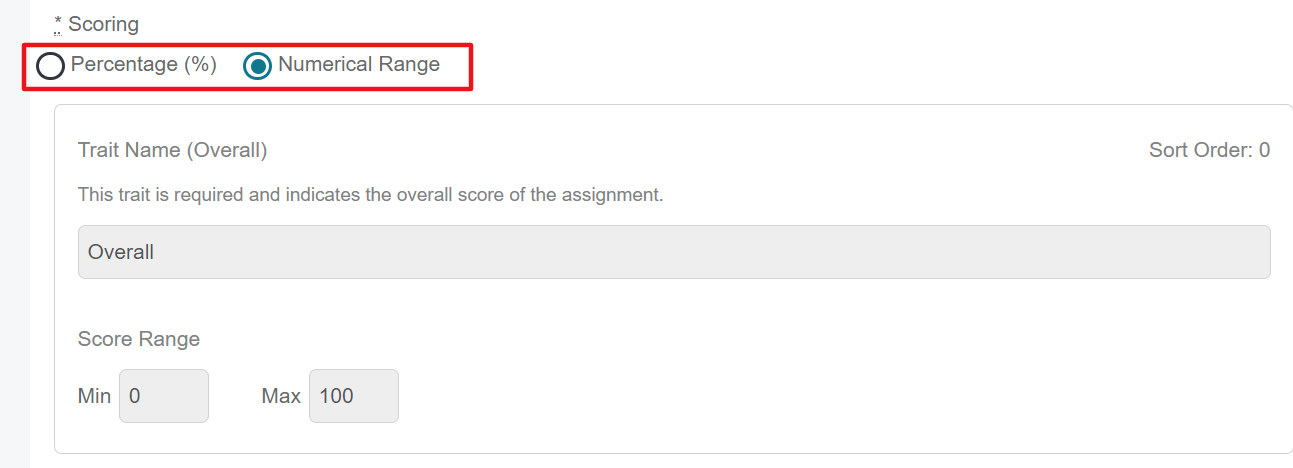
10. To add additional assignment topic traits, select the Add another assignment trait link.

- Fill out Trait Name.
- Set Score Range (if scoring is set to Numerical Range).
11. Next, fill out the Assignment Grading Category to define the assignment and ensure it is reviewed by appropriate graders (optional field visible for Manual grading type only. There is no character limit and special characters are allowed). Using Assignment Grading Categories enables assignments to be grouped by defined criteria and ensures only graders authorized to grade that category can claim and review the assignment.

12. Select Create on the bottom of the page.
13. Publish Changes to the Course.
The Assignment is now available for learners!
